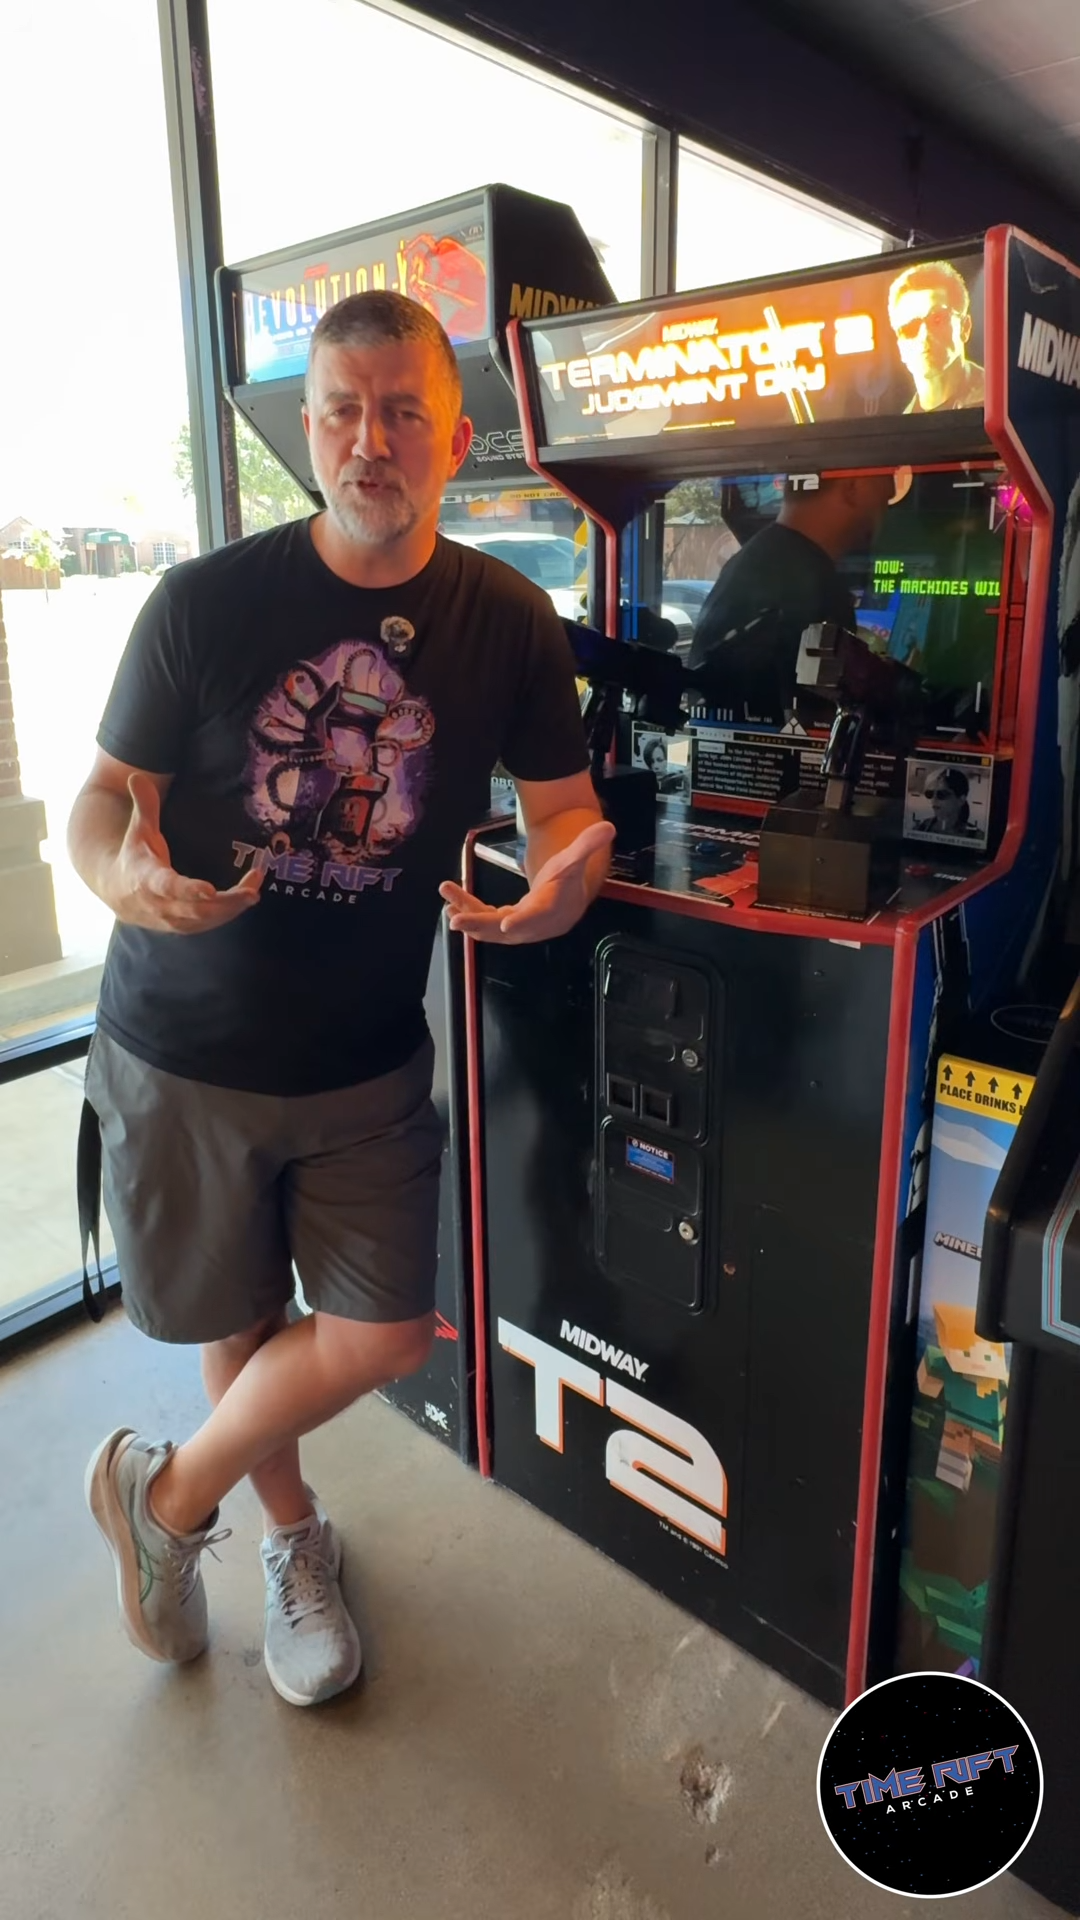
We recently bought a new arcade game for the Bedford Time Rift Arcade location. This game is such a great game in so many ways. If you’re a terminator fan, you’ll simply love this one! The cabinet looks amazing with a giant Terminator T-800 bust sitting on top and the gameplay is pretty fun to boot. However, it looks as though we will need to do a little Terminator Salvation arcade repair on this one!
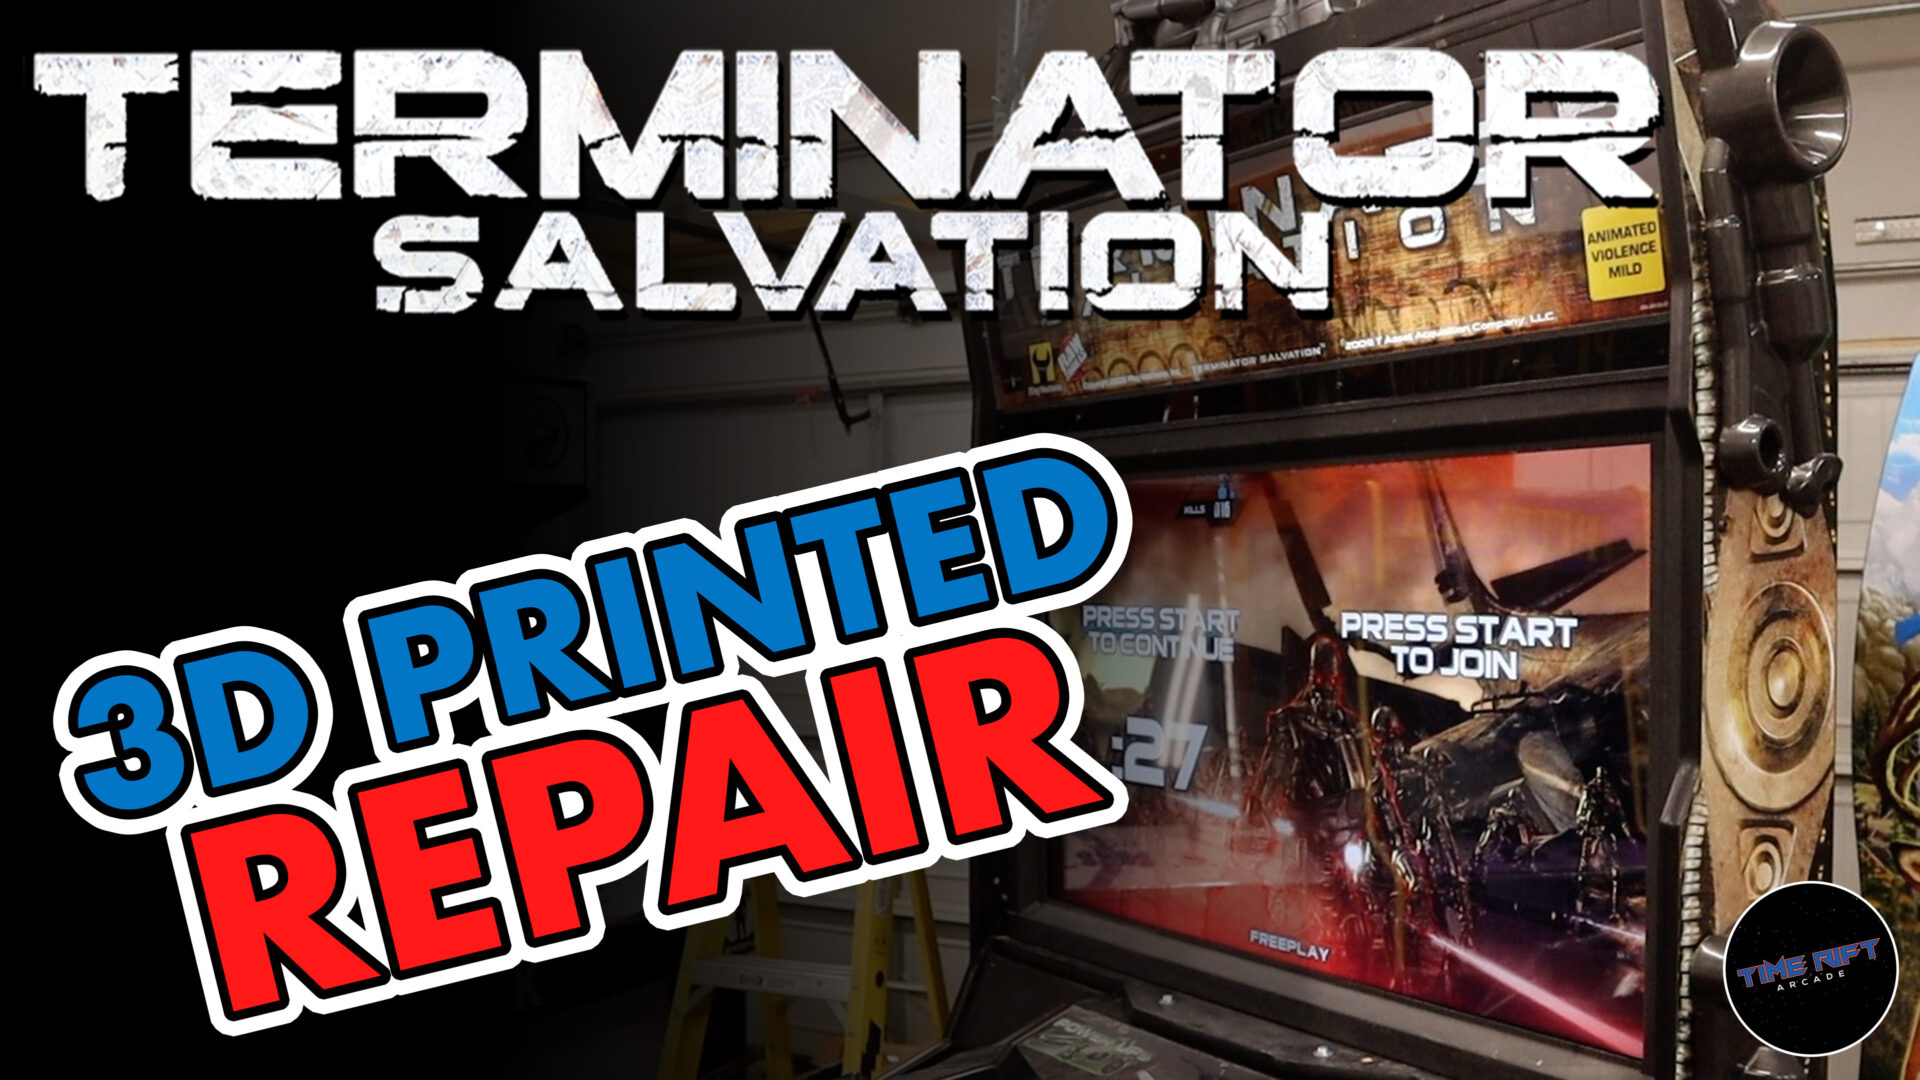
Terminator Salvation Arcade Repair Video
Check out our Terminator Salvation arcade repair video! It shows some more detail than we can share in written form.
Buying the Terminator Salvation at Auction
When you buy anything at an auction (whether an arcade game, a car, or a house), it is always the buyer’s responsibility to make sure they know what they are buying. All sales are final. That said, sometimes unscrupulous people sell things at auctions with sole intent of defrauding the buyer. They cover up and purposefully hide things to make it appear as though you are buying something that is in better condition, a more premium version (rebadging), etc.
In this case, we bought the Terminator Salvation arcade from a local auction in Denton Texas. Unfortunately the seller chose to purposefully hide that the machine’s frame was damaged, and cover up that parts were just completely missing buy using some we placed duct tape and strips of wood.
I was able to readily rebuild the damaged frame using my woodworking shop. A pain, but not too terrible.
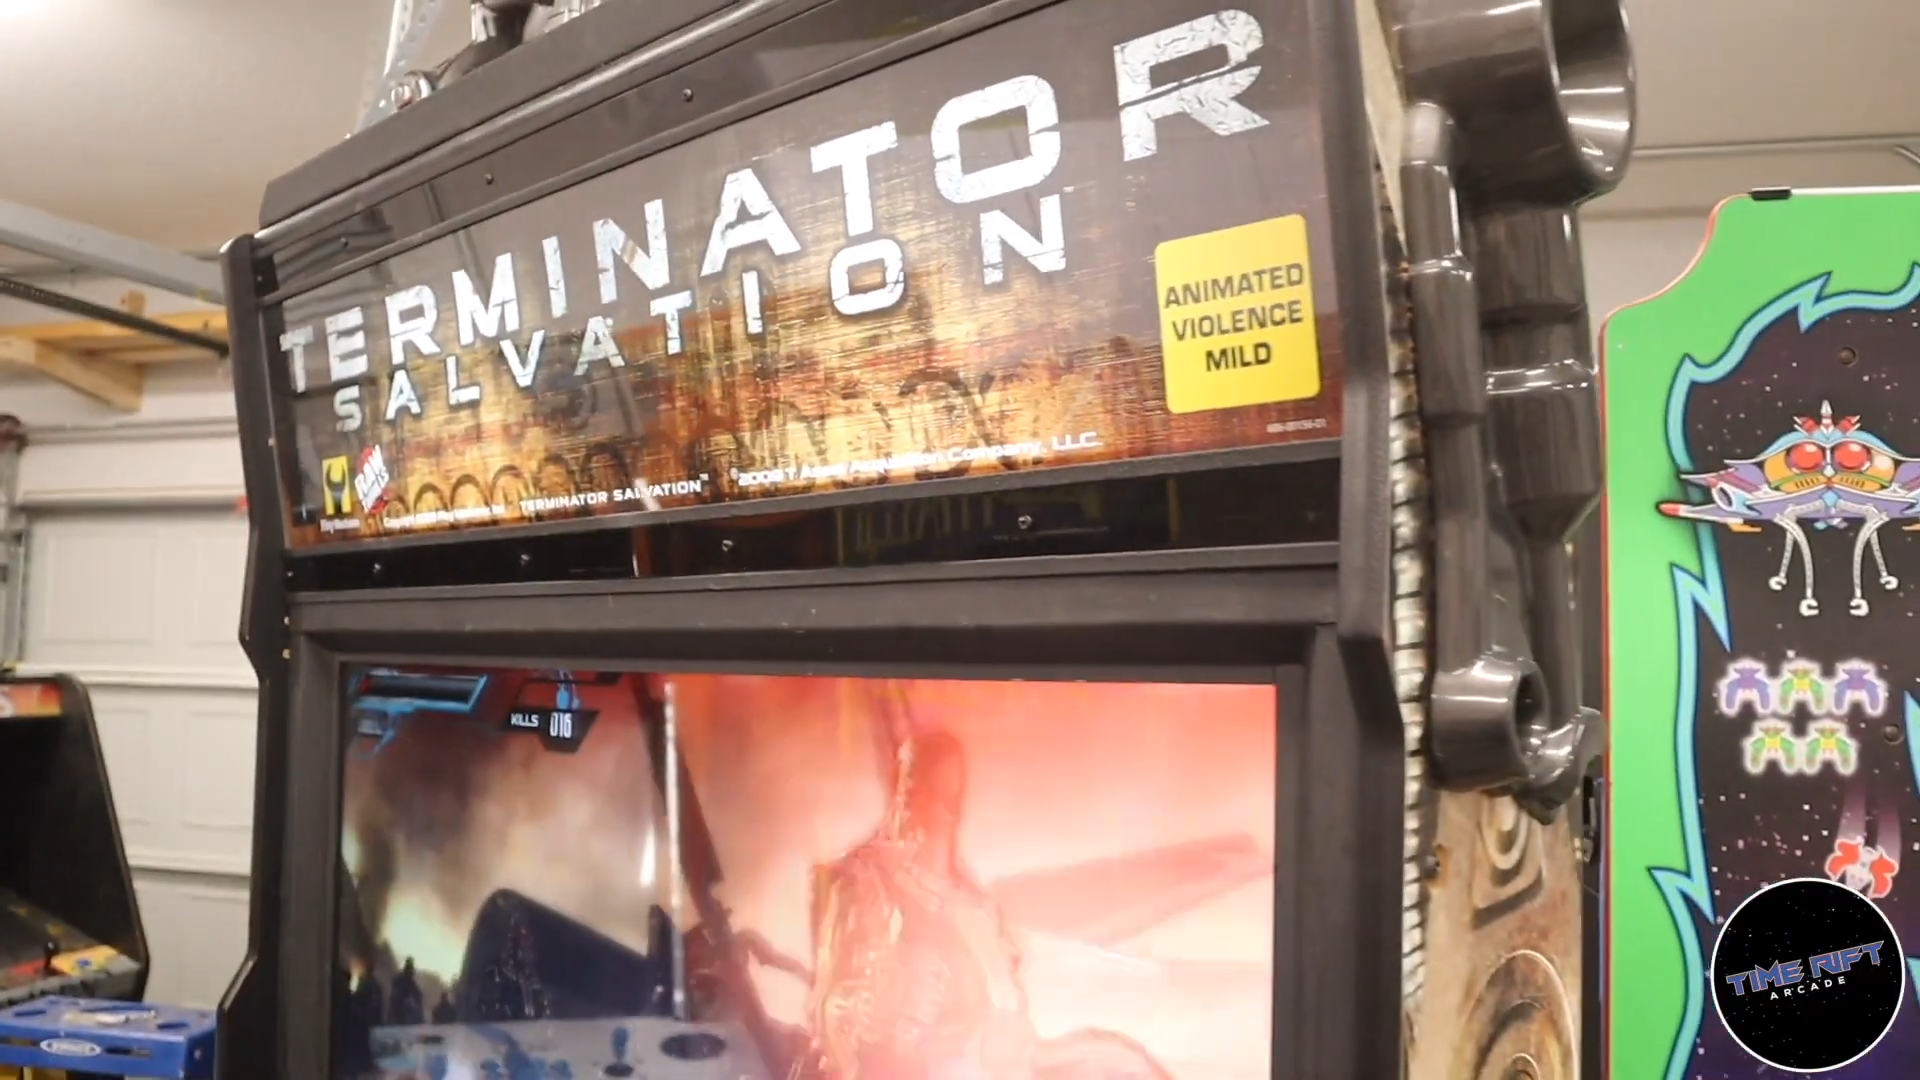
Unfortunately, it was missing a rail bracket under the marquee that holds the gun sensor LEDs.
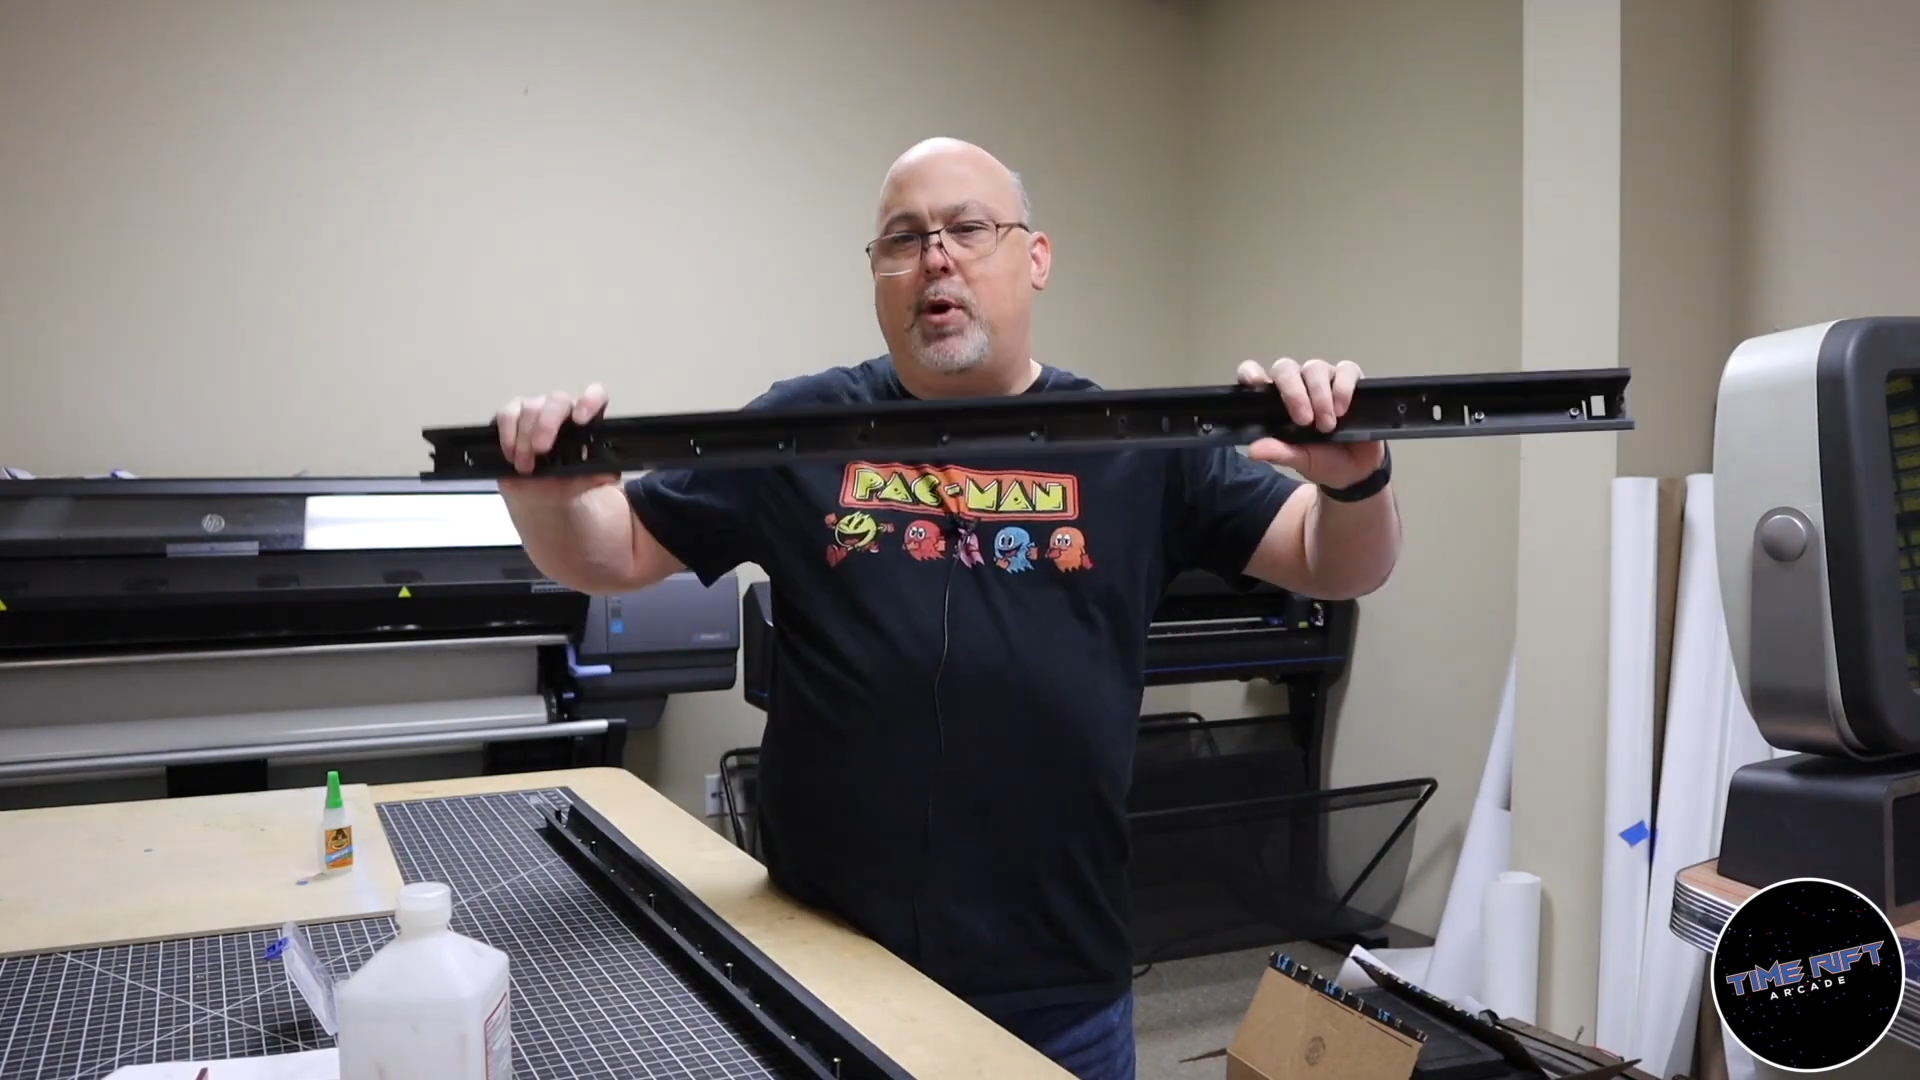
OK! So just buy a new bracket. Unfortunately, the bracket is no longer made. I called in some favors and no one seemed to have one for sale or know where to get one. I eventually found a guy who was willing to sell me one for $300. That’s ridiculous and I refused to buy it.
3D Printing to the Rescue
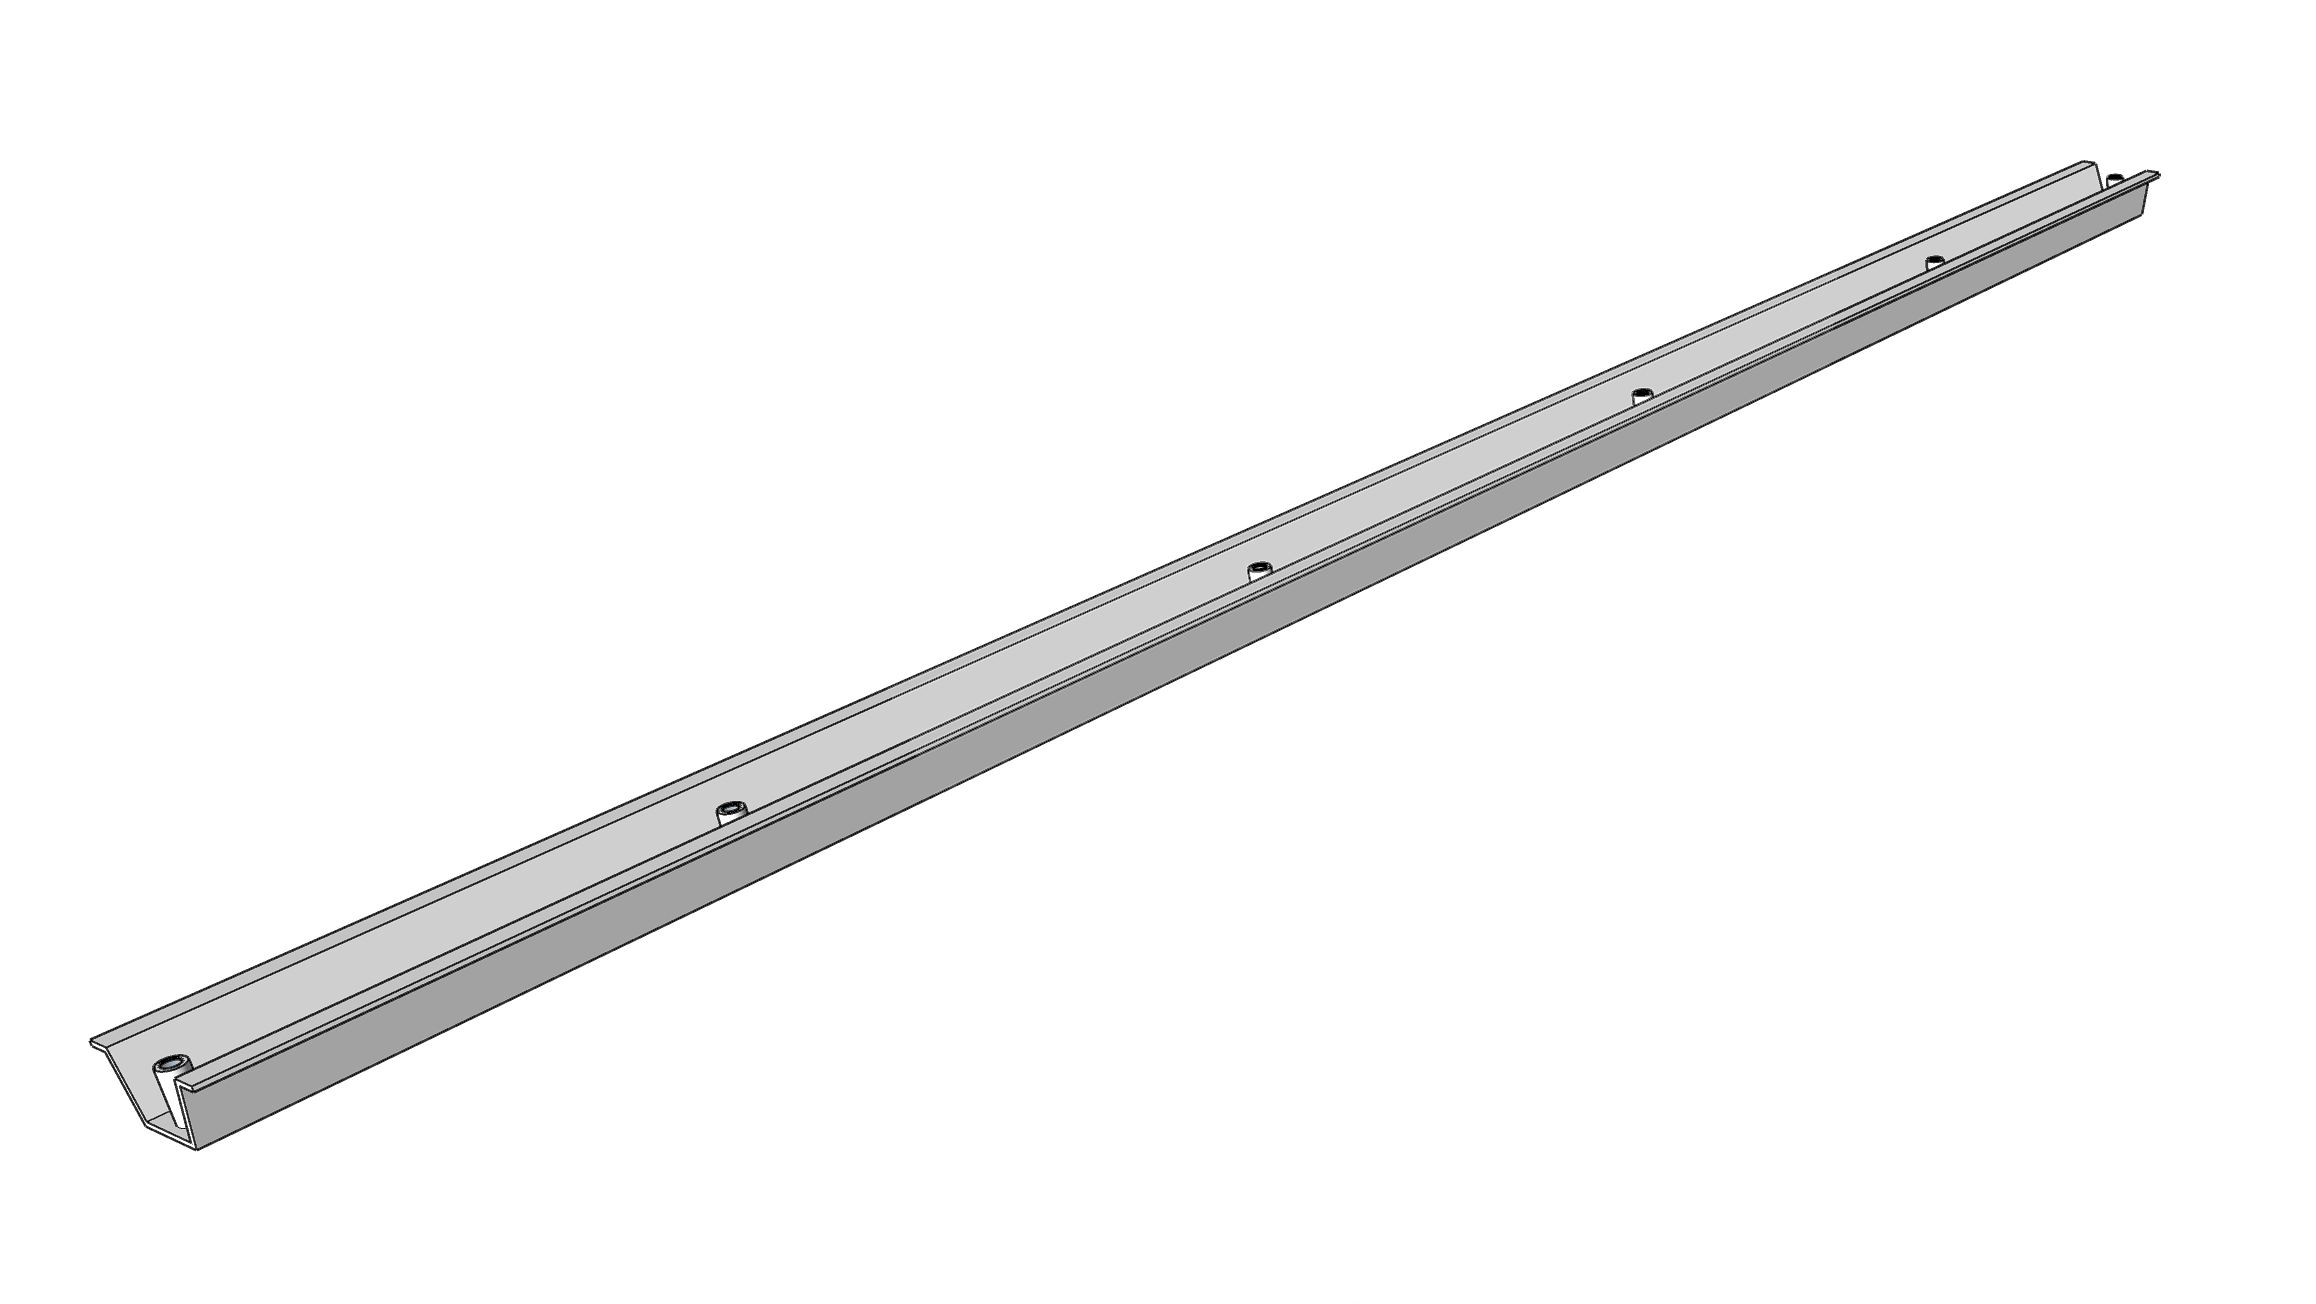
This is when I decided to use our Prusa 3D printer to just make a new one! I started by spending about 30 minutes with a set of calipers and measured out the entire bracket. I put this into a 3D modeling software, sliced it, and sent it to my 3D printer.
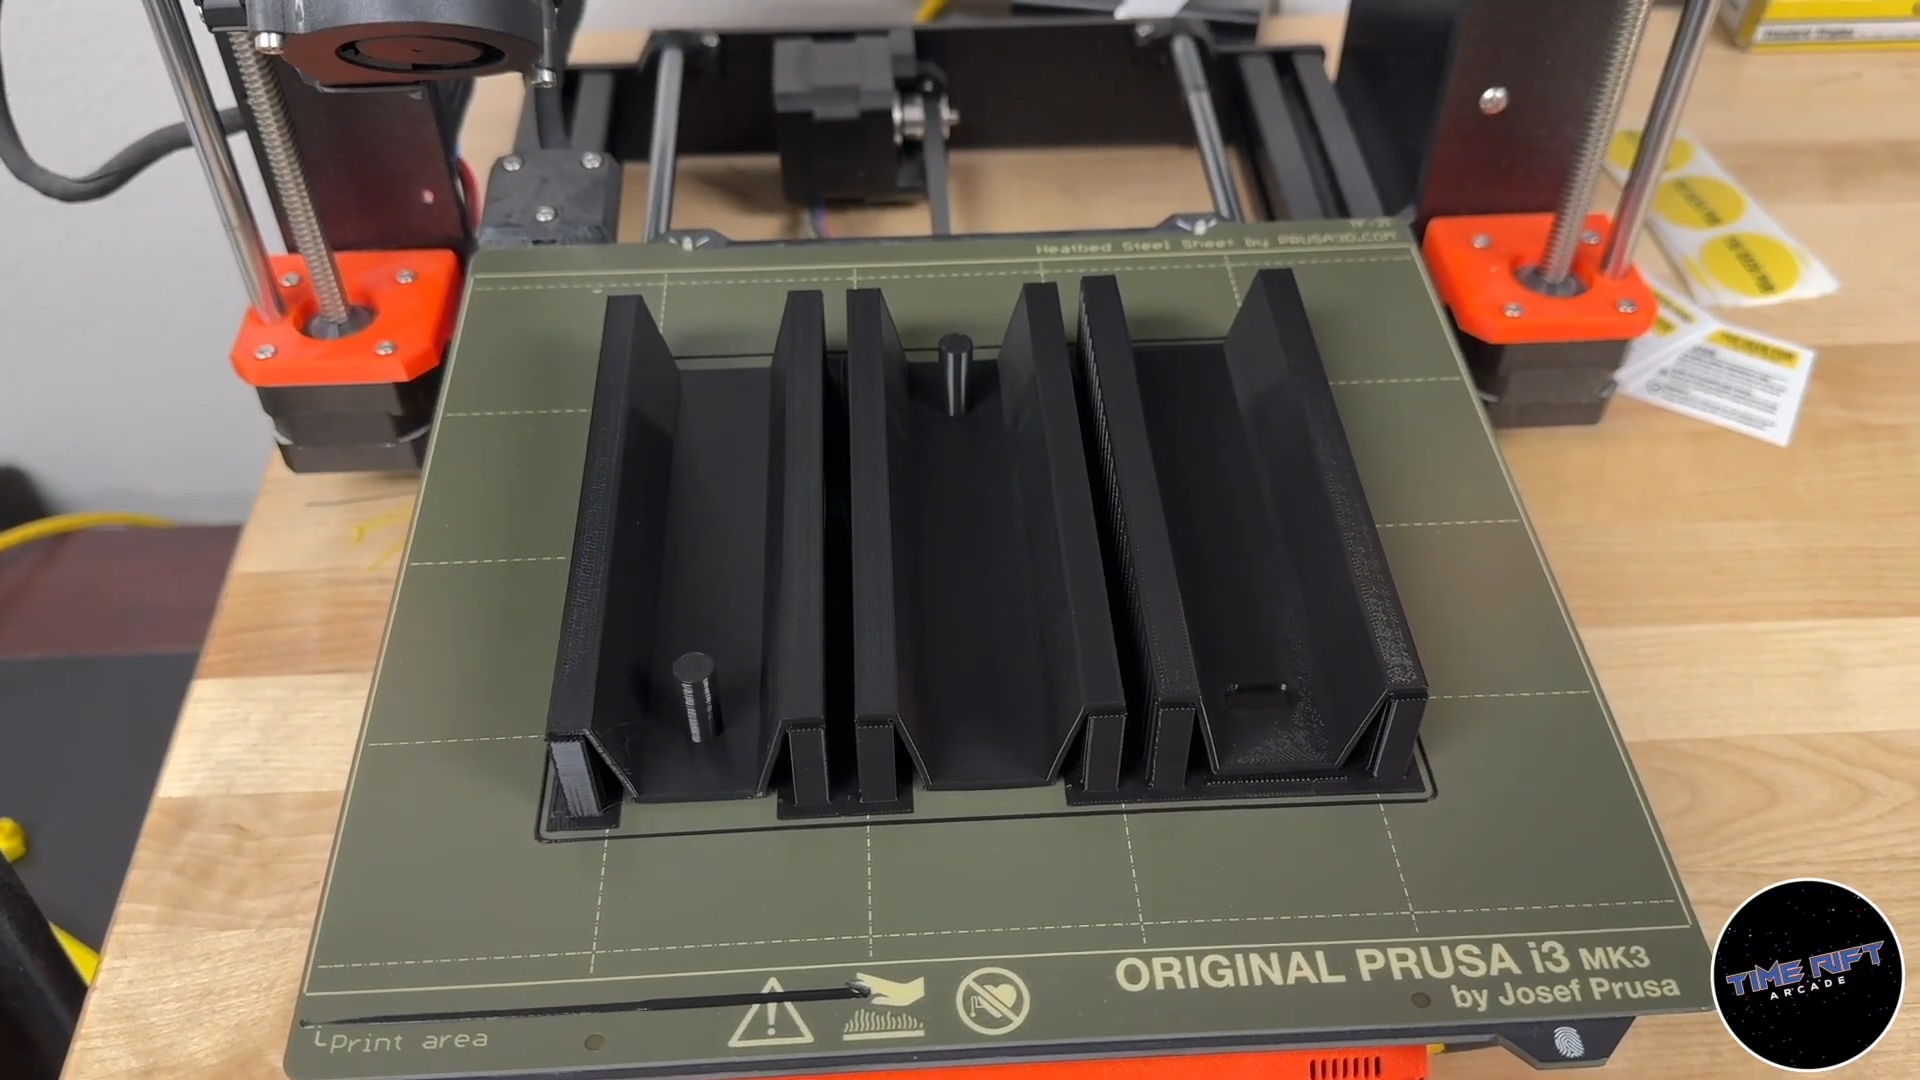
Some of you may have already recognized that this is far too large to print on a small Prusa I3. Indeed you are correct. I used Microsoft 3D Builder to split the bracket into several smaller pieces. 3D Builder has the best split function of any tool I have used.
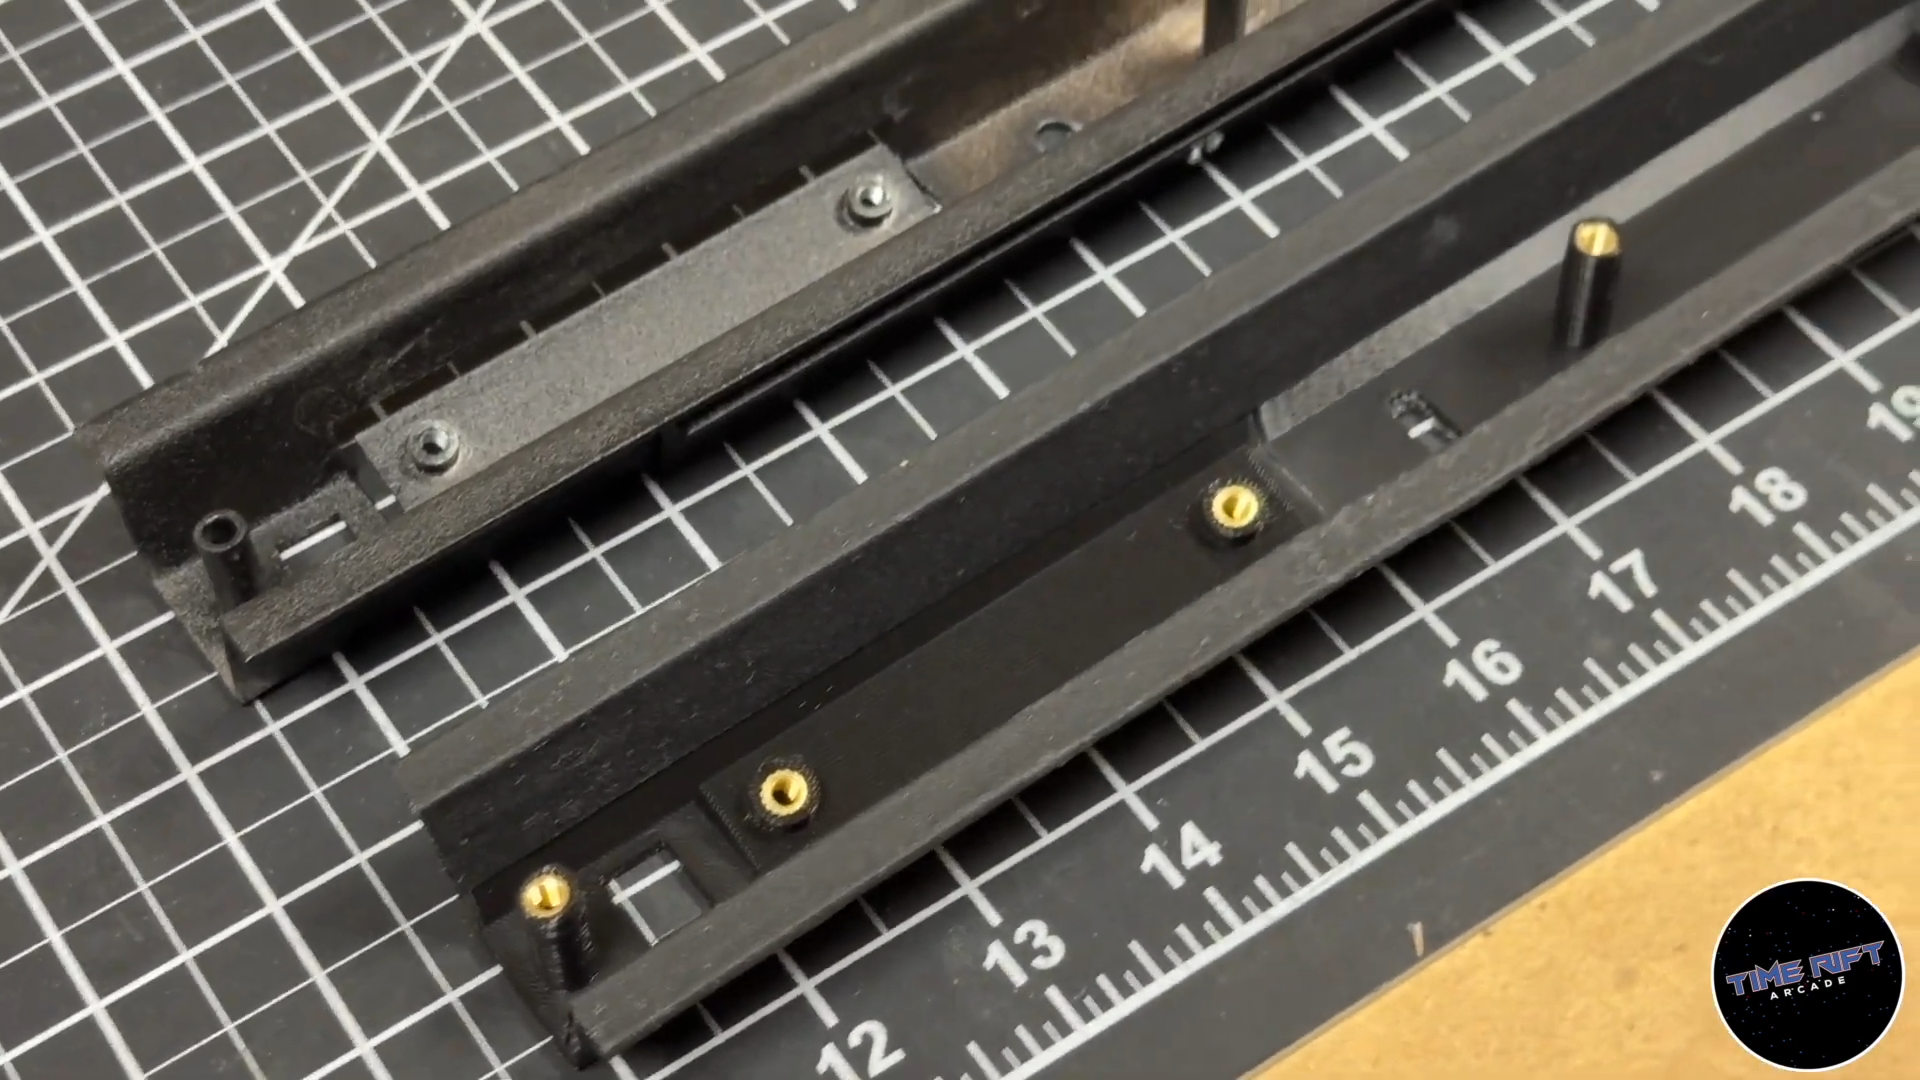
This Terminator Salvation arcade repair is looking better by the minute! All I had to do was take the individual pieces and bond them together with E6000 adhesive. I then covered the entire bracket with a layer of grey gaffer’s tape to make it look the part and it turned out amazing!
For the screws I used brass insert nuts. You just press them in with a soldering iron. They melt the plastic and become permanently seated in place.
The Finished Terminator Salvation Arcade Repair
It turned out great! All of the holes lined up perfectly! I was able to bolt in into place, install the LED boards and then cover it with the IR transparent acrylic cover. And the game plays like new!
If you’d like a copy of the .STL files, drop me an email and I’ll get them to you.