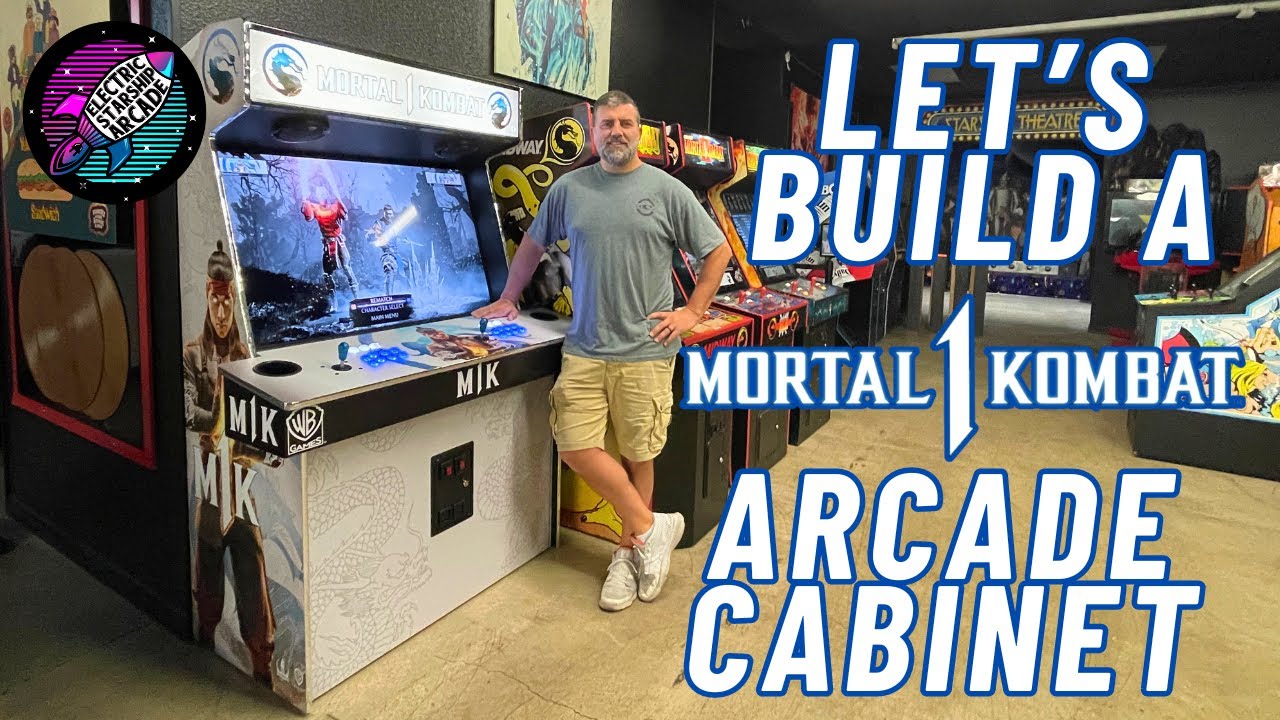
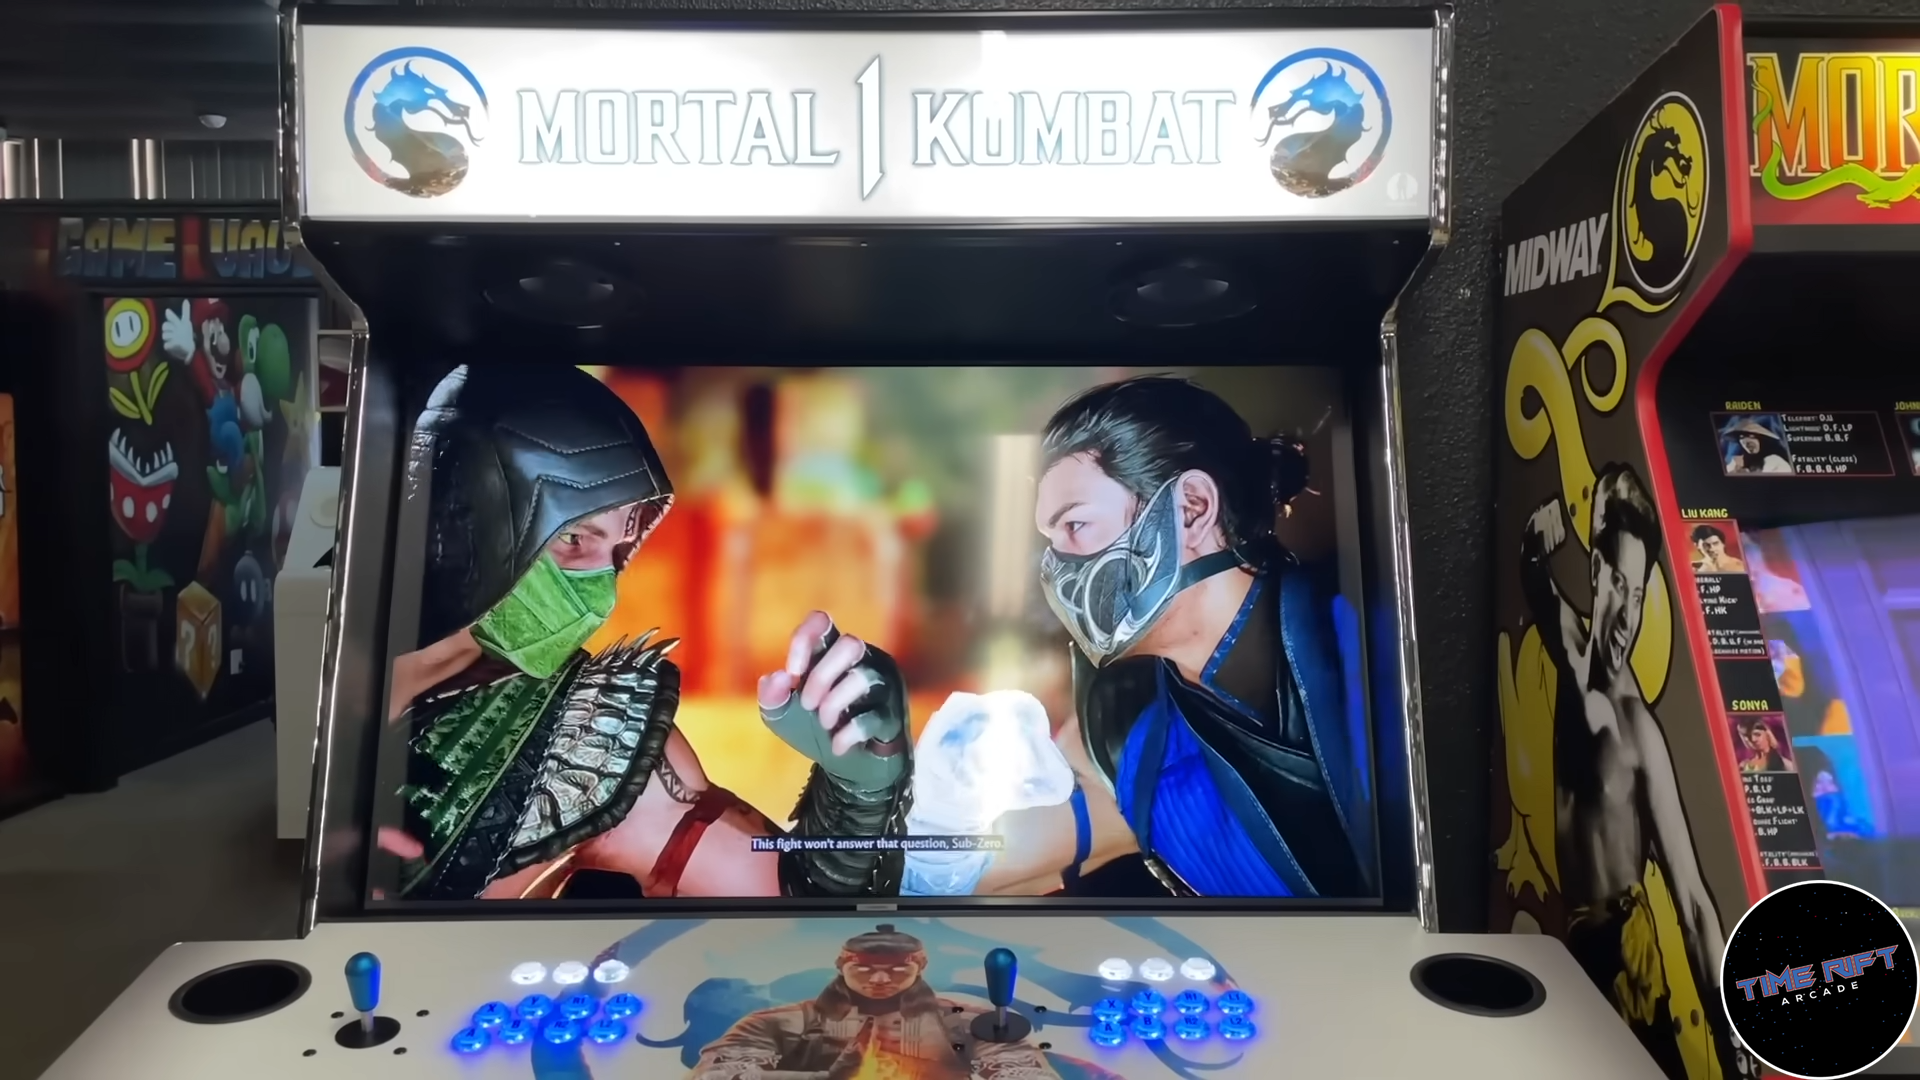
Mortal Kombat 1 came out on consoles just a few months ago and its such a great game, but for some reason they decided not to make an arcade version of the game. So, we made our very own custom built Mortal Kombat 1 arcade!
Mortal Kombat 1 Arcade Build Video
This one is a long one, but its worth the watch!
Building a Mortal Kombat 1 Arcade
It’s a lot of steps buikding an arcade cabinet. You have to design the cabinet, build it, design & print artwork, figure out the electronics, wiring it up, speakers, lights, etc. We’ll hit some of the highlights here, but watch the video for all the details.
Designing the Mortal Kombat 1 Arcade Cabinet
We used Sketchup to the design the cabinet (editors note, we will not be renewing Sketchup after this year. Increased cost, lagging features, etc.). Sketchup is a 3D modeling tool used to create physical objects in the digital world, that can then be constructed (or 3D printed) in the real world.
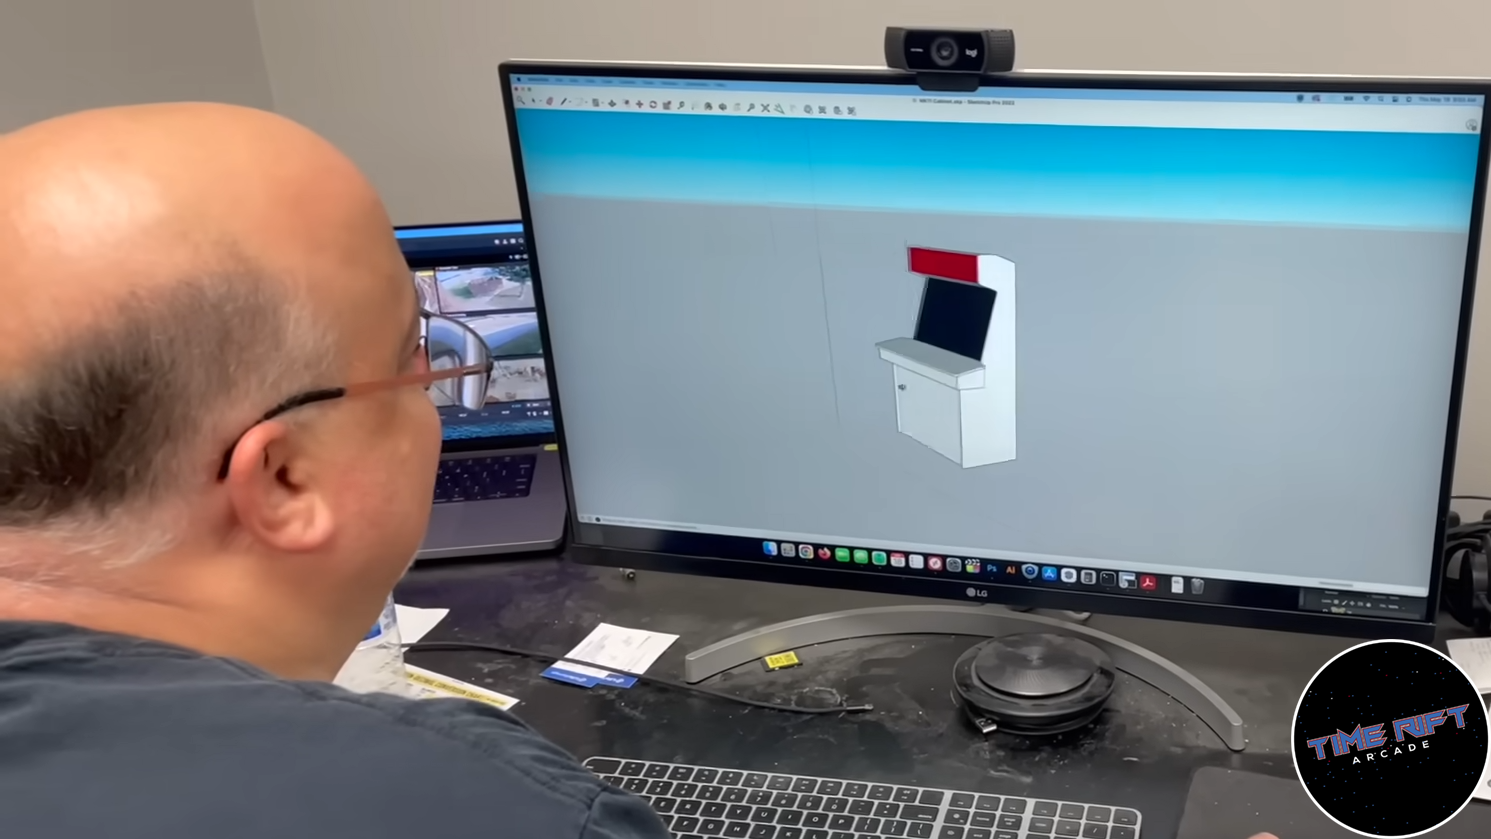
We had decided we wanted the cabinet to have the same monitor dimensions as Killer Queen, an arcade game that came out in 2013. That means we settled on a 50″ Samsung 4K QLED TV and the rest of the cabinet would need to be designed around that element. Is that exciting or what?!
Designing arcade cabinets first in digital form allow us to do some really cool things. The first one is that we can print templates. This allowed us to get the cool geometry of the cabinet to wood exactly how we’d imagined it in digital form without having to measure and draw it on the wood.
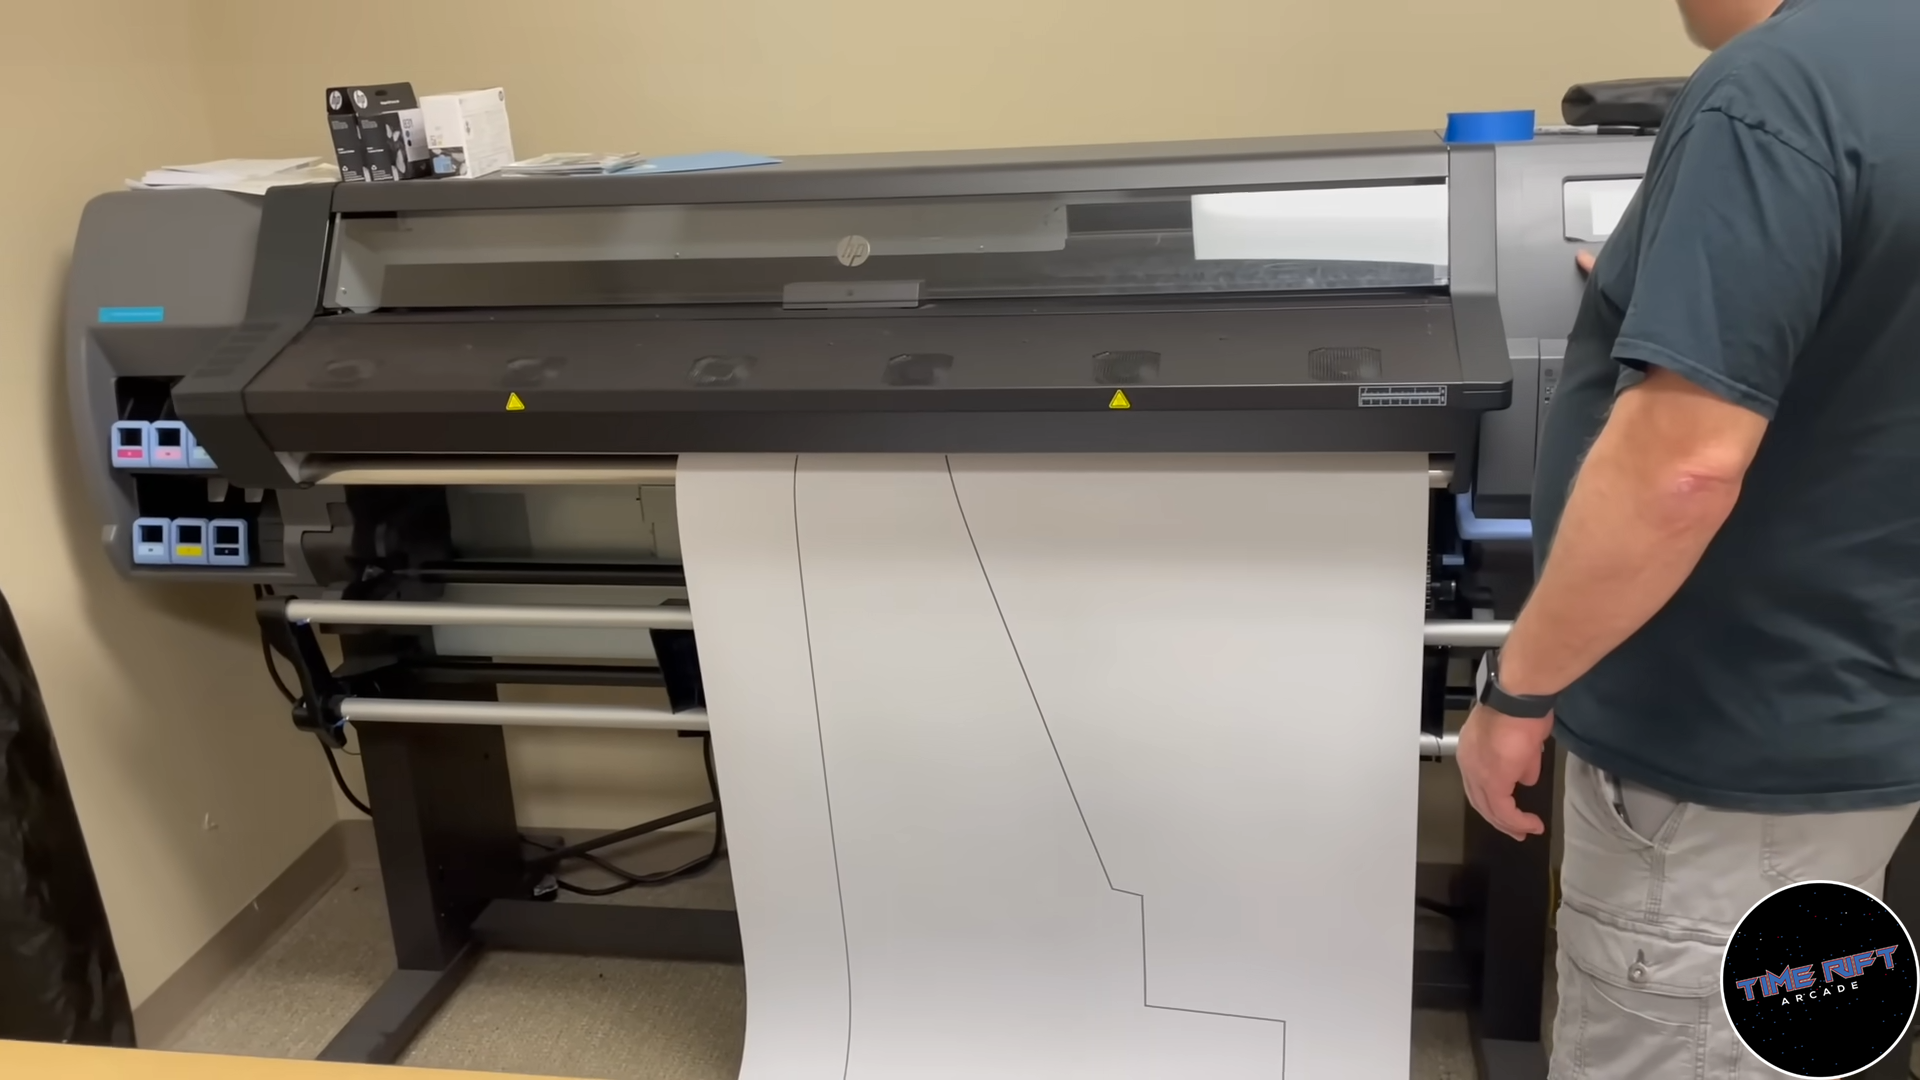
A few years ago we bought a giant HP Latex printer for printing arcade artwork, banners, etc on vinyl. This thing has saved us thousands of dollars! But it also prints nice paper templates of anything we design in Sketchup. So first thing I did was create a template for the side panels!
Cutting the Wood
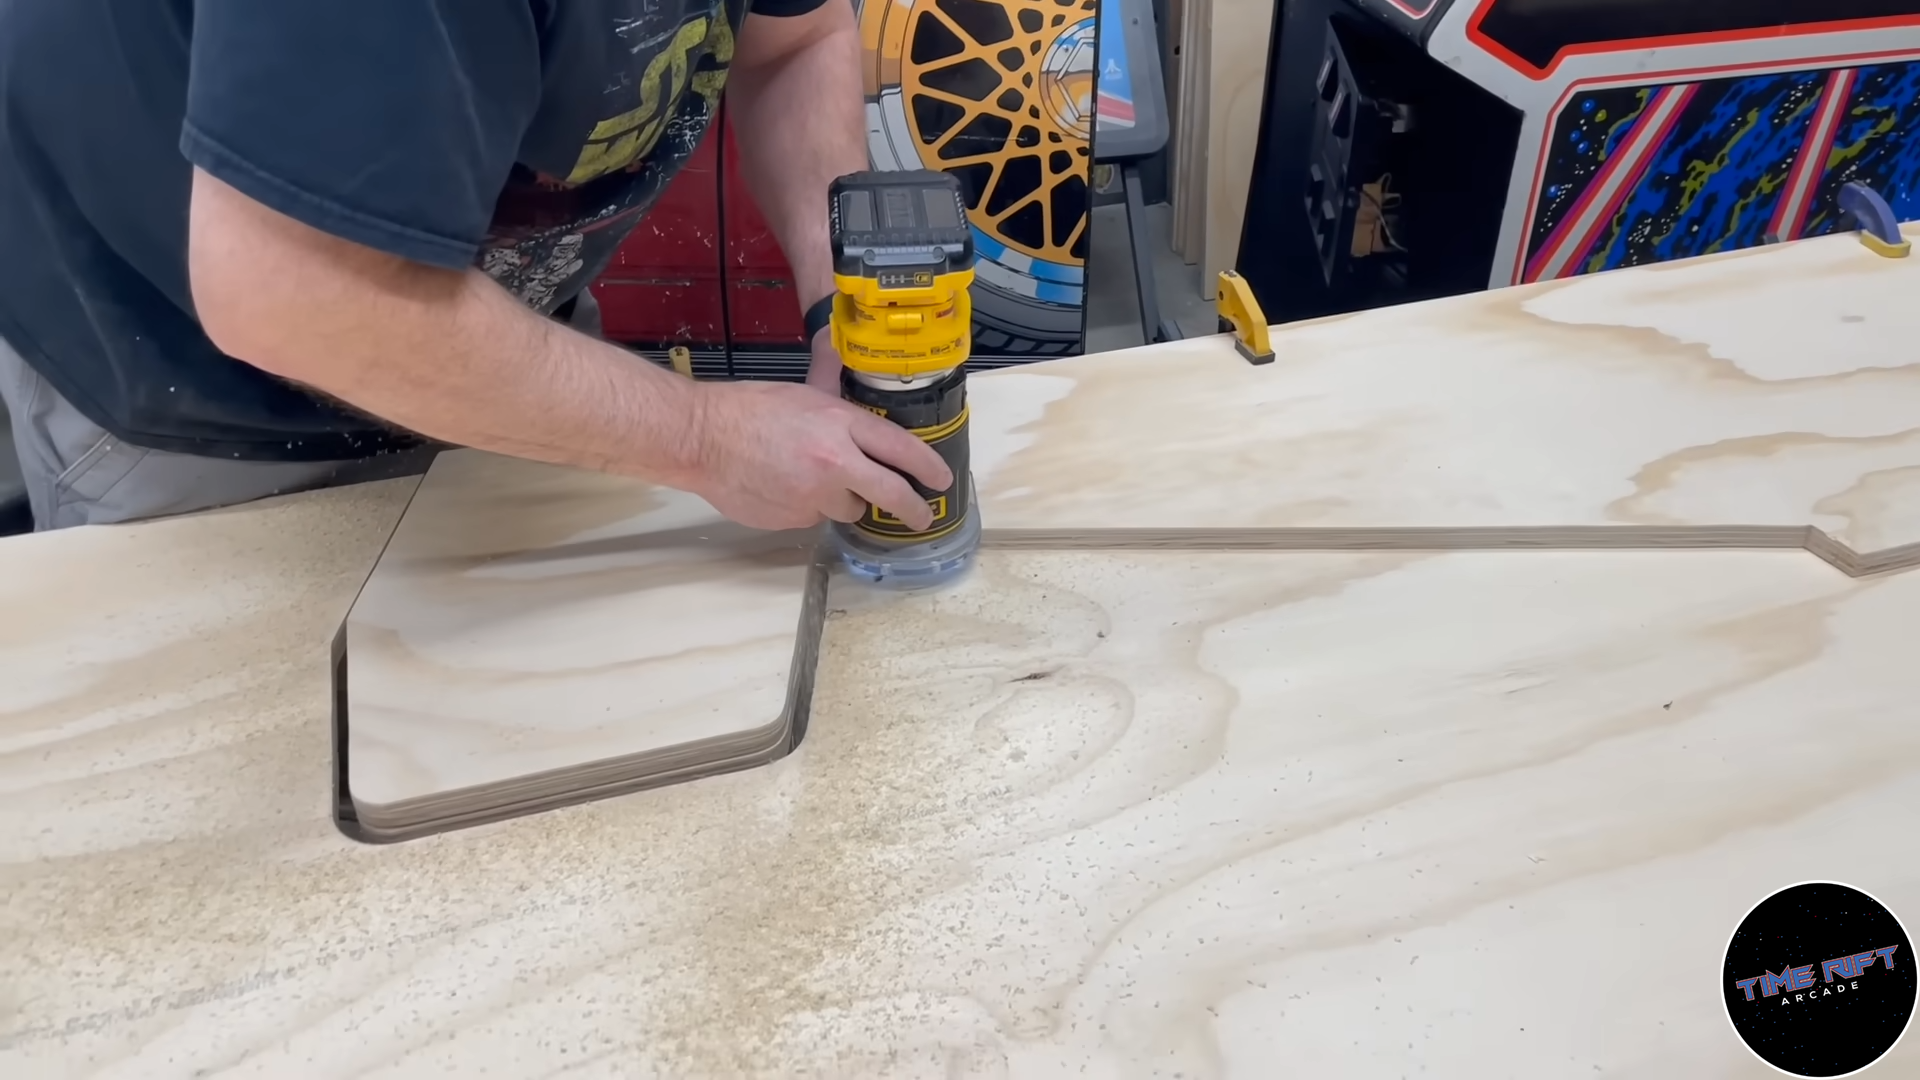
Using the paper template, we glued it to a sheet of plywood and cut it out.
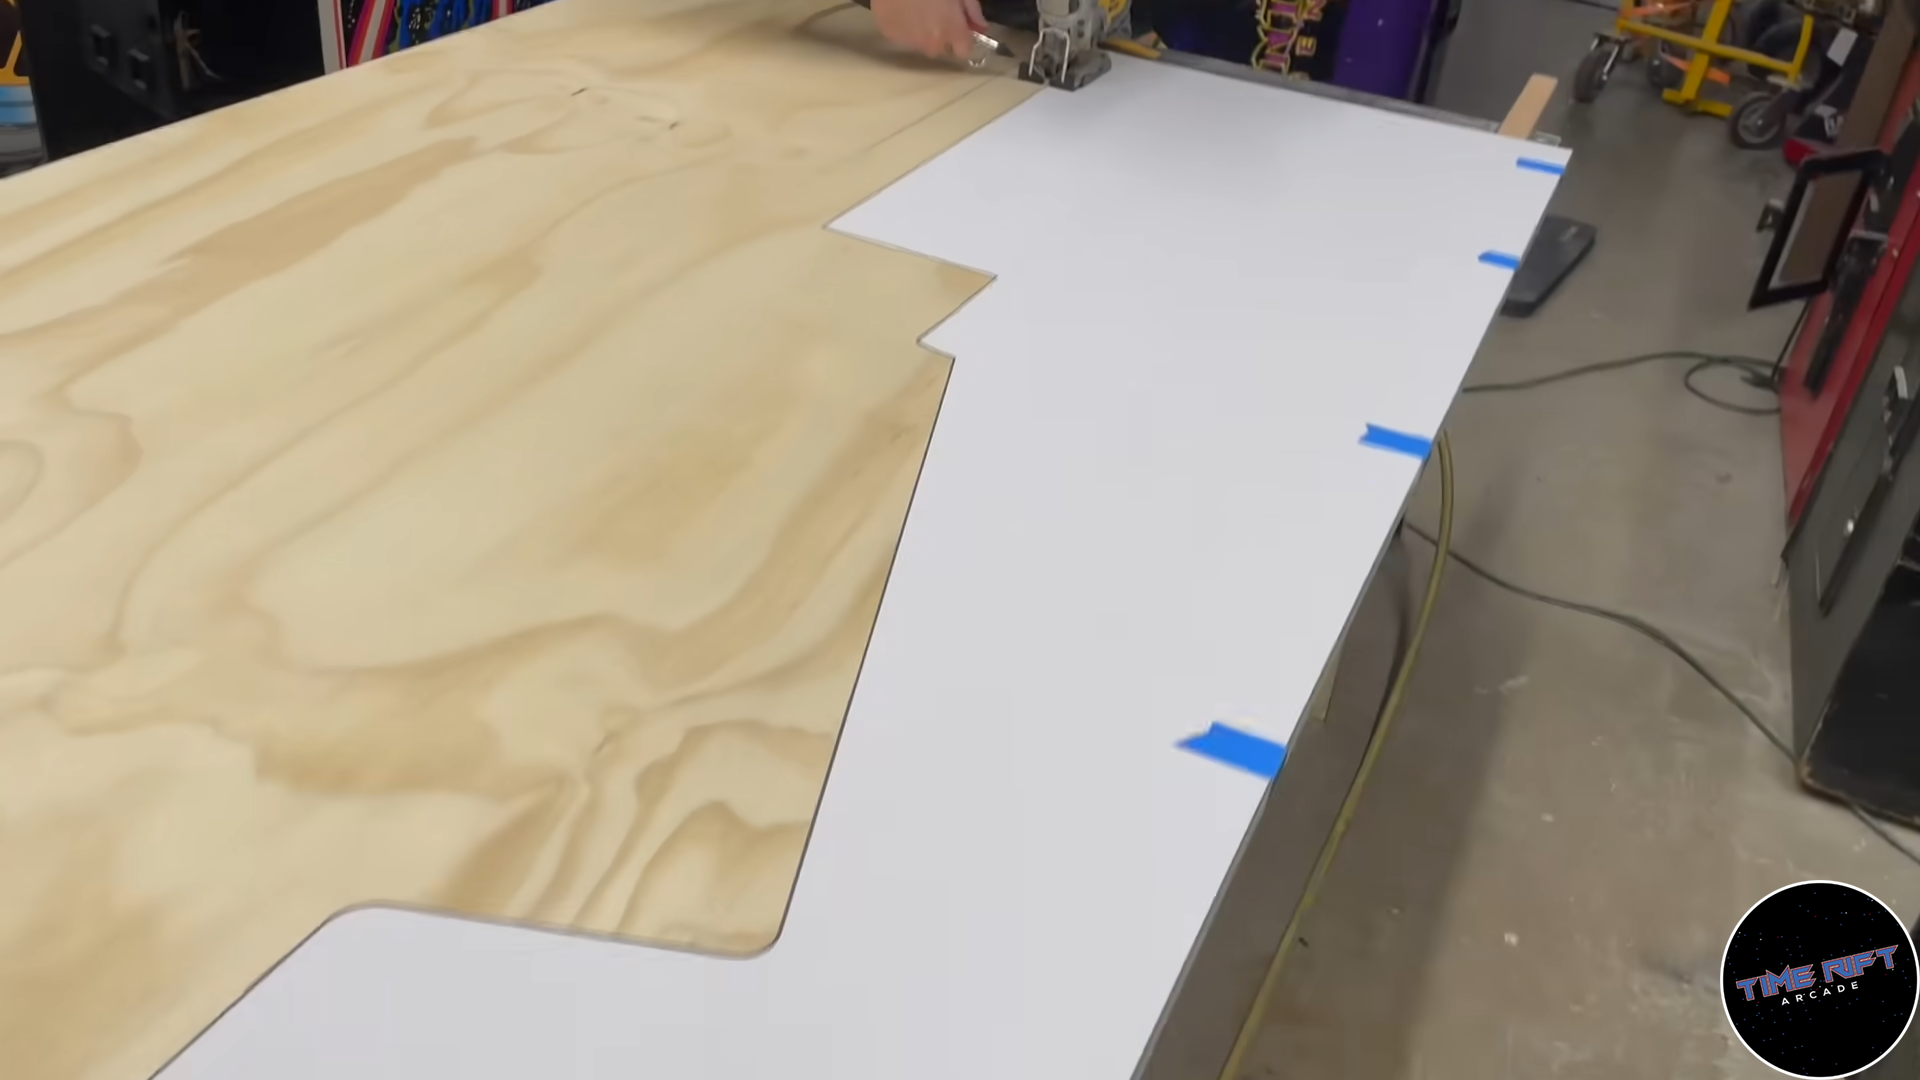
After that we were able to use a flush cut trim bit and make three more copies of the side panel (we made two cabinets: one for The Electric Starship Arcade in Haltom City, and one for the Time Rift Arcade in Bedford (both in Texas)).
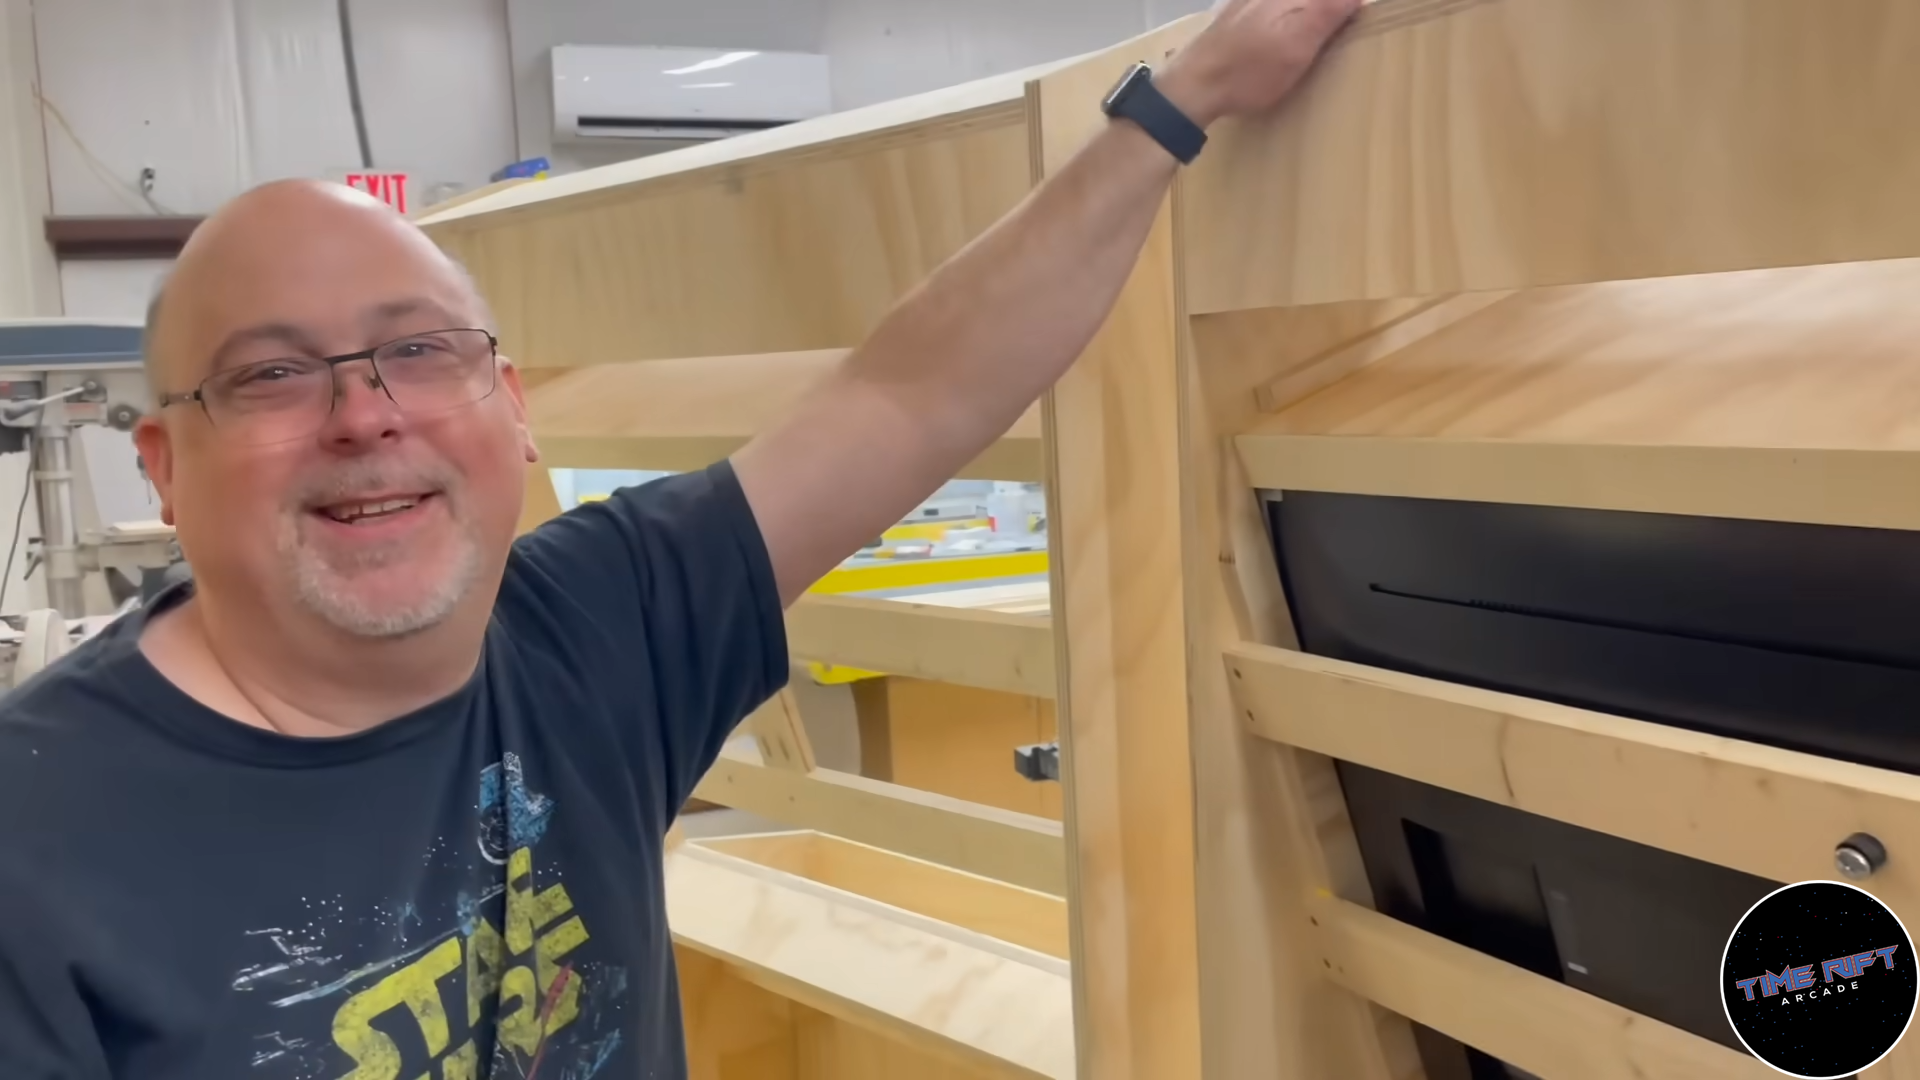
And then a few hours later we had two fully assembled cabinets and a very happy Mike Murray.
Painting the Mortal Kombat 1 Arcade Cabinets
After the cabinets were finished, Mike Woods of Electric Starship Arcade went to town priming and painting the cabinets.
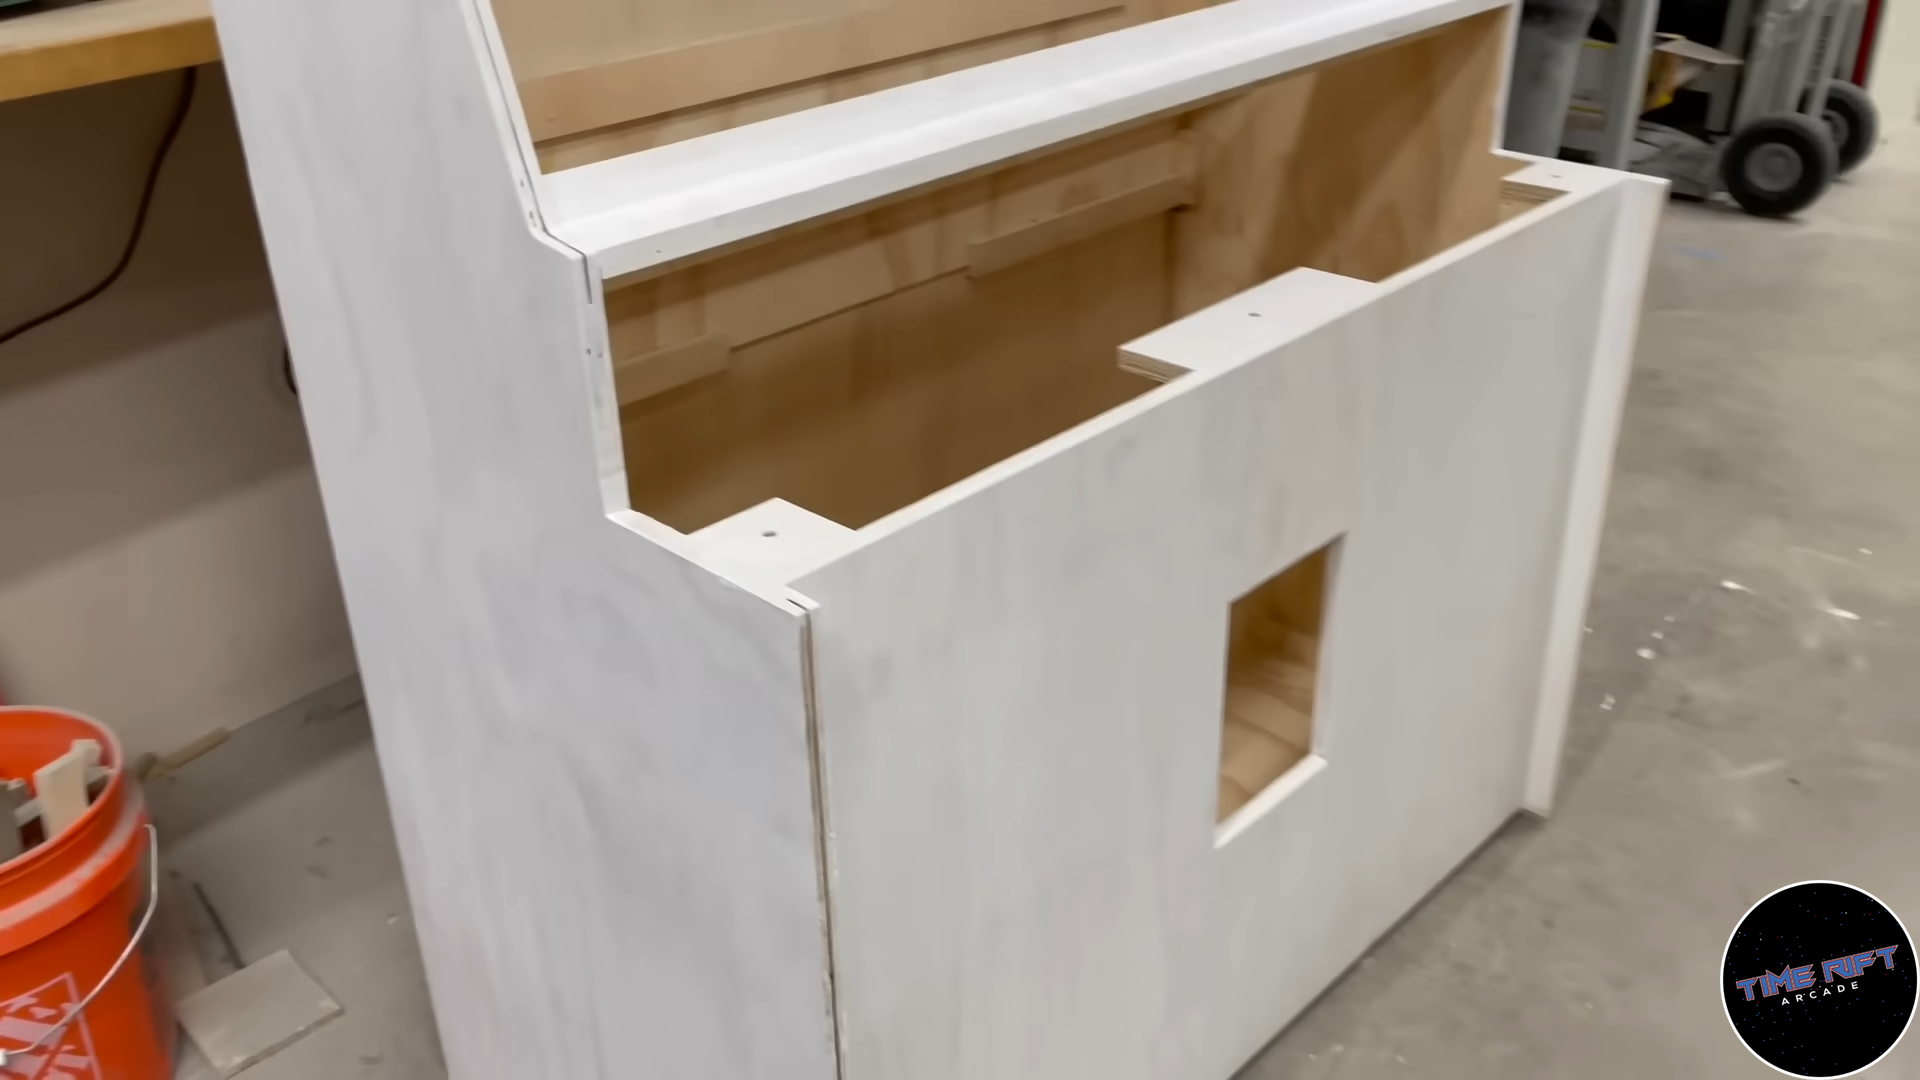
We took the approach of a sealer primer. This helps remove some of the woodgrain appearance that is hard to get out of plywood without skimming it with filler or bondo.
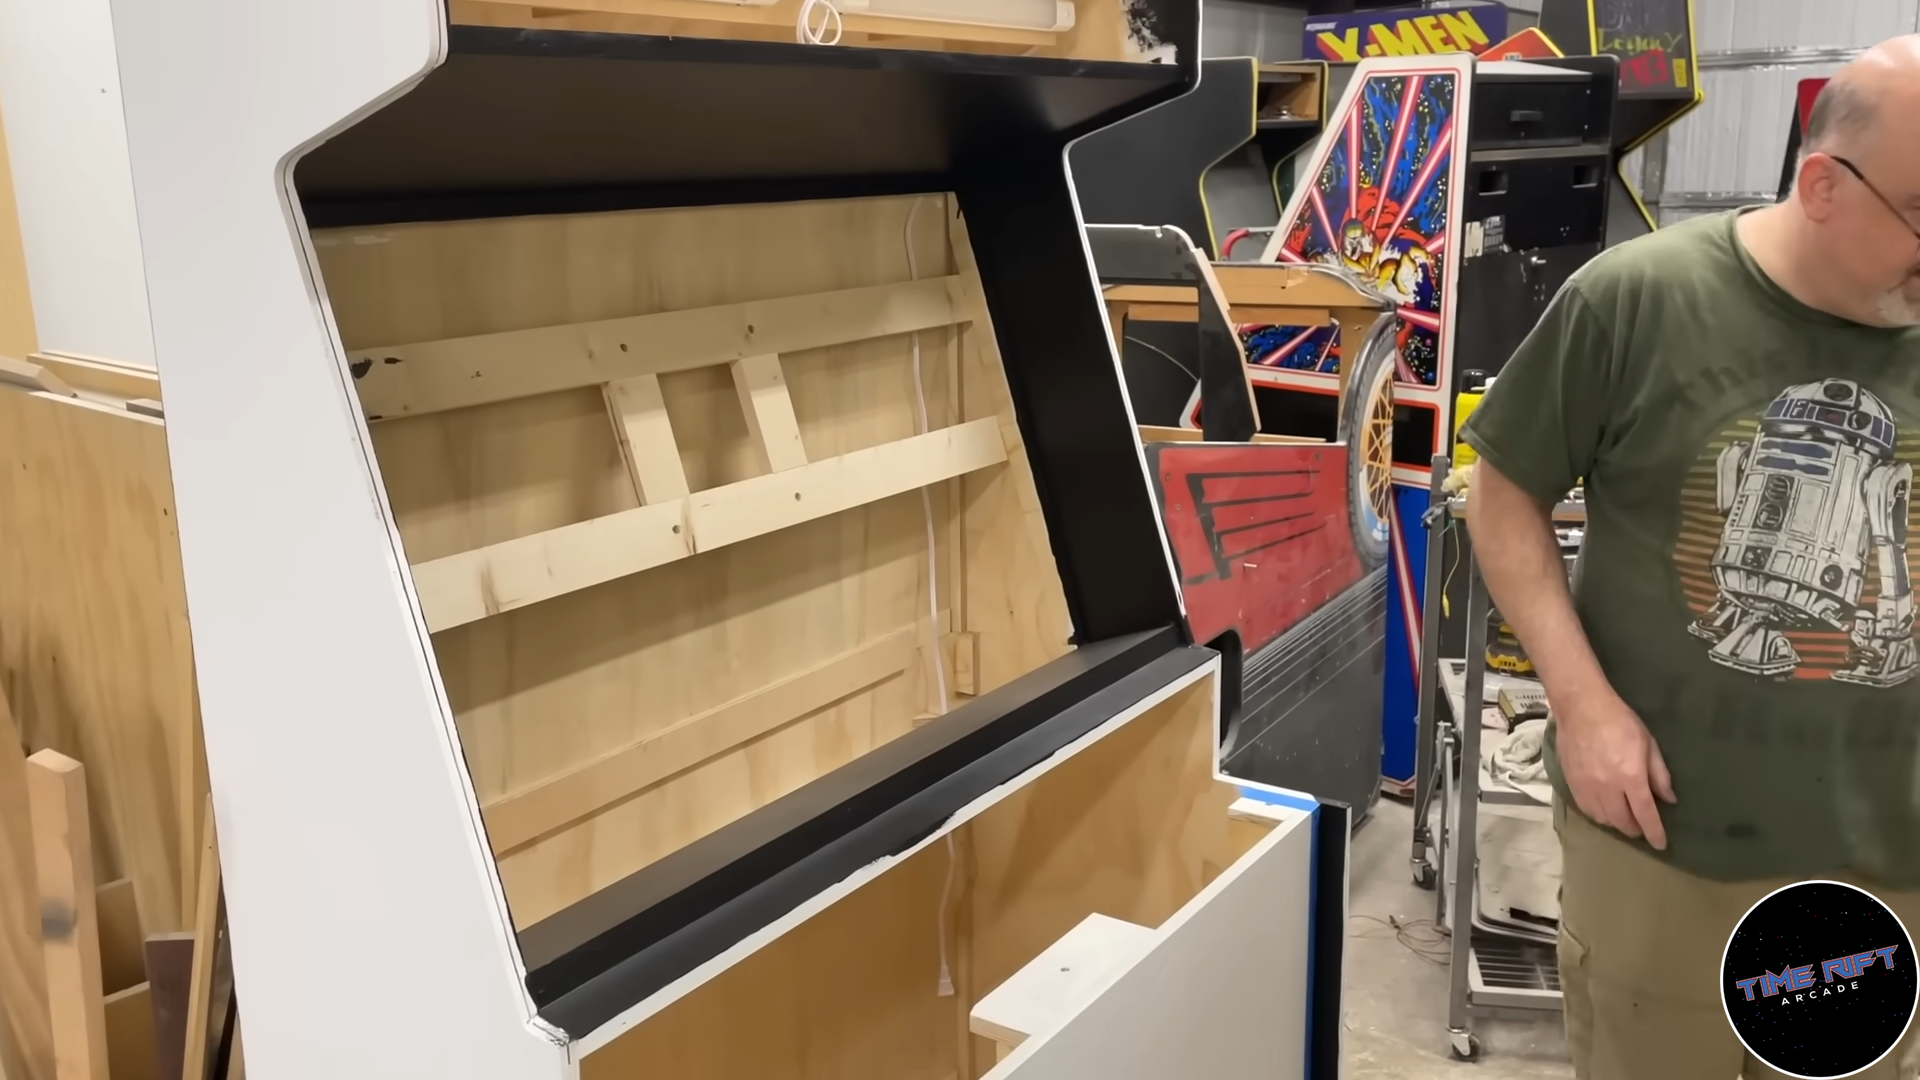
Mr. Woods followed that up with three coats of oil based white paint for all the places that would get artwork (to help it “pop”) and black everywhere that would not be covered in vinyl.
Artwork for the Mortal Kombat 1 Arcade
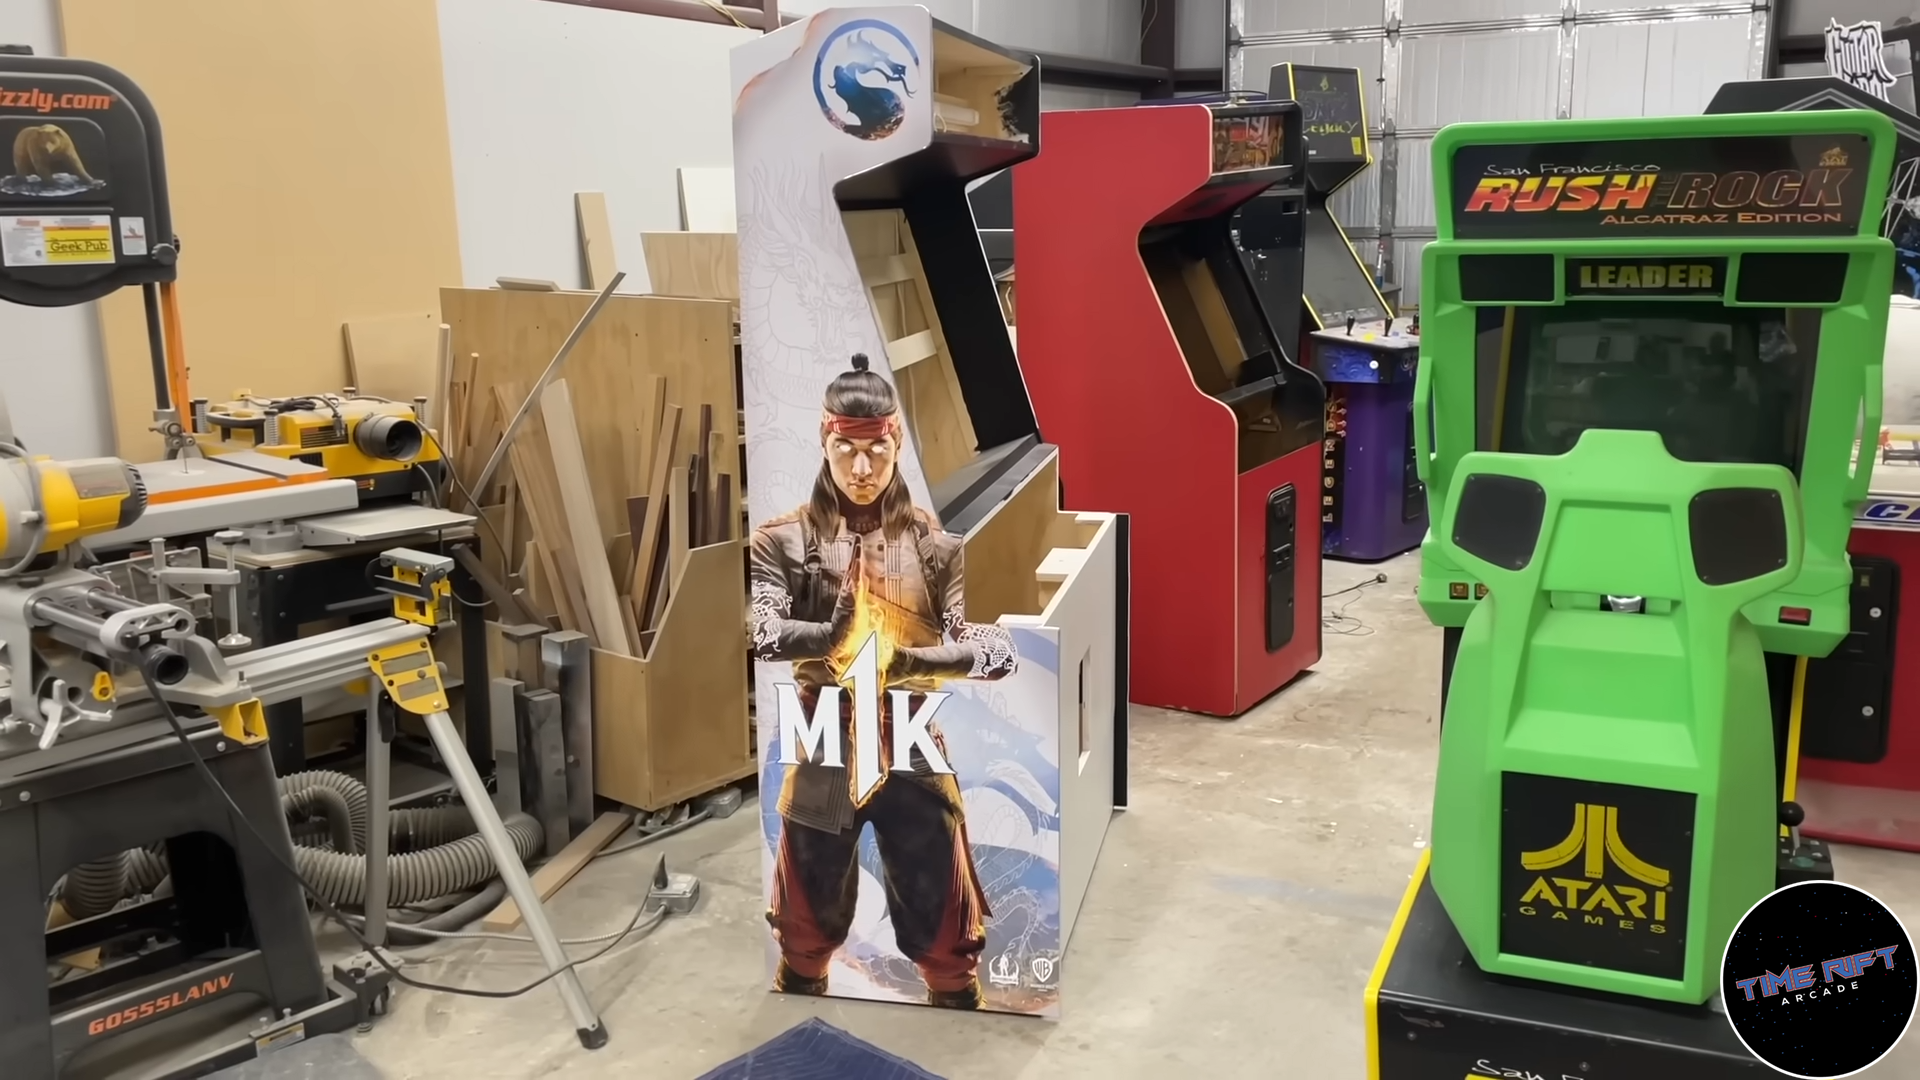
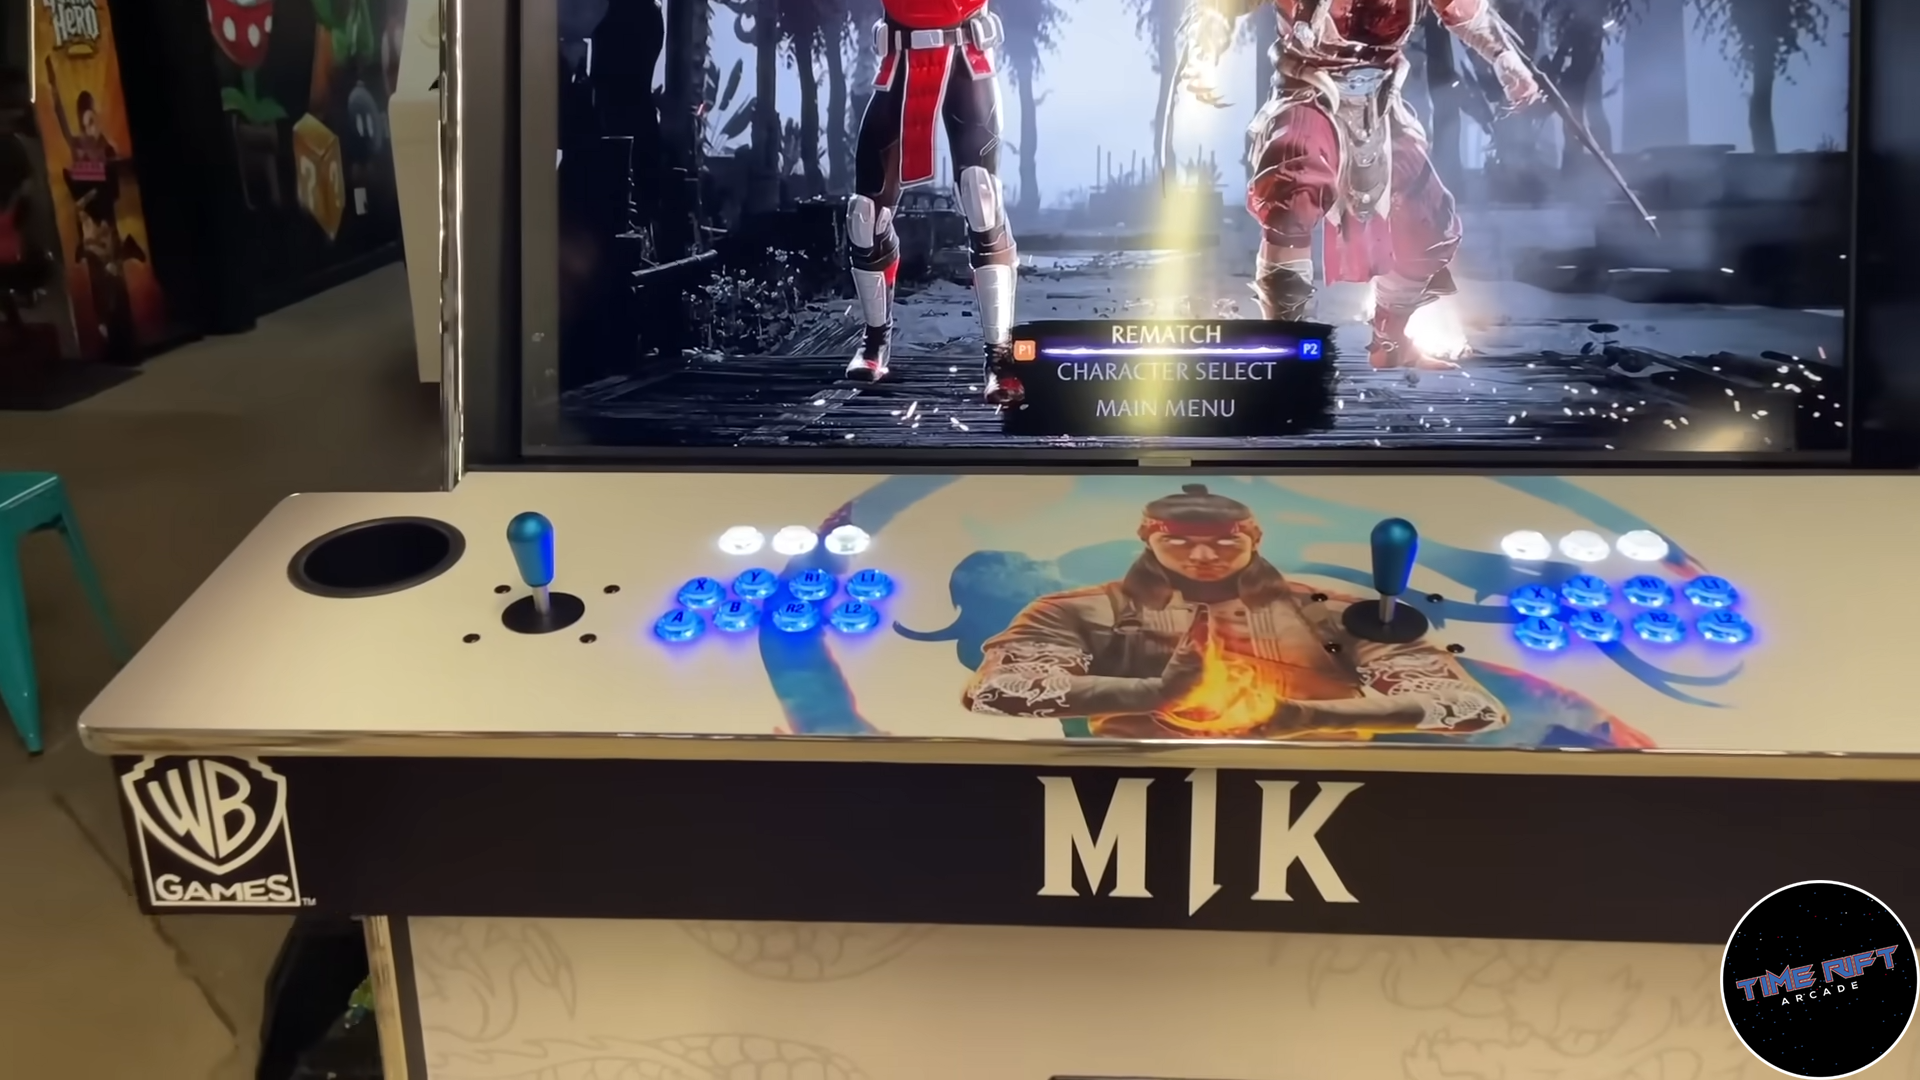
After the paint was done it was time to apply the artwork. We created this amazing artwork with the help of Jeff at XL Arcade. Of course, this is where that big HP Latex printer we talked about earlier really shines. We printed the artwork on some high quality vinyl and slapped it on the side panels. We topped that off with some chrome arcade T-Molding.
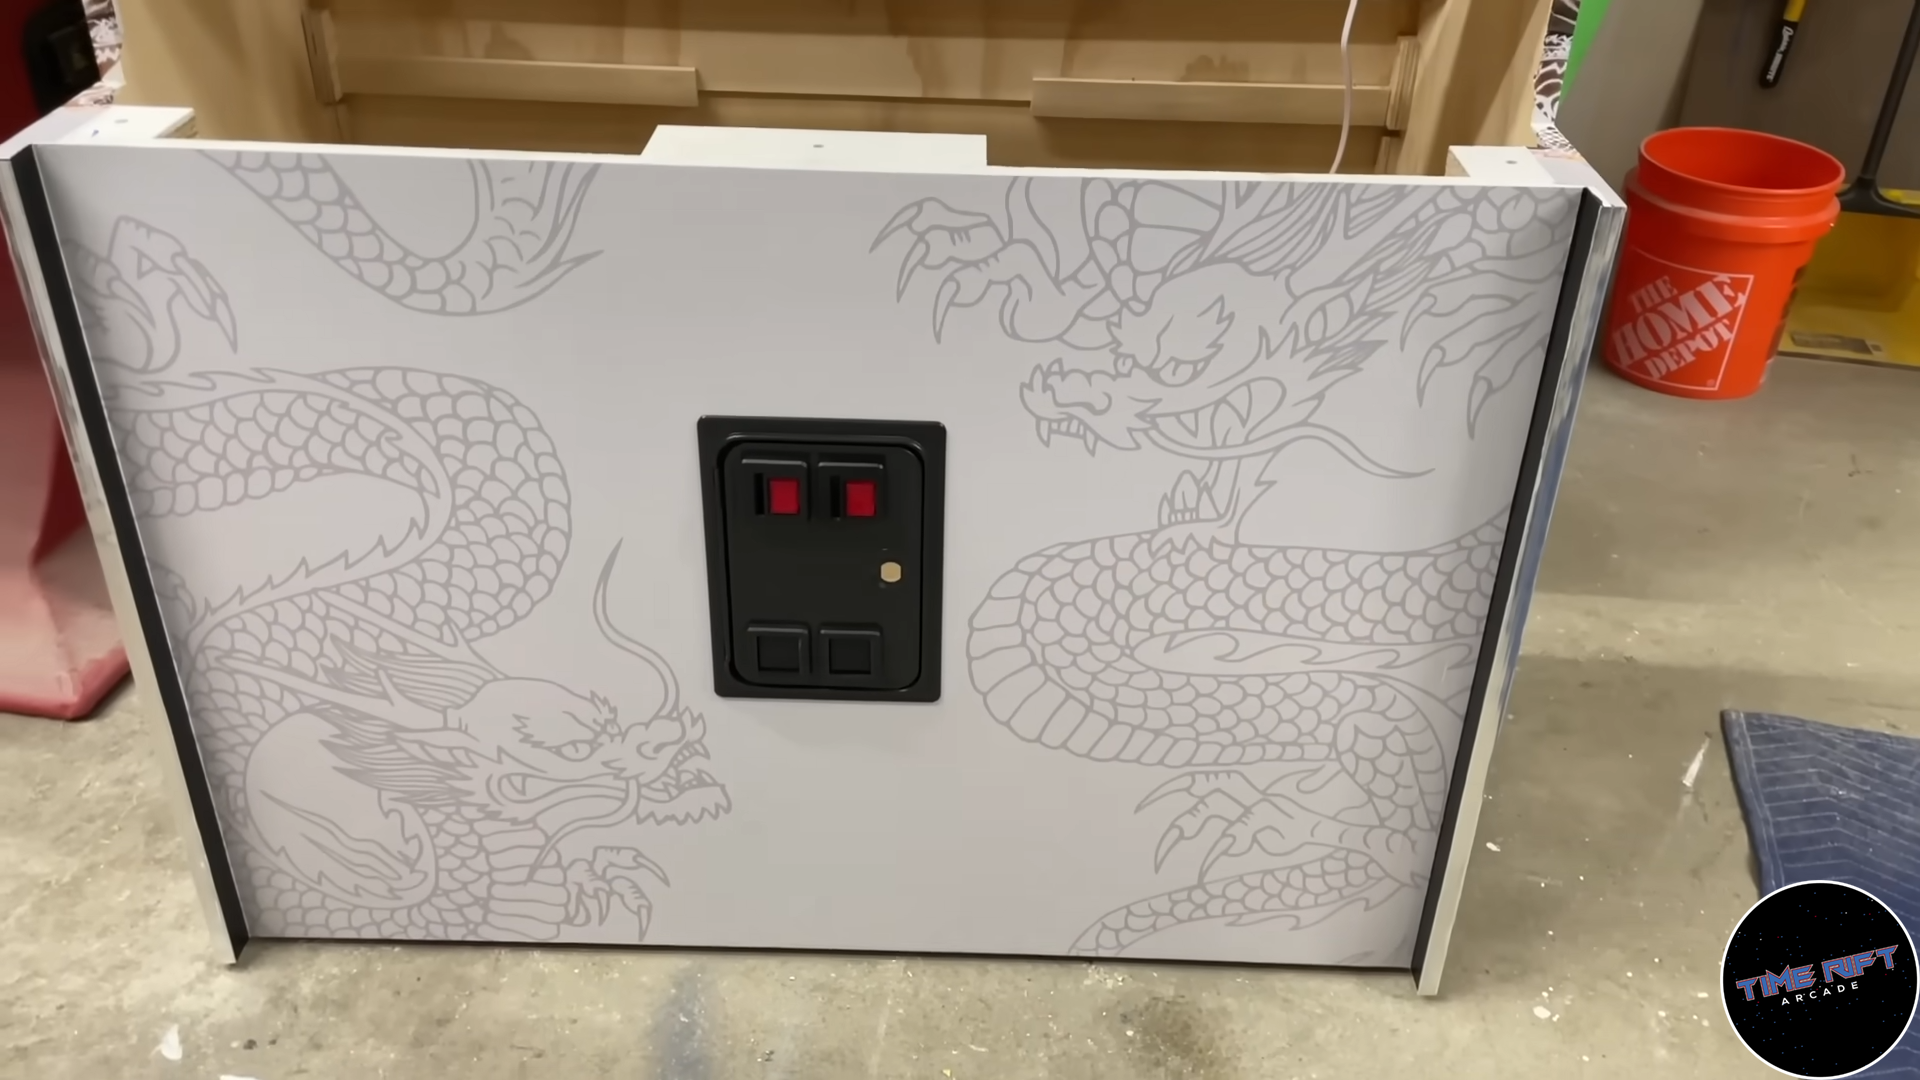
For the kick panel we did some cool dragons and I think they turned out amazing!
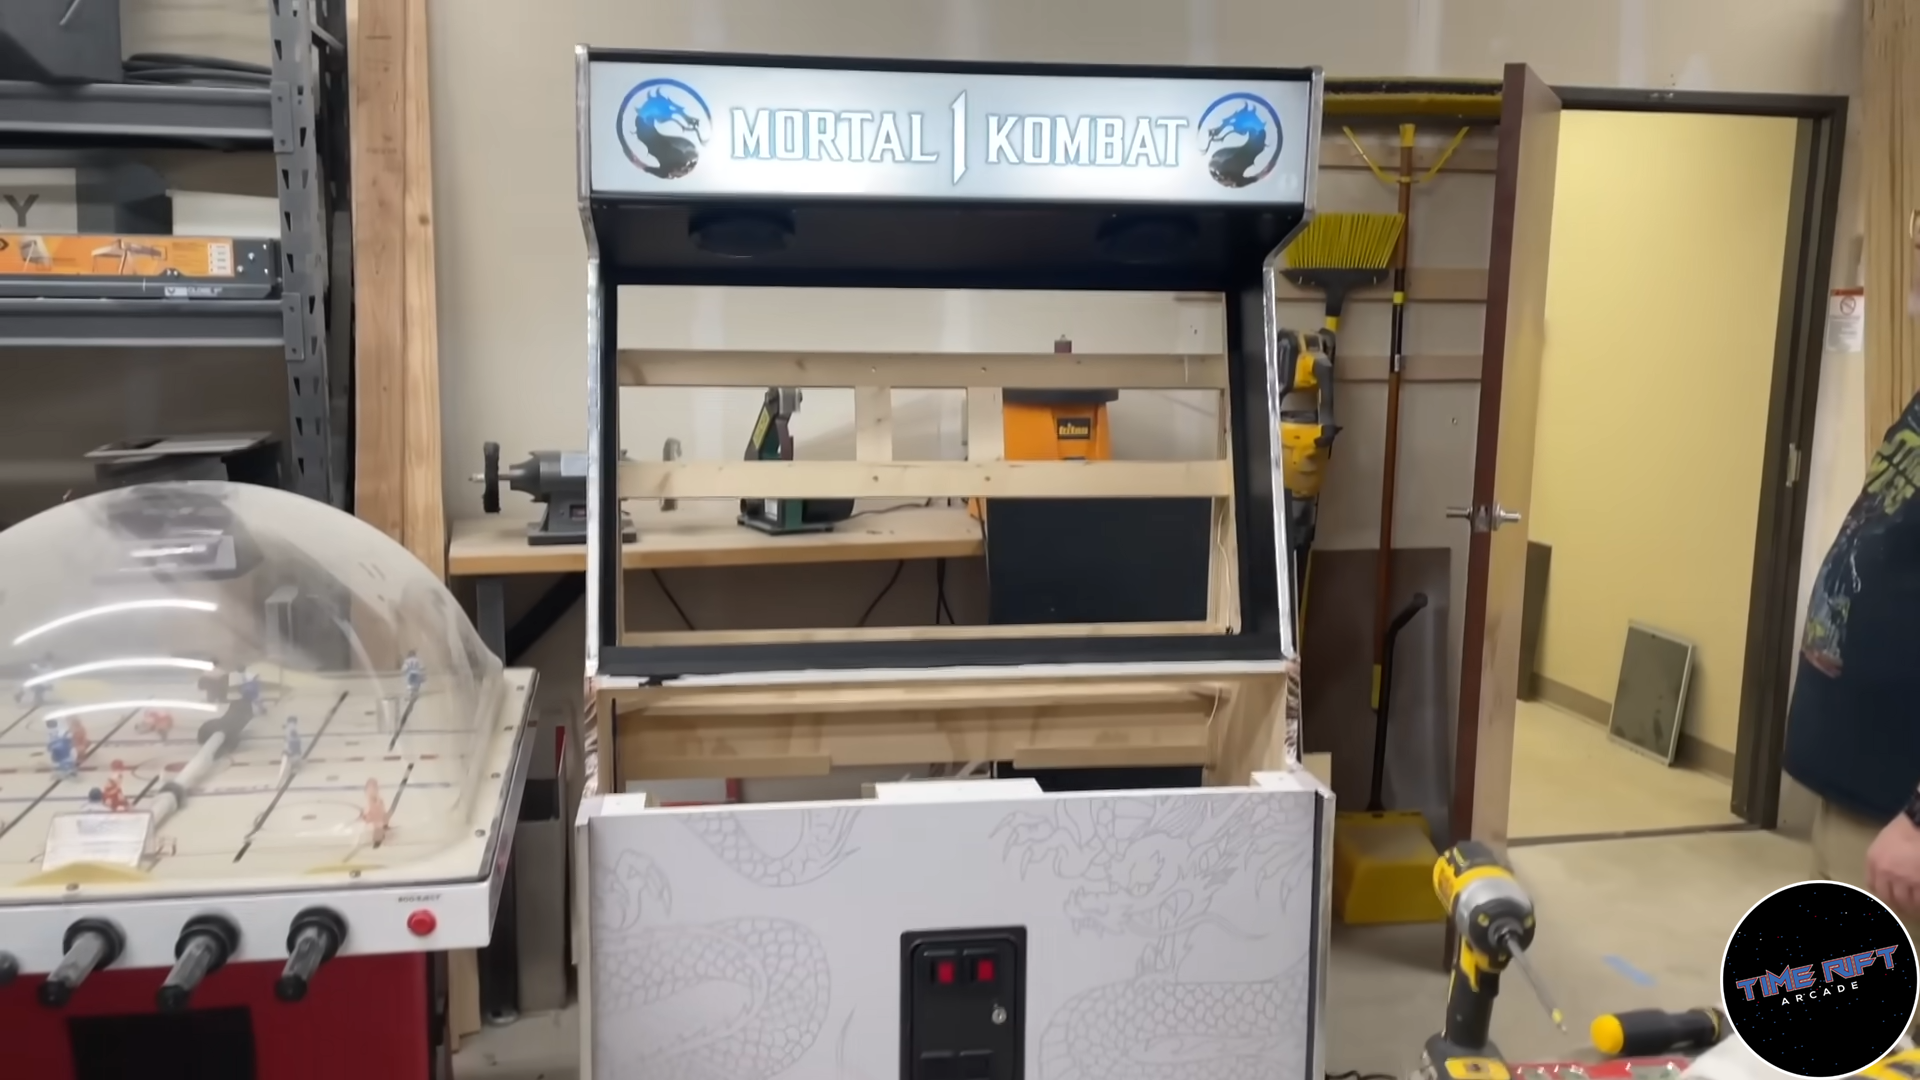
We also printed a super cool marquee for the cabinet, using the M1K font!
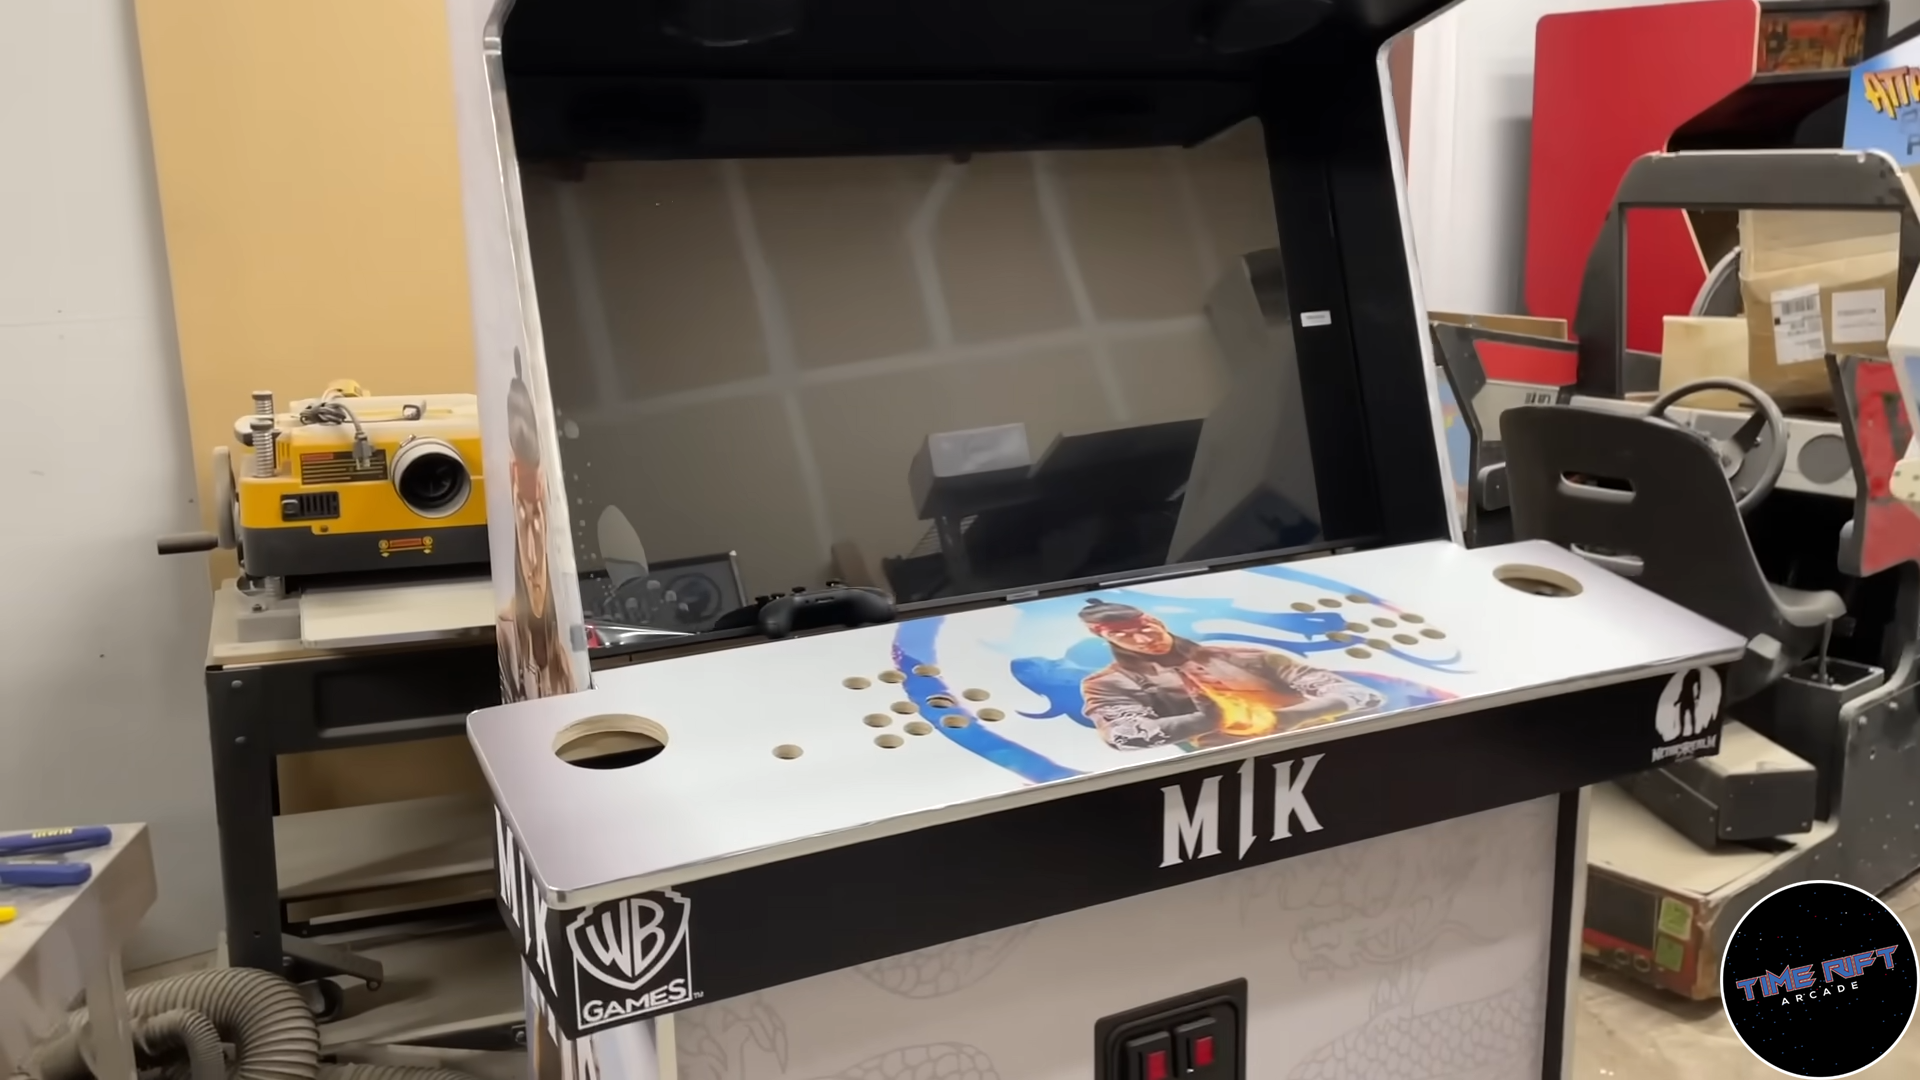
And finally, we put this super slick control panel. And man is it big! It’s absurdly huge. It’s so big in fact that we decided to put some cup holders in the side of it to hold your soda or beer (kind like Pack Man Battle Royale did).
It Turned Out Amazing
I have to tell you, this may be the most favorite of all the of the arcade builds I’ve done over the years. The game itself just has gorgeous graphics and colors. The cabinet turned out to be the same. I just love the chrome T-Molding too. The whole thing just pops. And it’s a super fun game to play too.
Hope you enjoyed the build and hope you come visit us at Time Rift Arcade or Electric Starship Arcade!

