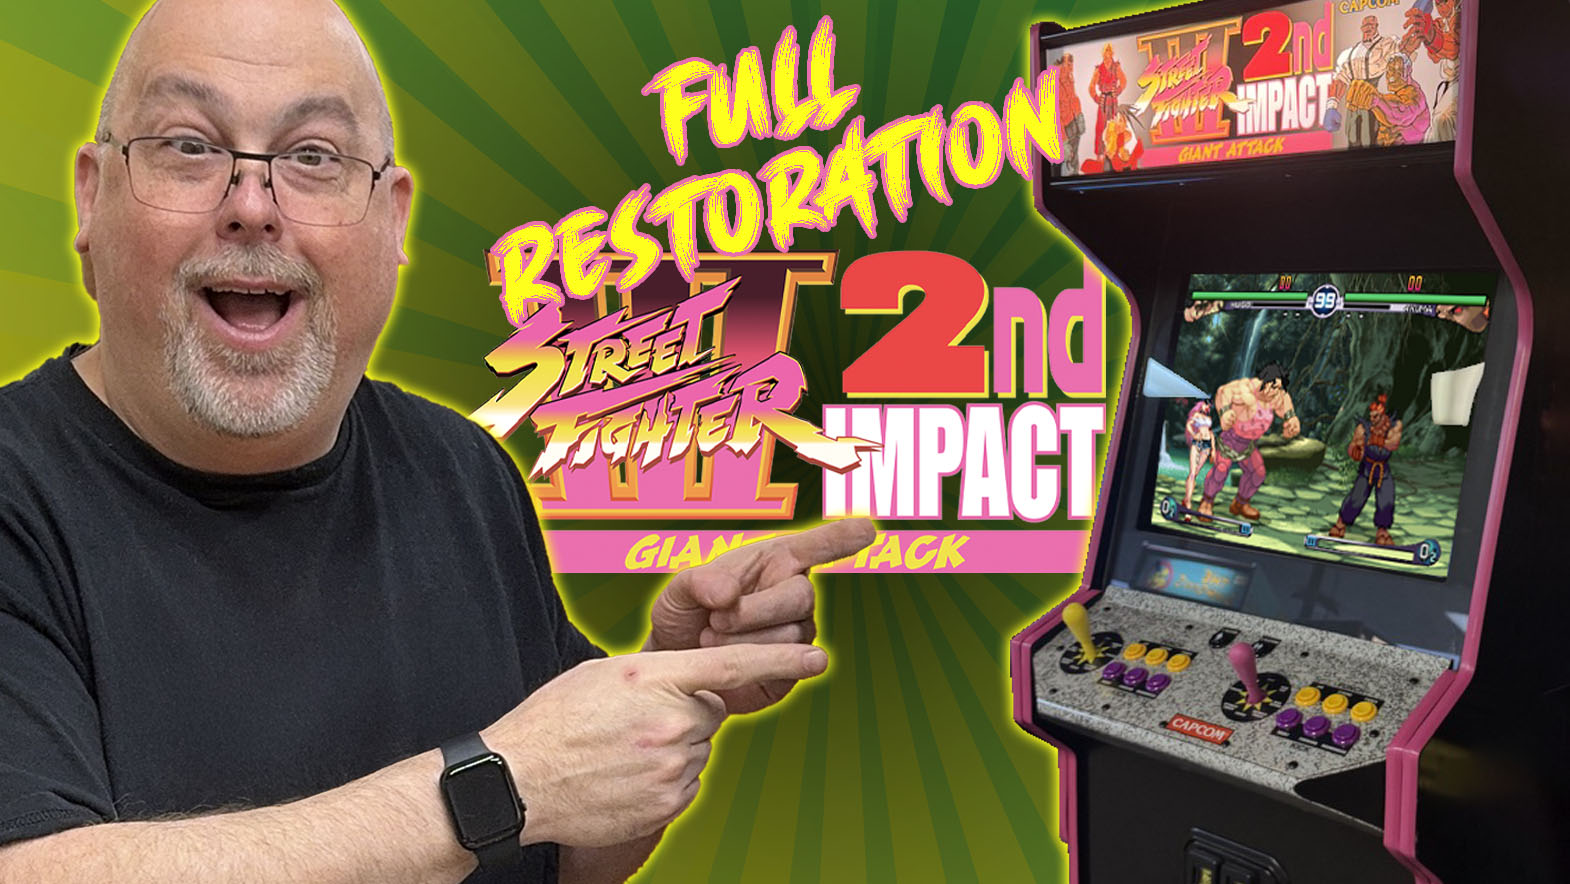
Follow along as Mike Murray restores an exceedingly rare Street Fighter III: 2nd Impact arcade game for the Time Rift Arcade in Bedford, TX. Mike Woods even makes an appearance to help with the giant 29″ Nanao monitor.
Street Fighter III: 2nd Impact is the second installment in the Street Fighter III series, released by Capcom in 1997. It features an expanded roster of fighters, improved gameplay mechanics like the inclusion of the EX specials and air parries, and stunning 2D graphics with smooth animations that set a new standard for the genre. With its refined combat system and the introduction of Hugo and other fan-favorite characters, it solidified its place as a classic in competitive arcade fighting games.
Watch the Street Fighter III: 2nd Impact Video
Intro to the Street Fighter III Auction Cabinet
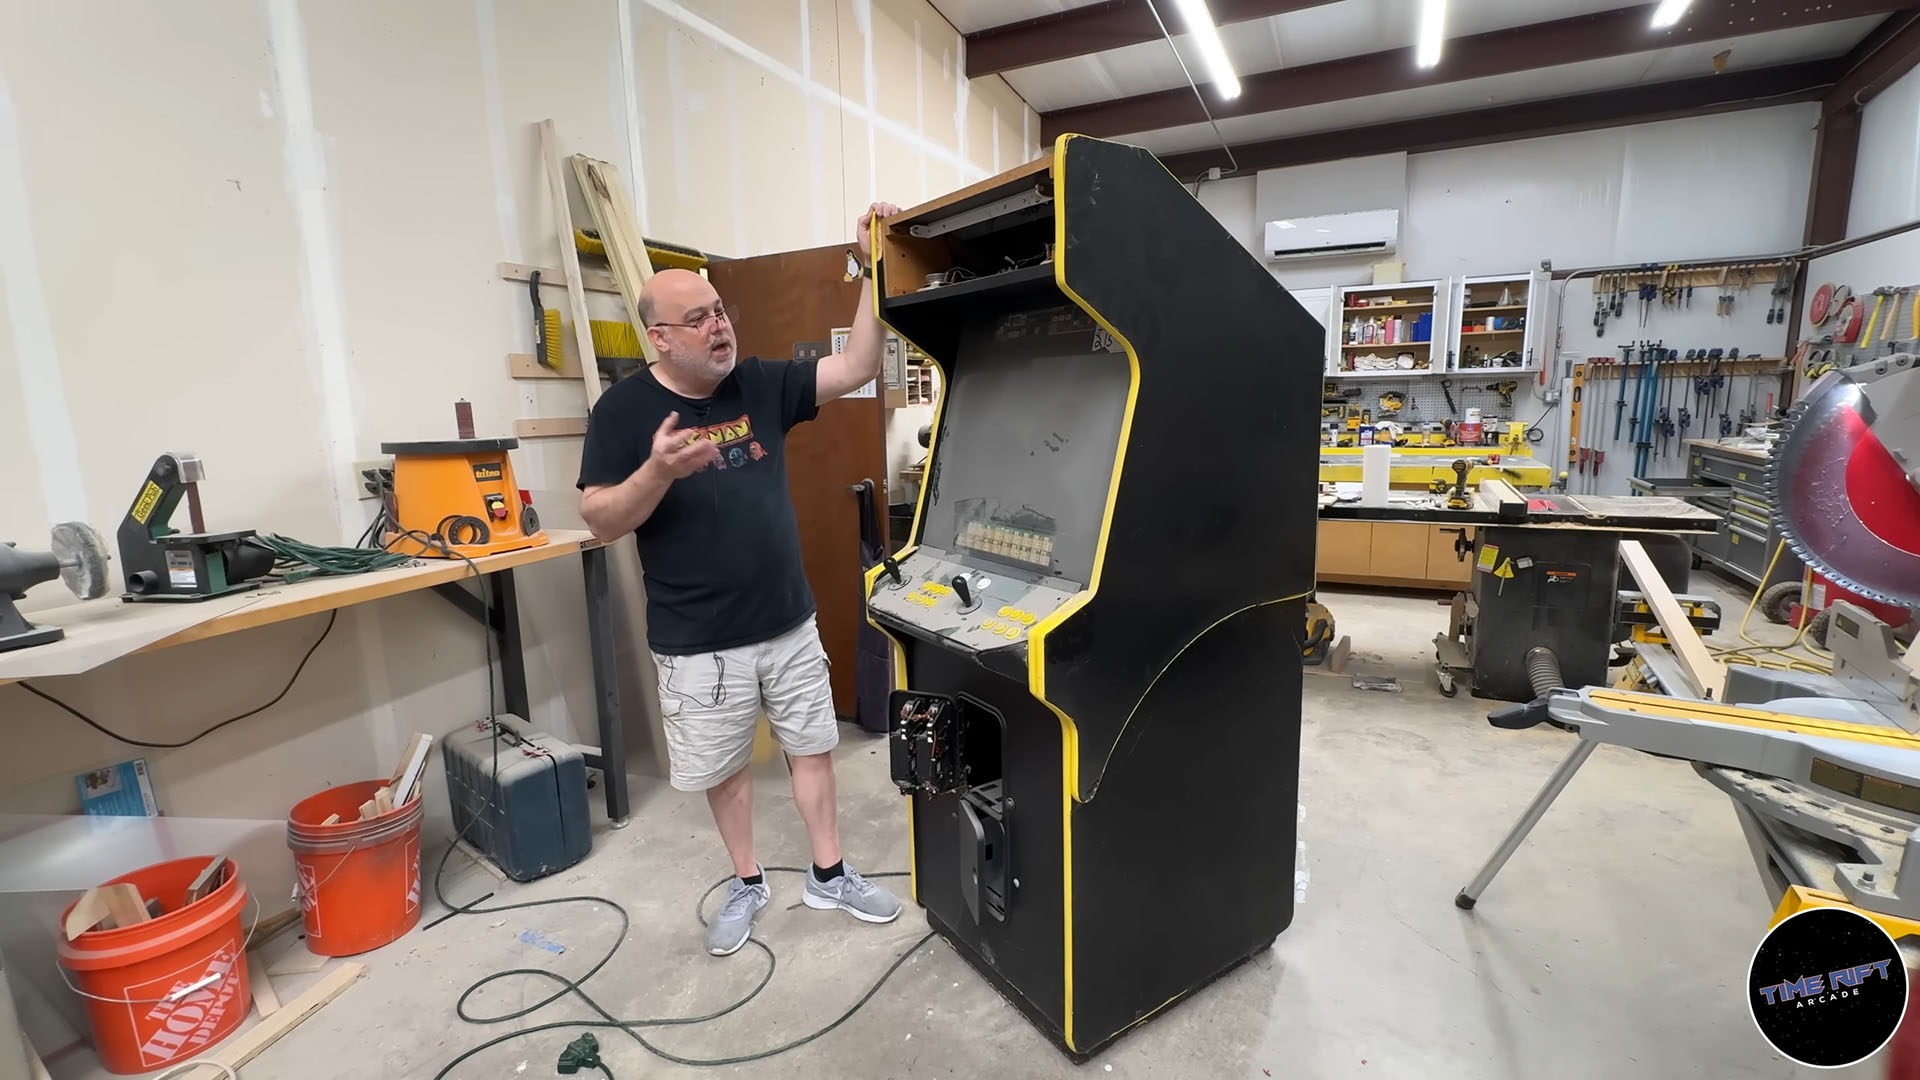
This game was bought from an auction company out of Kansas. At first I thought it to be a Dynamo cabinet of some kind, but after some investigation, I discovered it was a California Games Inc., Turbo cabinet.
Disassembling an arcade cabinet is sorta like opening a box of chocolates. You never know what you’re going to run into once you get inside. Every game has its unique history and quirks. I always open a game expecting the worst and hoping for the best!
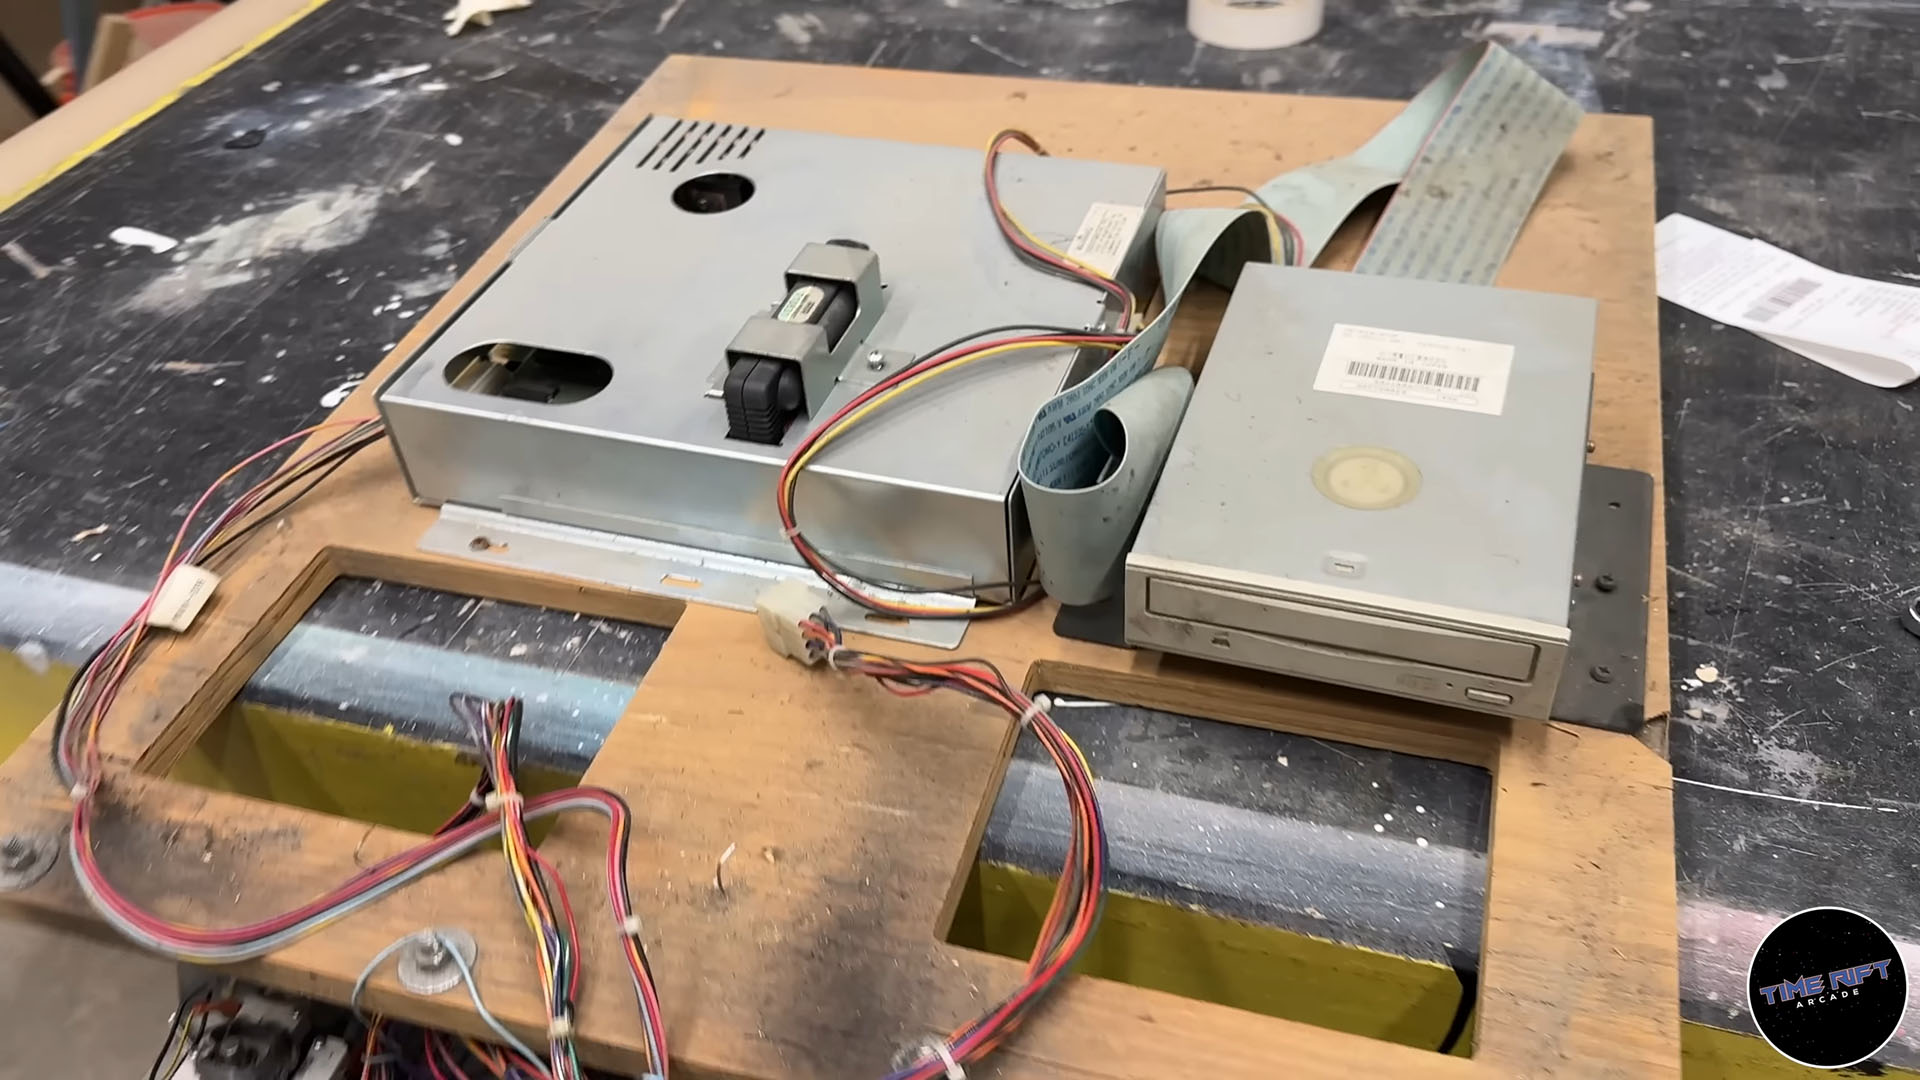
In this case, I am thrilled to find what looks like a mostly untouched CPS-3 board, cartridge and CD-ROM drive.
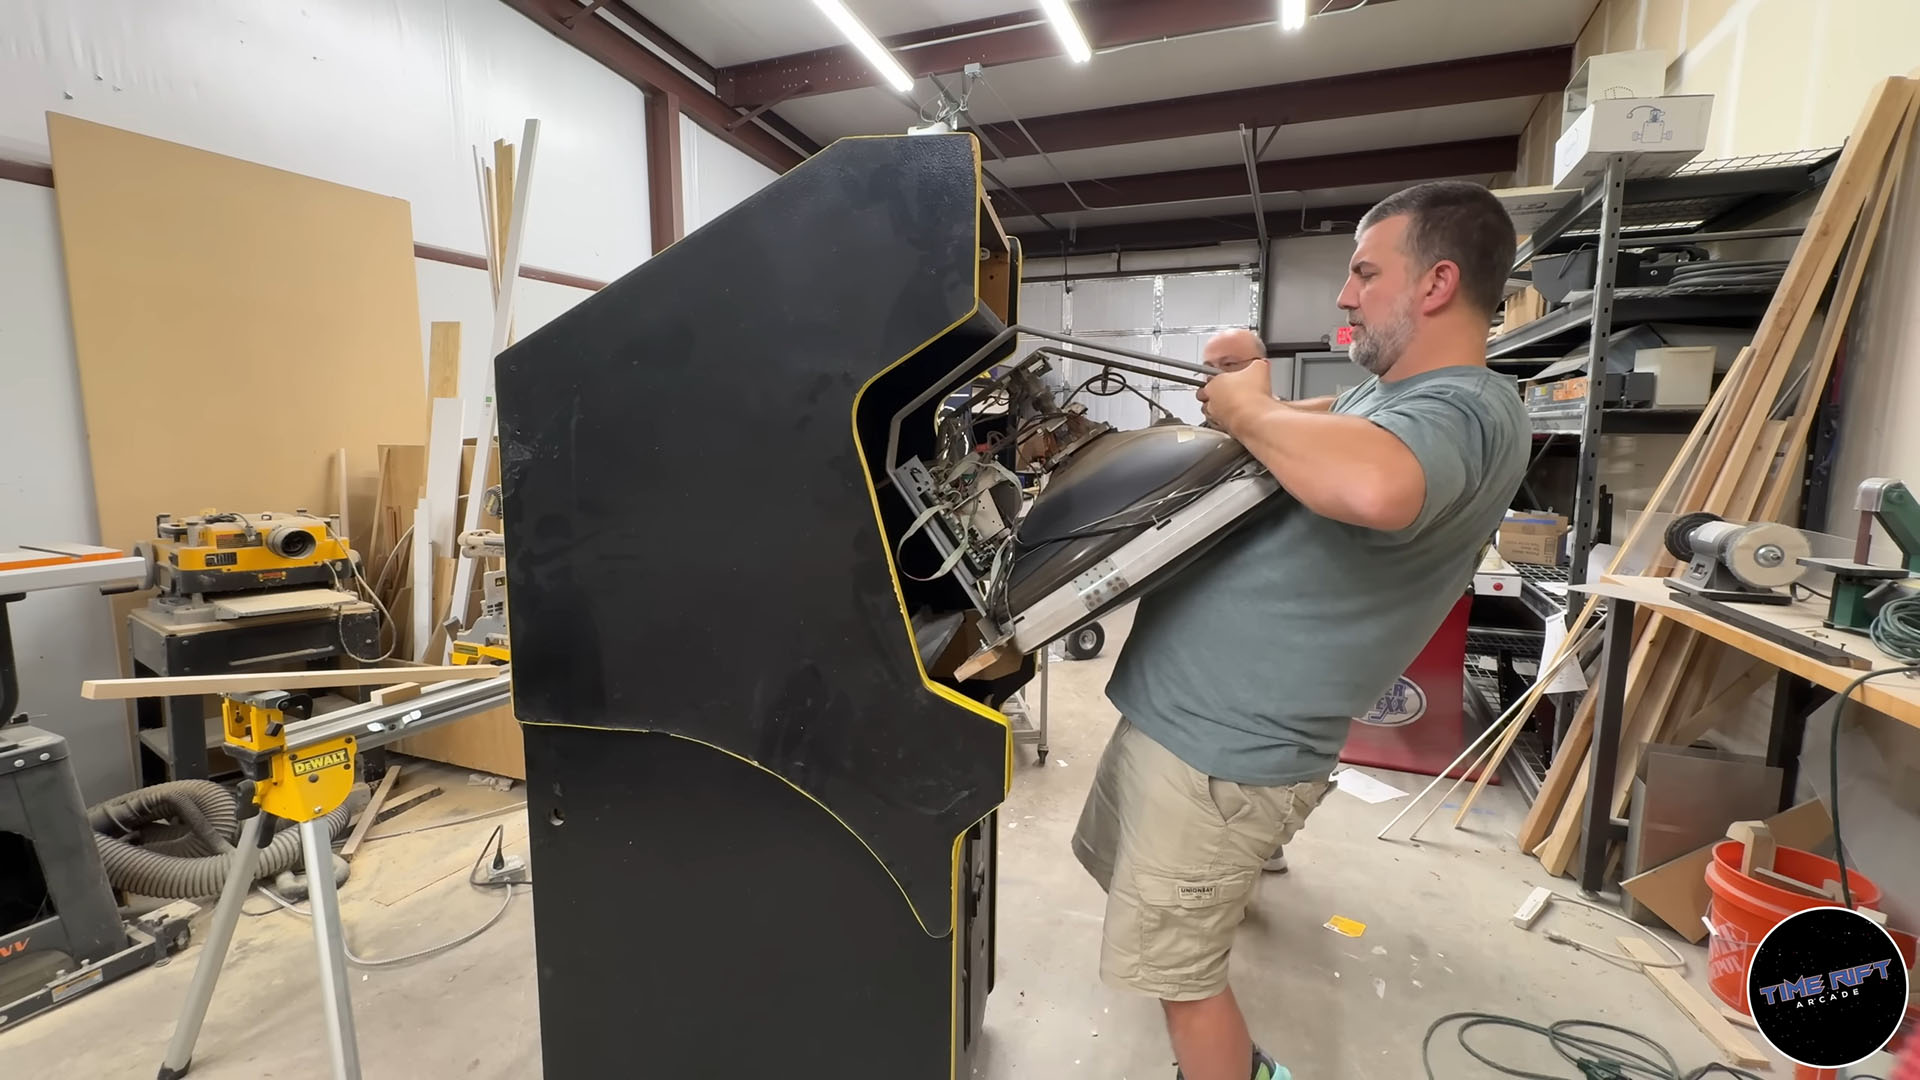
Mike Woods stopped by and helped me remove the monitor from the cabinet. It is ridiculously heavy! Looking at the markings on this beast it appears to be a 29” Nanao monitor.
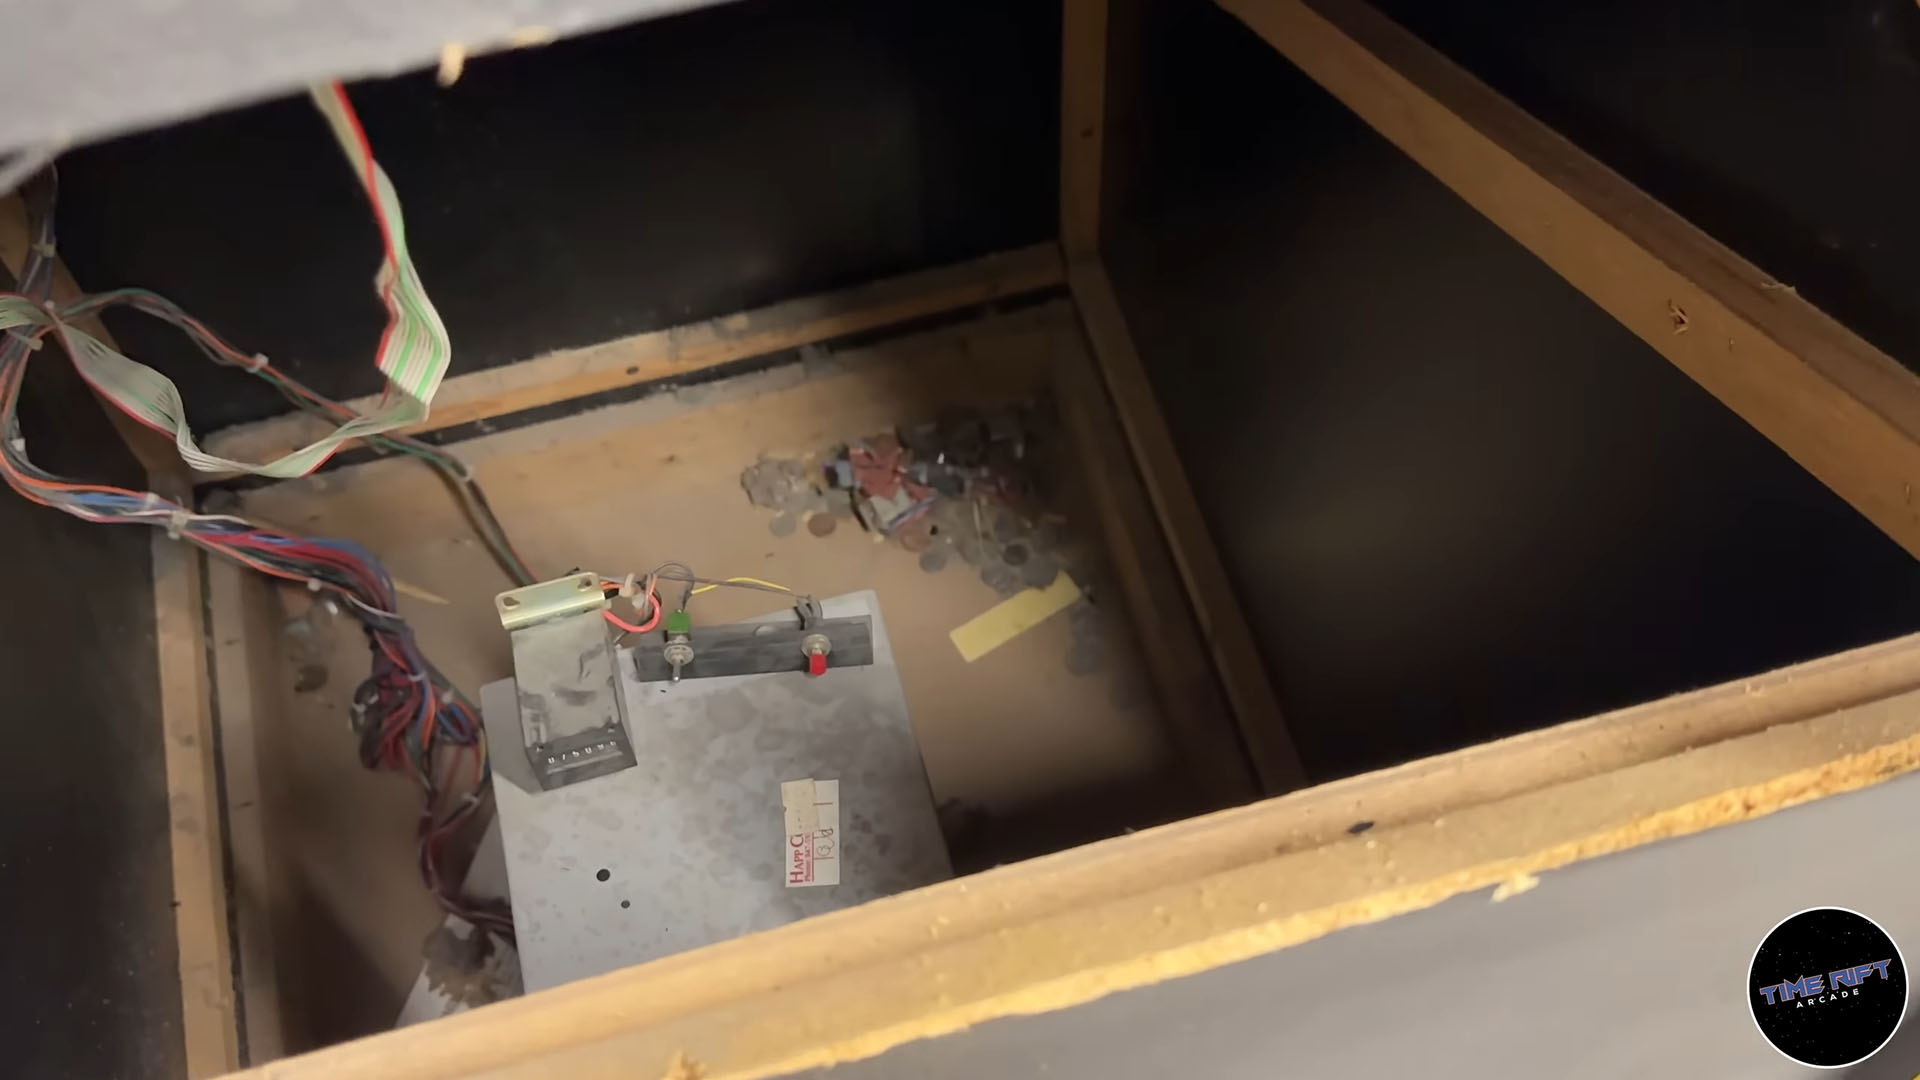
In the bottom of the cabinet is a huge pile of trash and money! Trash or treasure? You decide! More on this in a bit!
This nasty looking (not jus color, but condition) t-molding was applied by the auction company and it has to go. I’ve got something special in mind that I think you’ll appreciate. Read on!
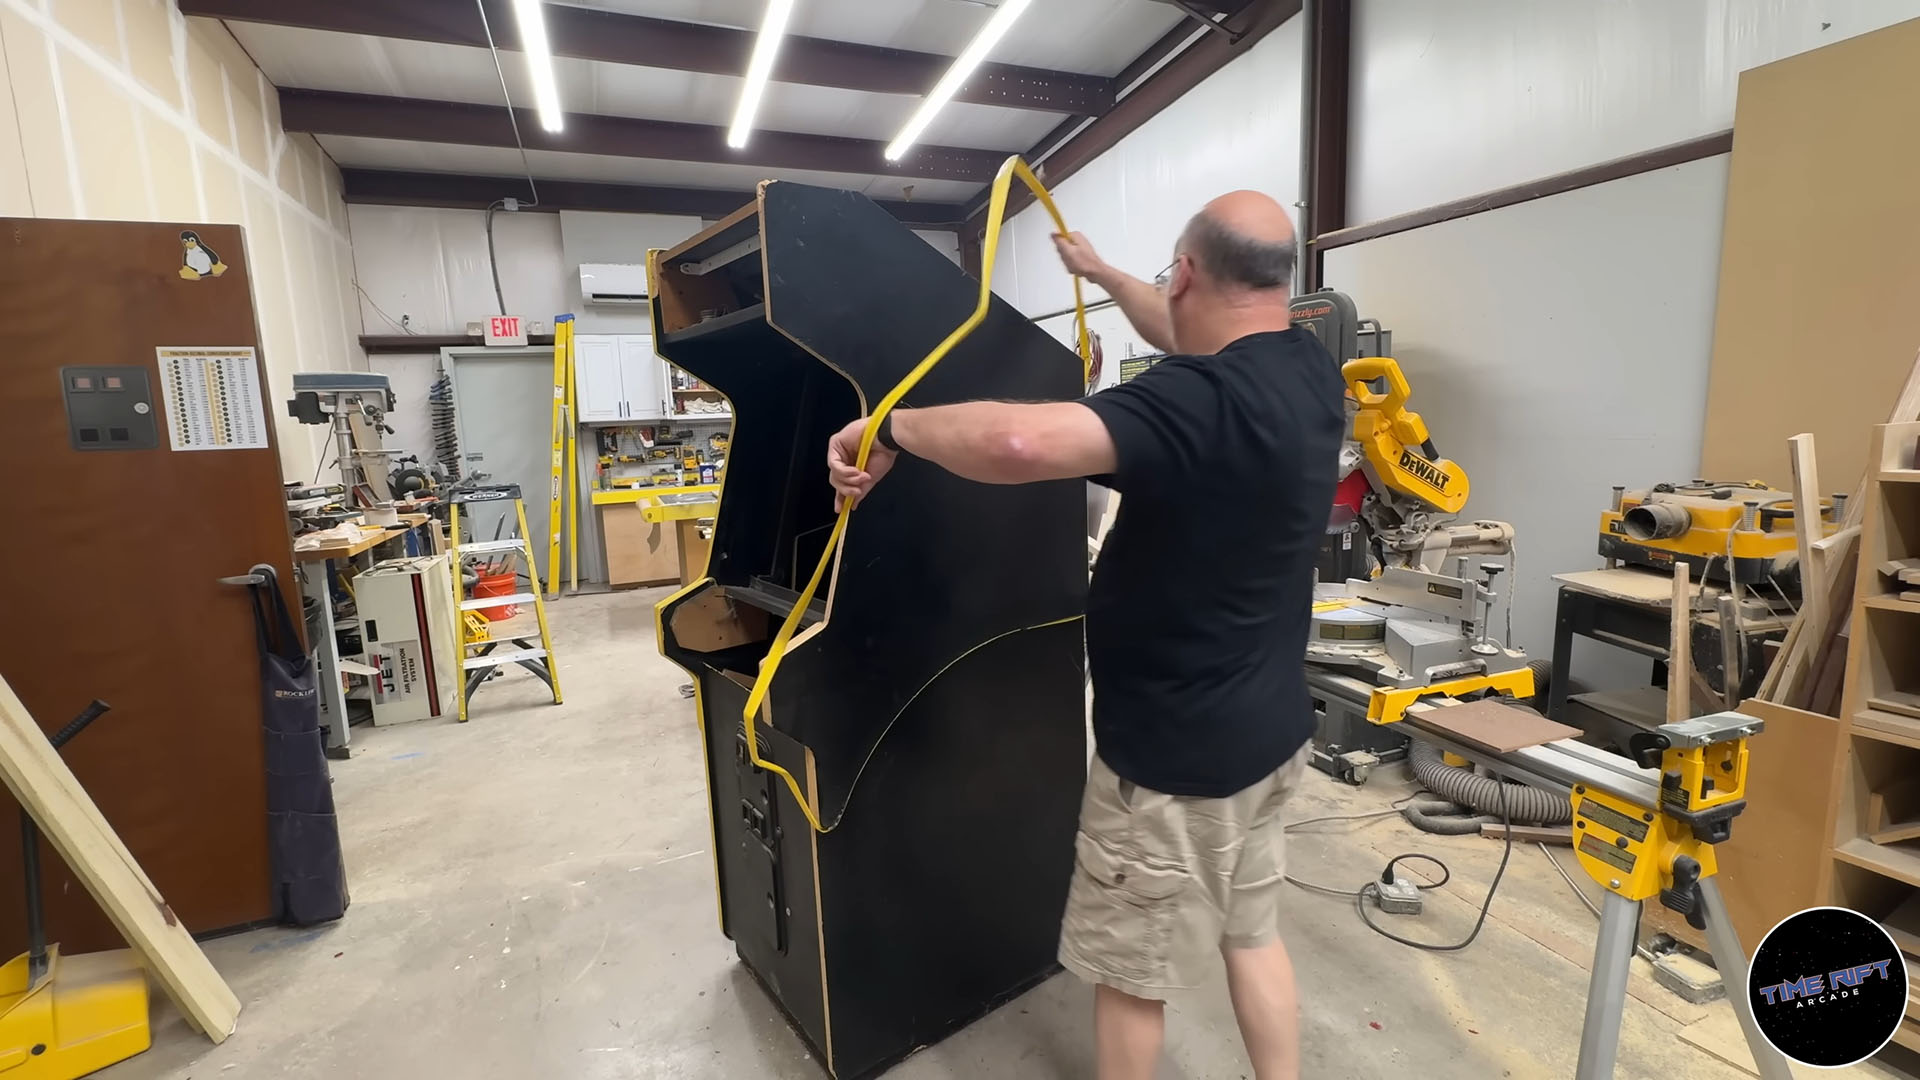
Someone tried to pry the coinbox out of this game at some point. I’ll fix that up and repaint it. This is a really common issue with arcade games. Jerks try to break into them for the money. Usually finding nothing because the money would have most likely been removed daily.
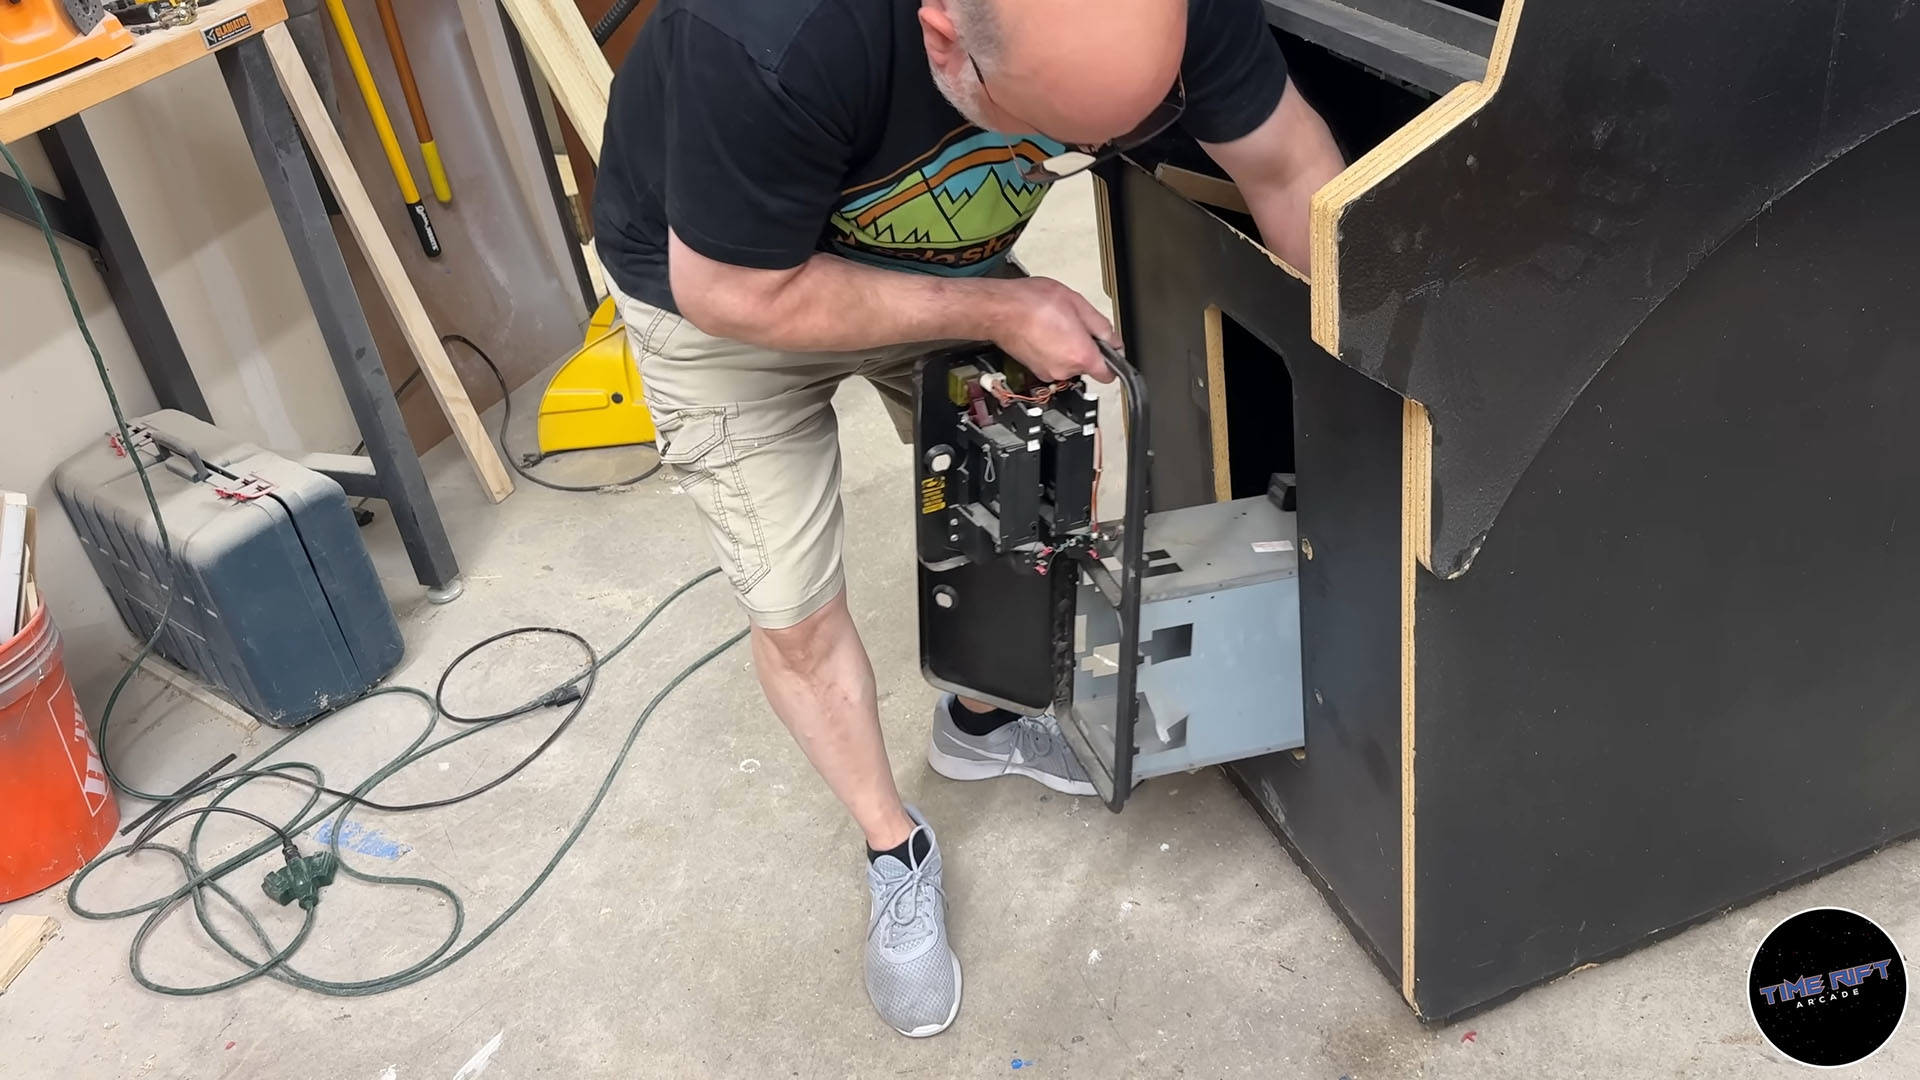
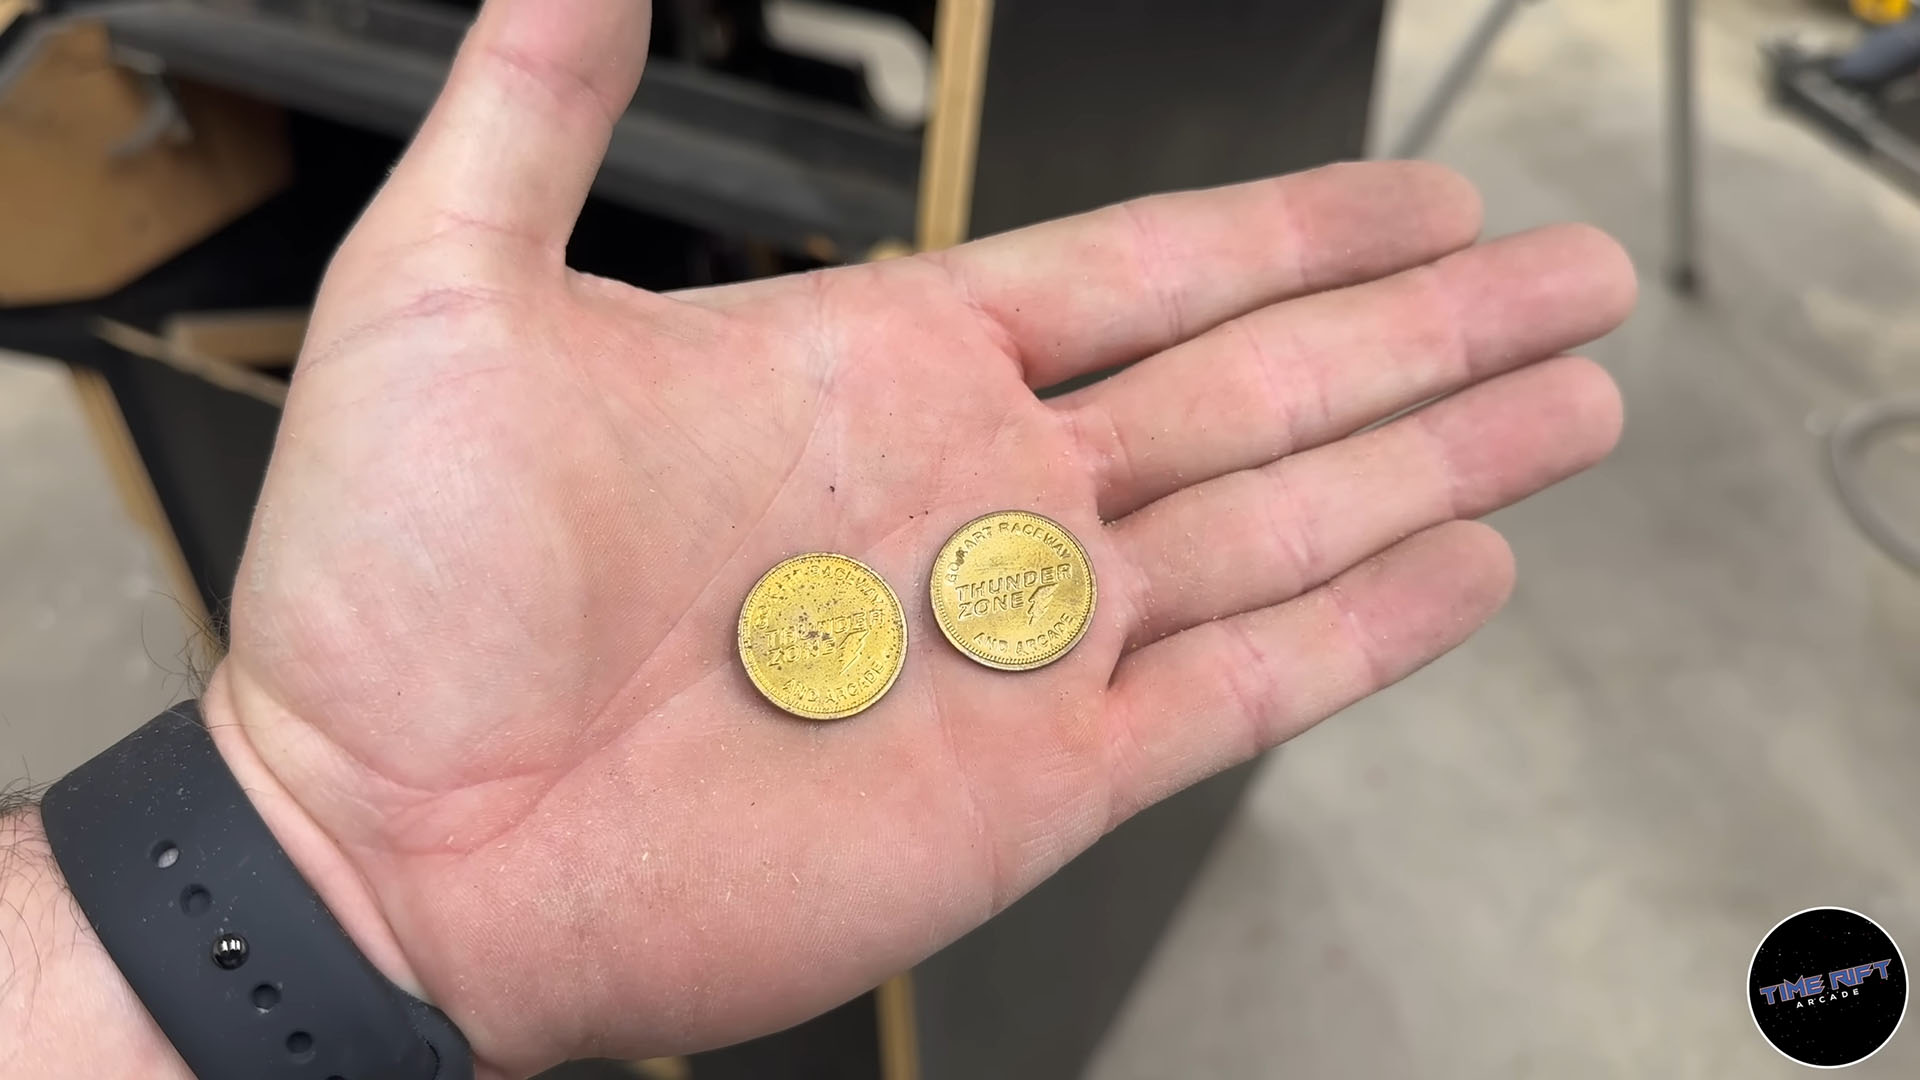
Most of the money in the cabinet turned out to be dimes, but the cabinet was also full of tokens from a place called Thunderzone GoKart Raceway.
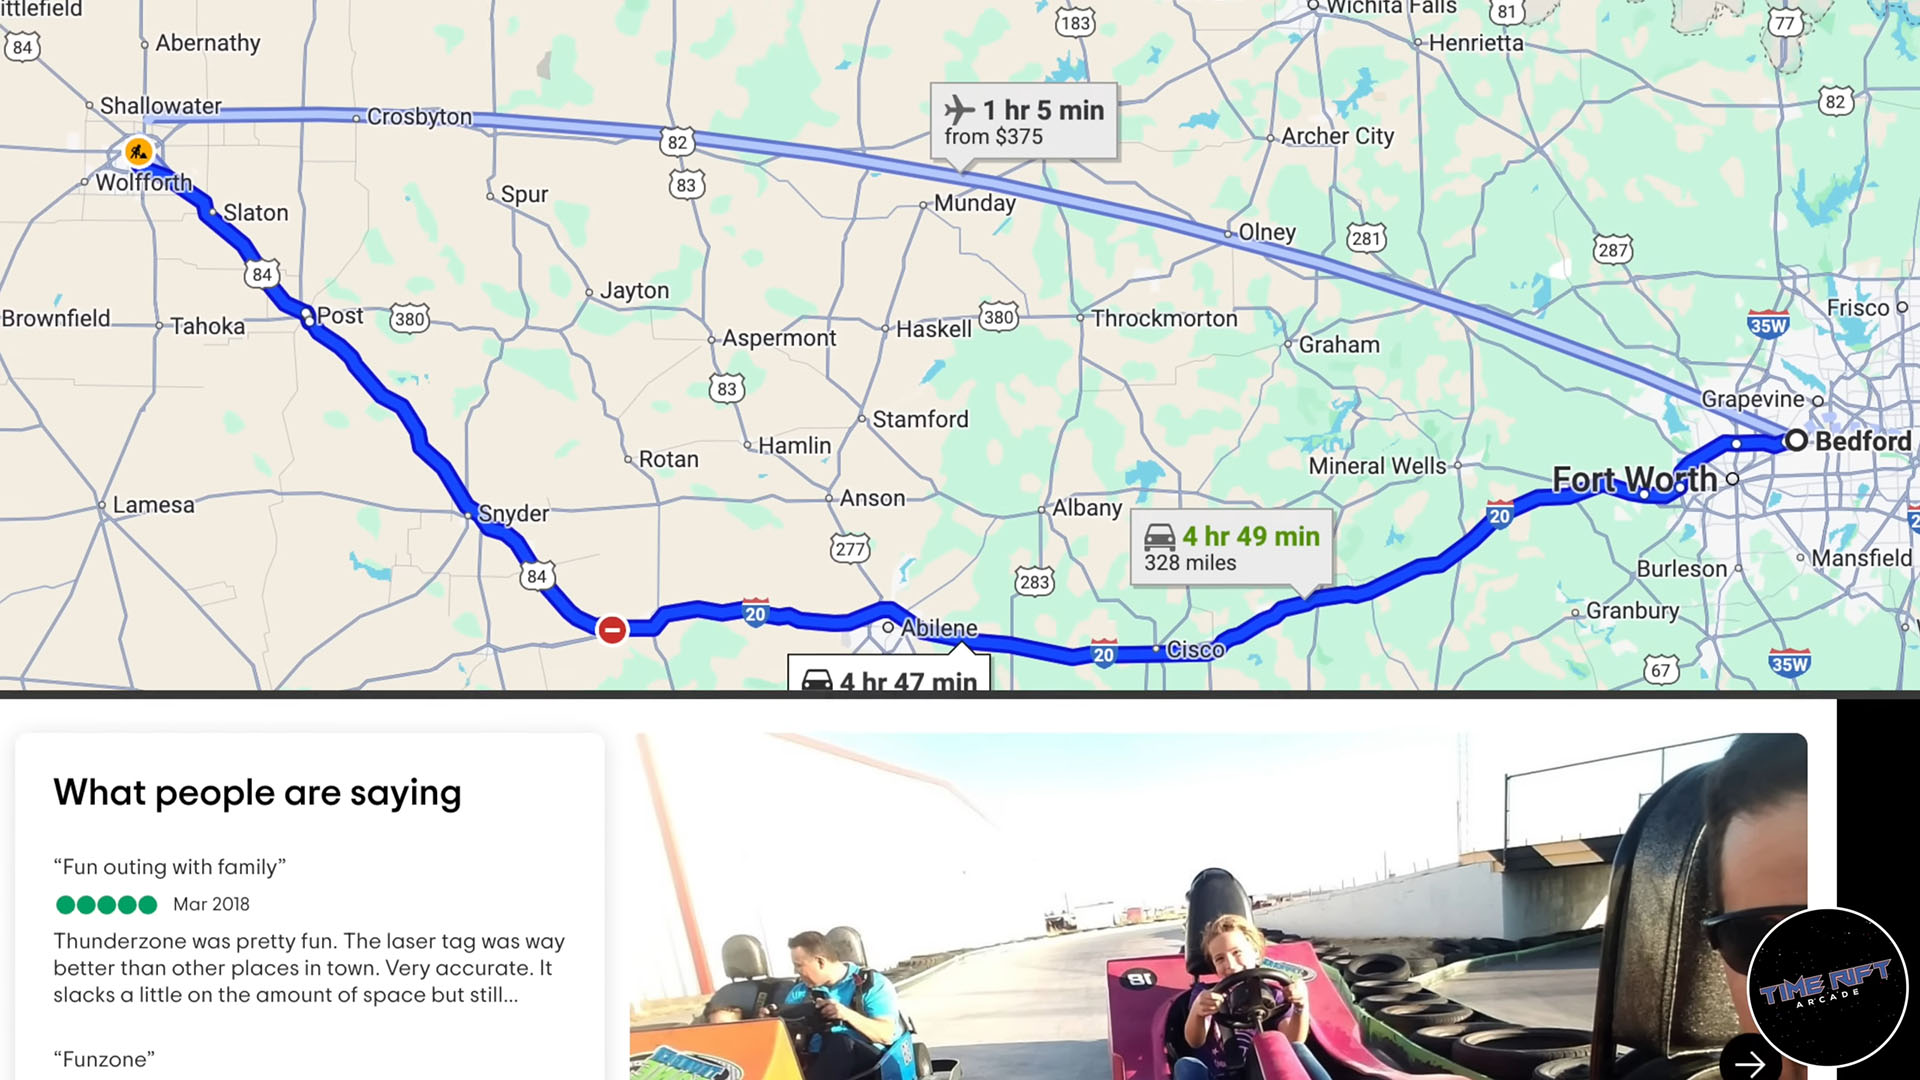
Doing some Googling, it looks like Thunderzone is now out of business, but was located about 5 hours west of the Time Rift Arcade in Lubbock Texas. Too bad it closed down, it looked like a fun place!
I went ahead and vacuumed out all of the rats nests that were left inside the cabinet and then got work sanding the kick panel.
This cabinet had lock bars over the coin doors. Makes sense, as we can tell it’s been broken into before, but I hate the big holes it leaves. So we’re going to fill those in with bondo and make the front of the cabinet clean again.
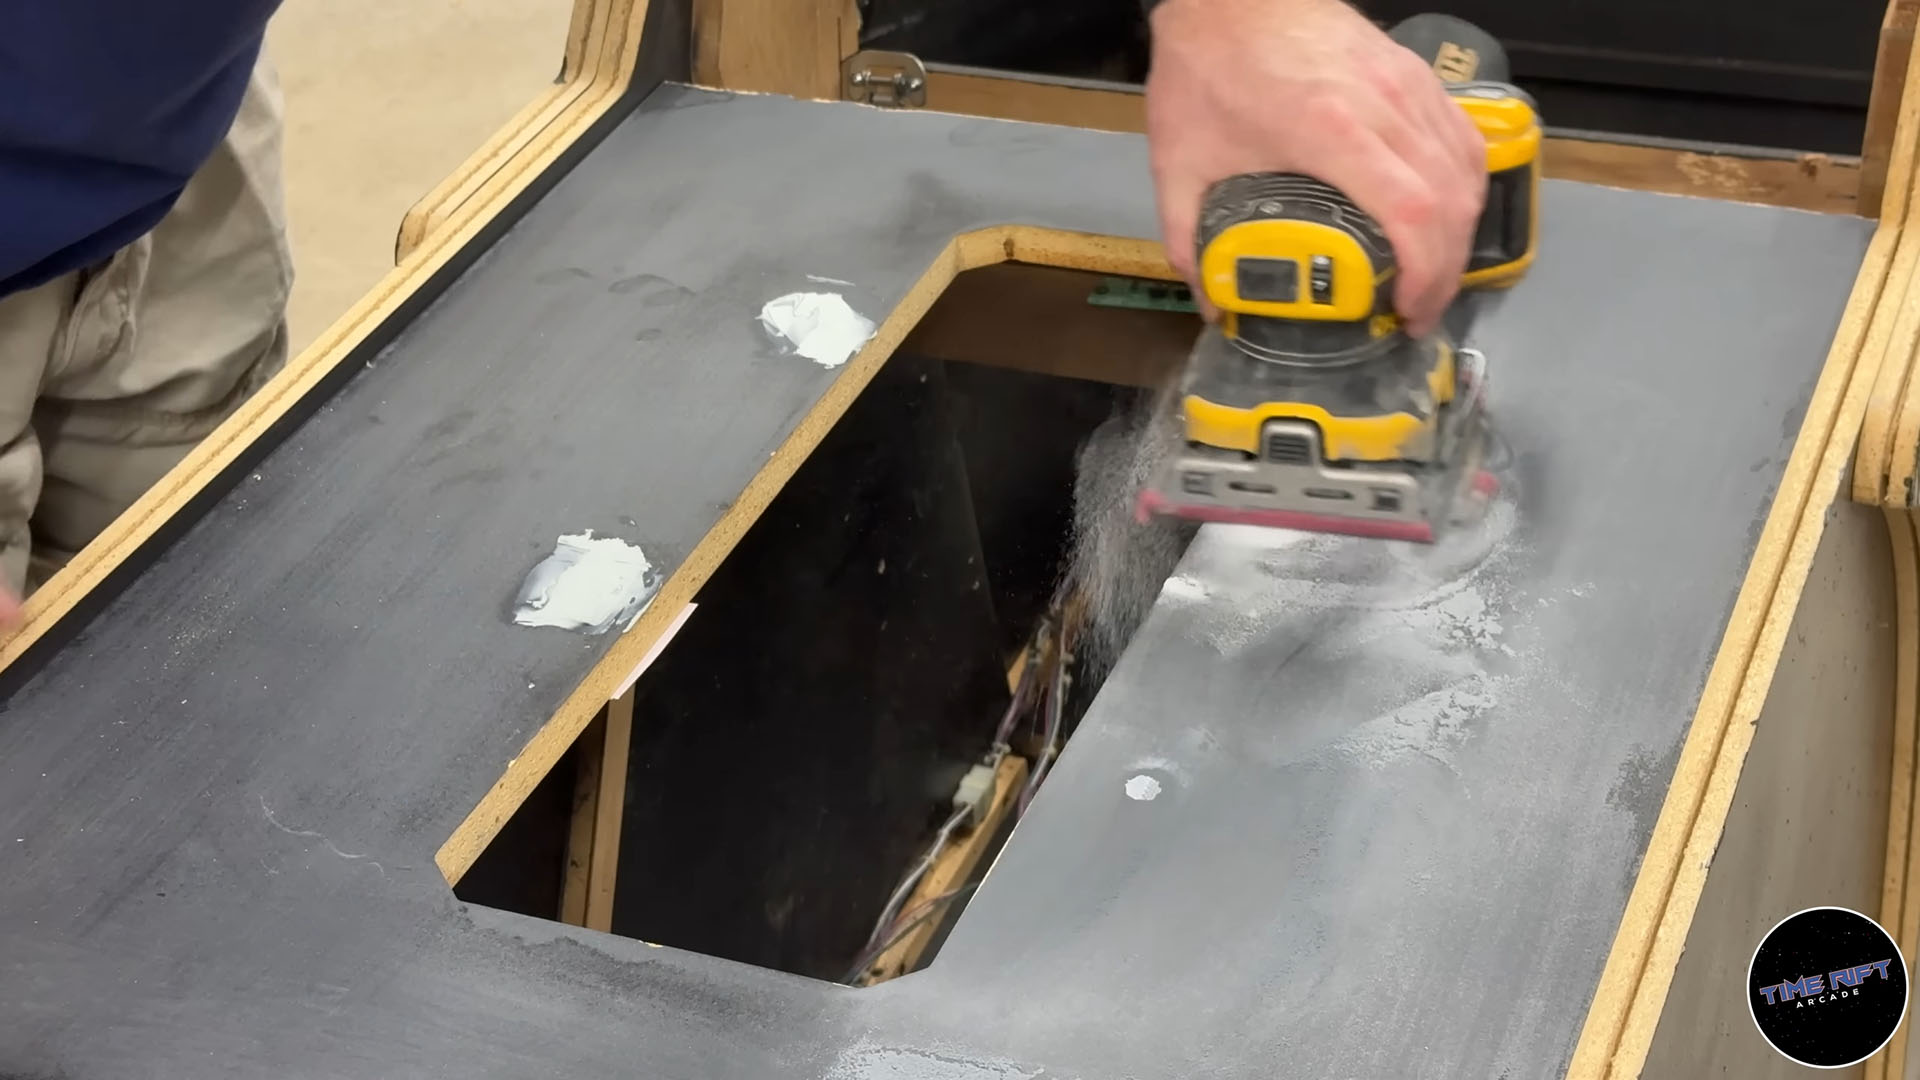
The cabinet has also been dropped at some point, and the corners are busted out. This side is the worst, but both sides need repair.
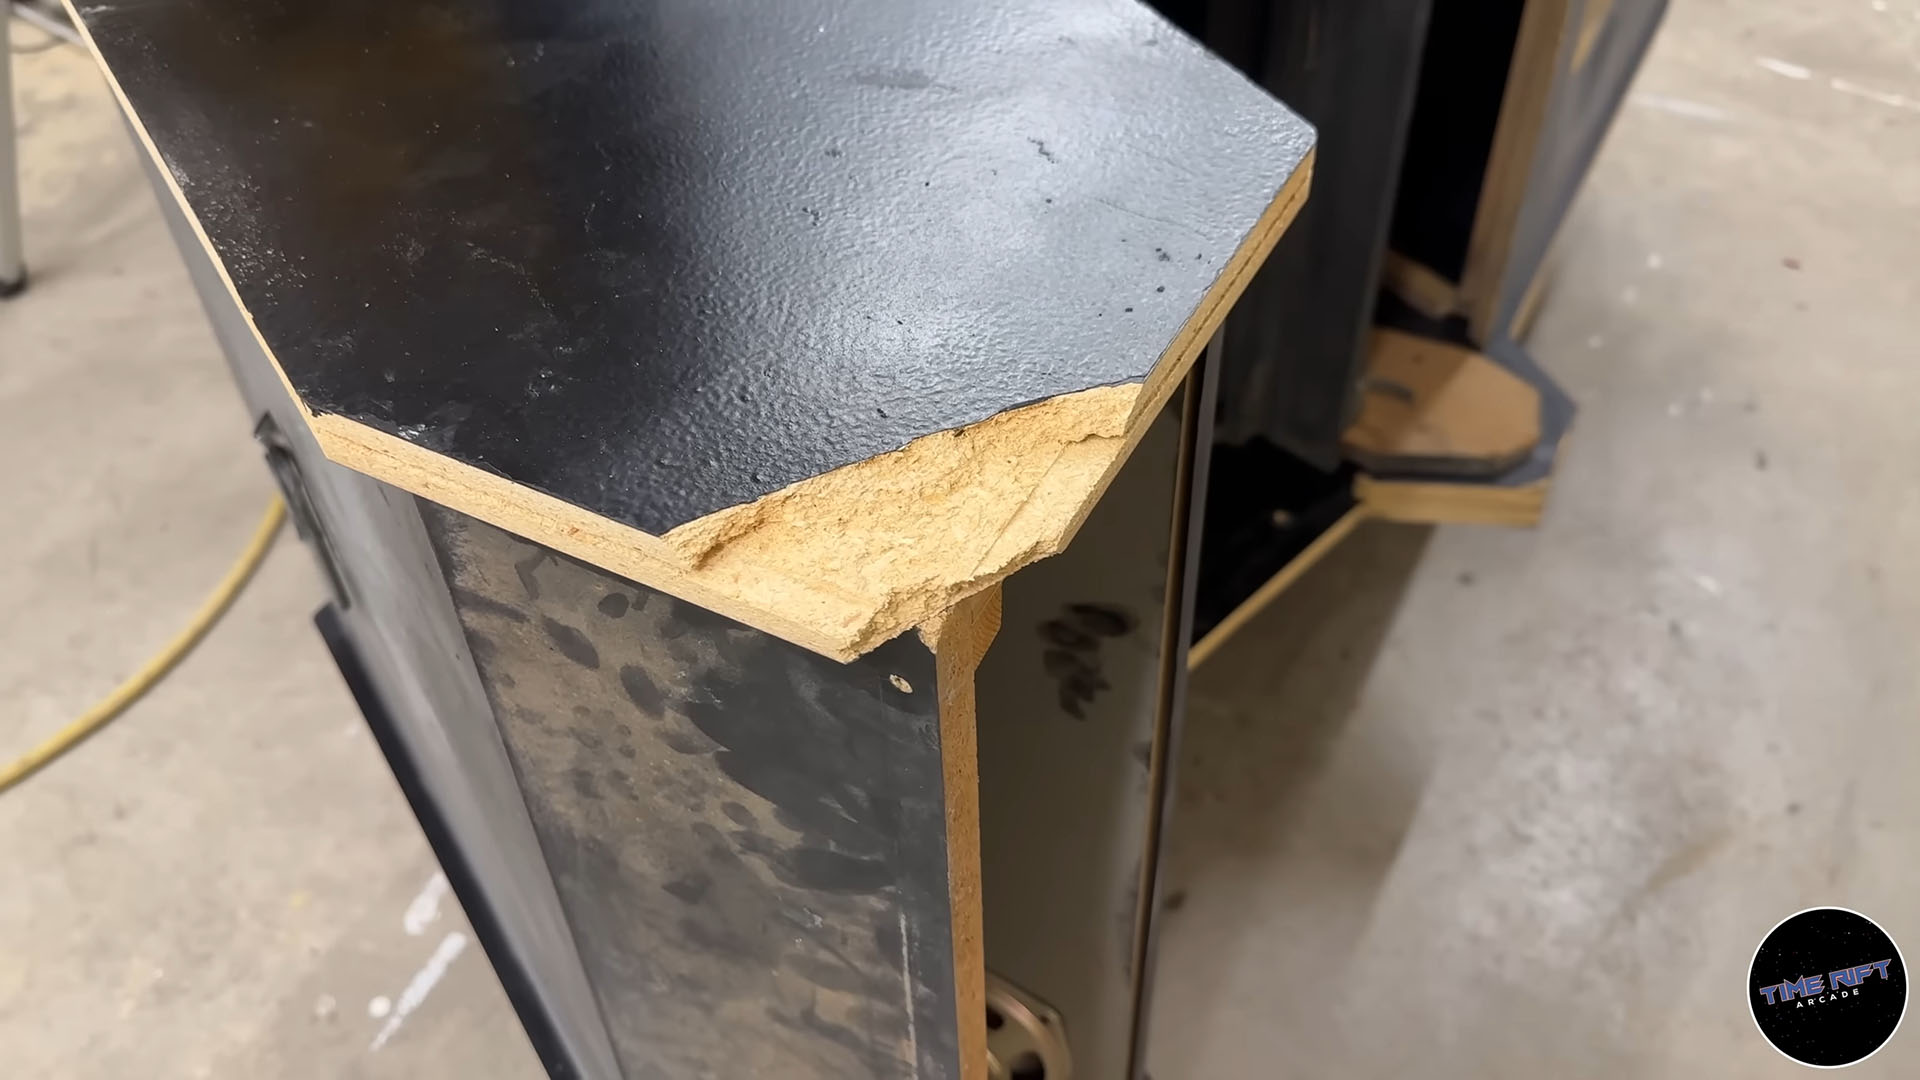
In this case, I am going to just saw off the broken area and replace it with an entirely new piece of wood. After attaching the new wood section, I’ll just bondo in the gaps to make it seamless again. A little sanding down to 220 grit and you’ll never be able to tell it was repaired.
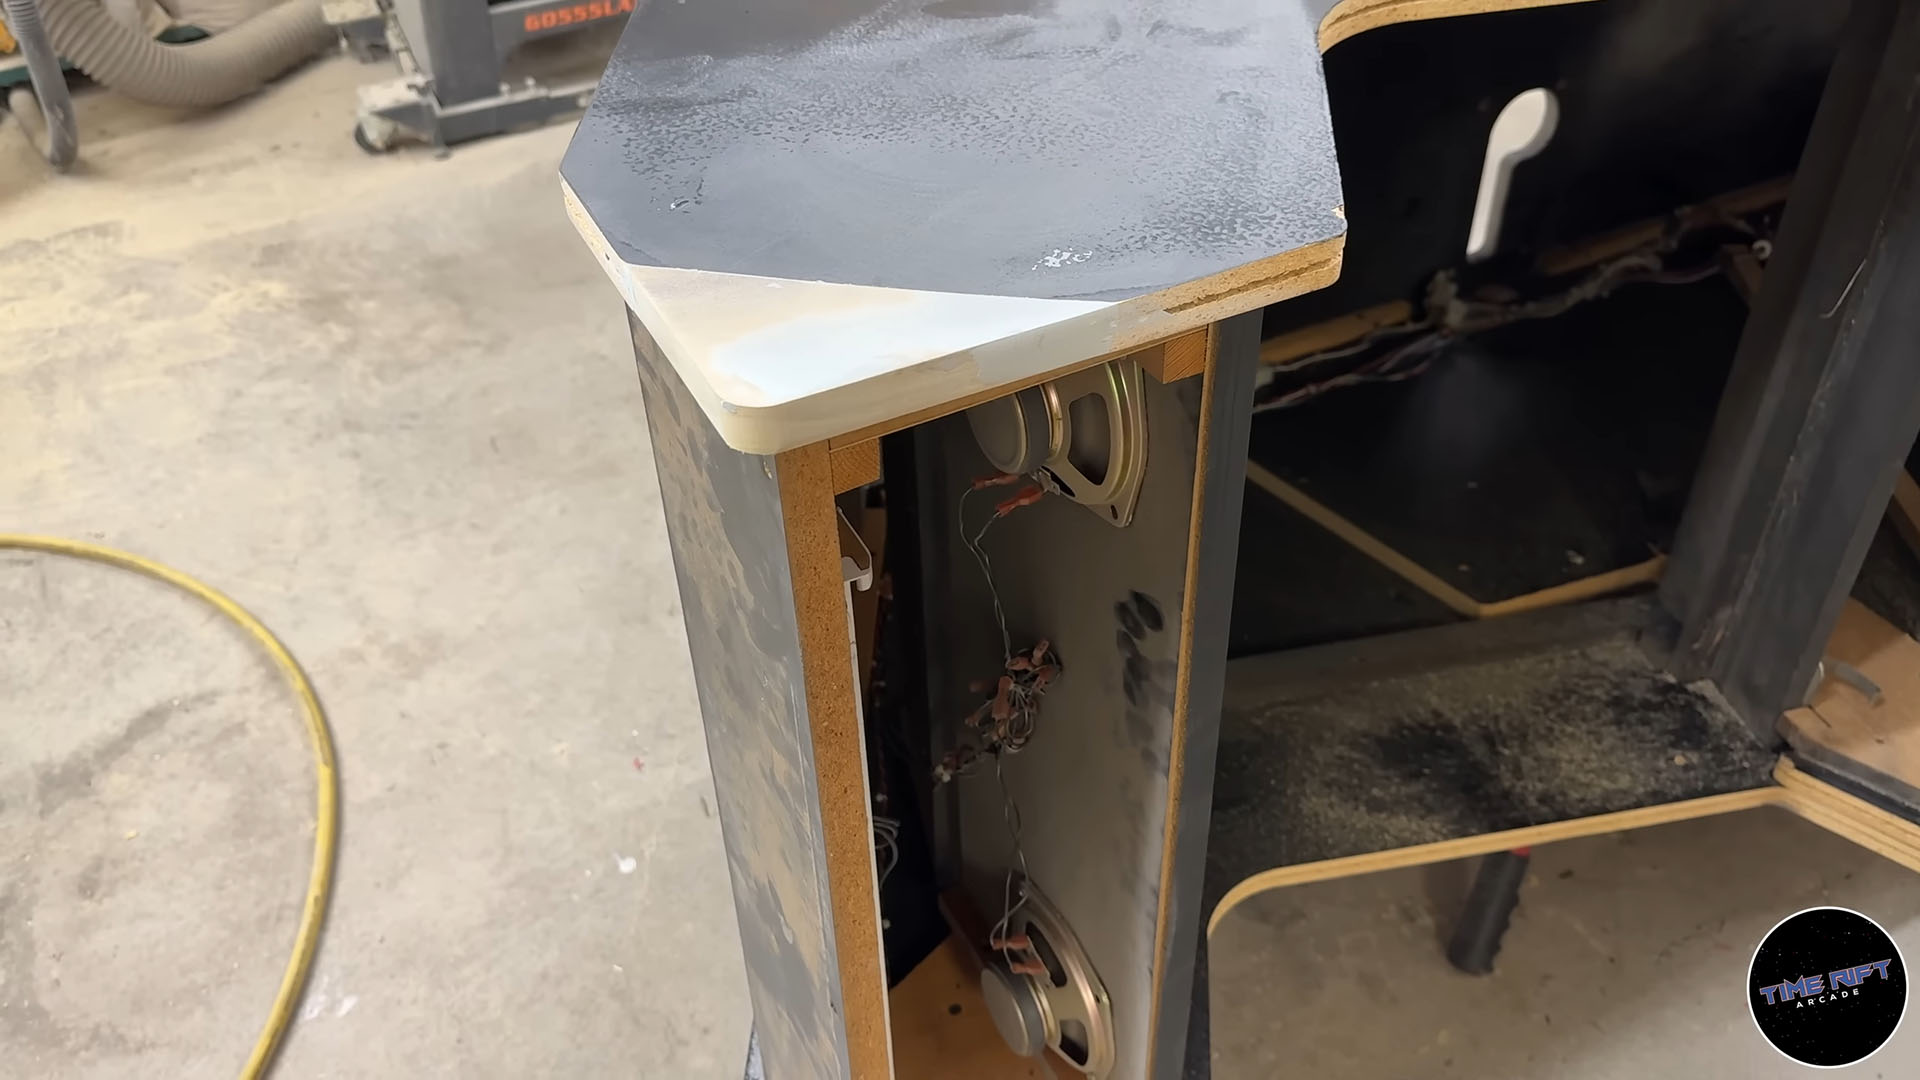
Painting the Cabinet
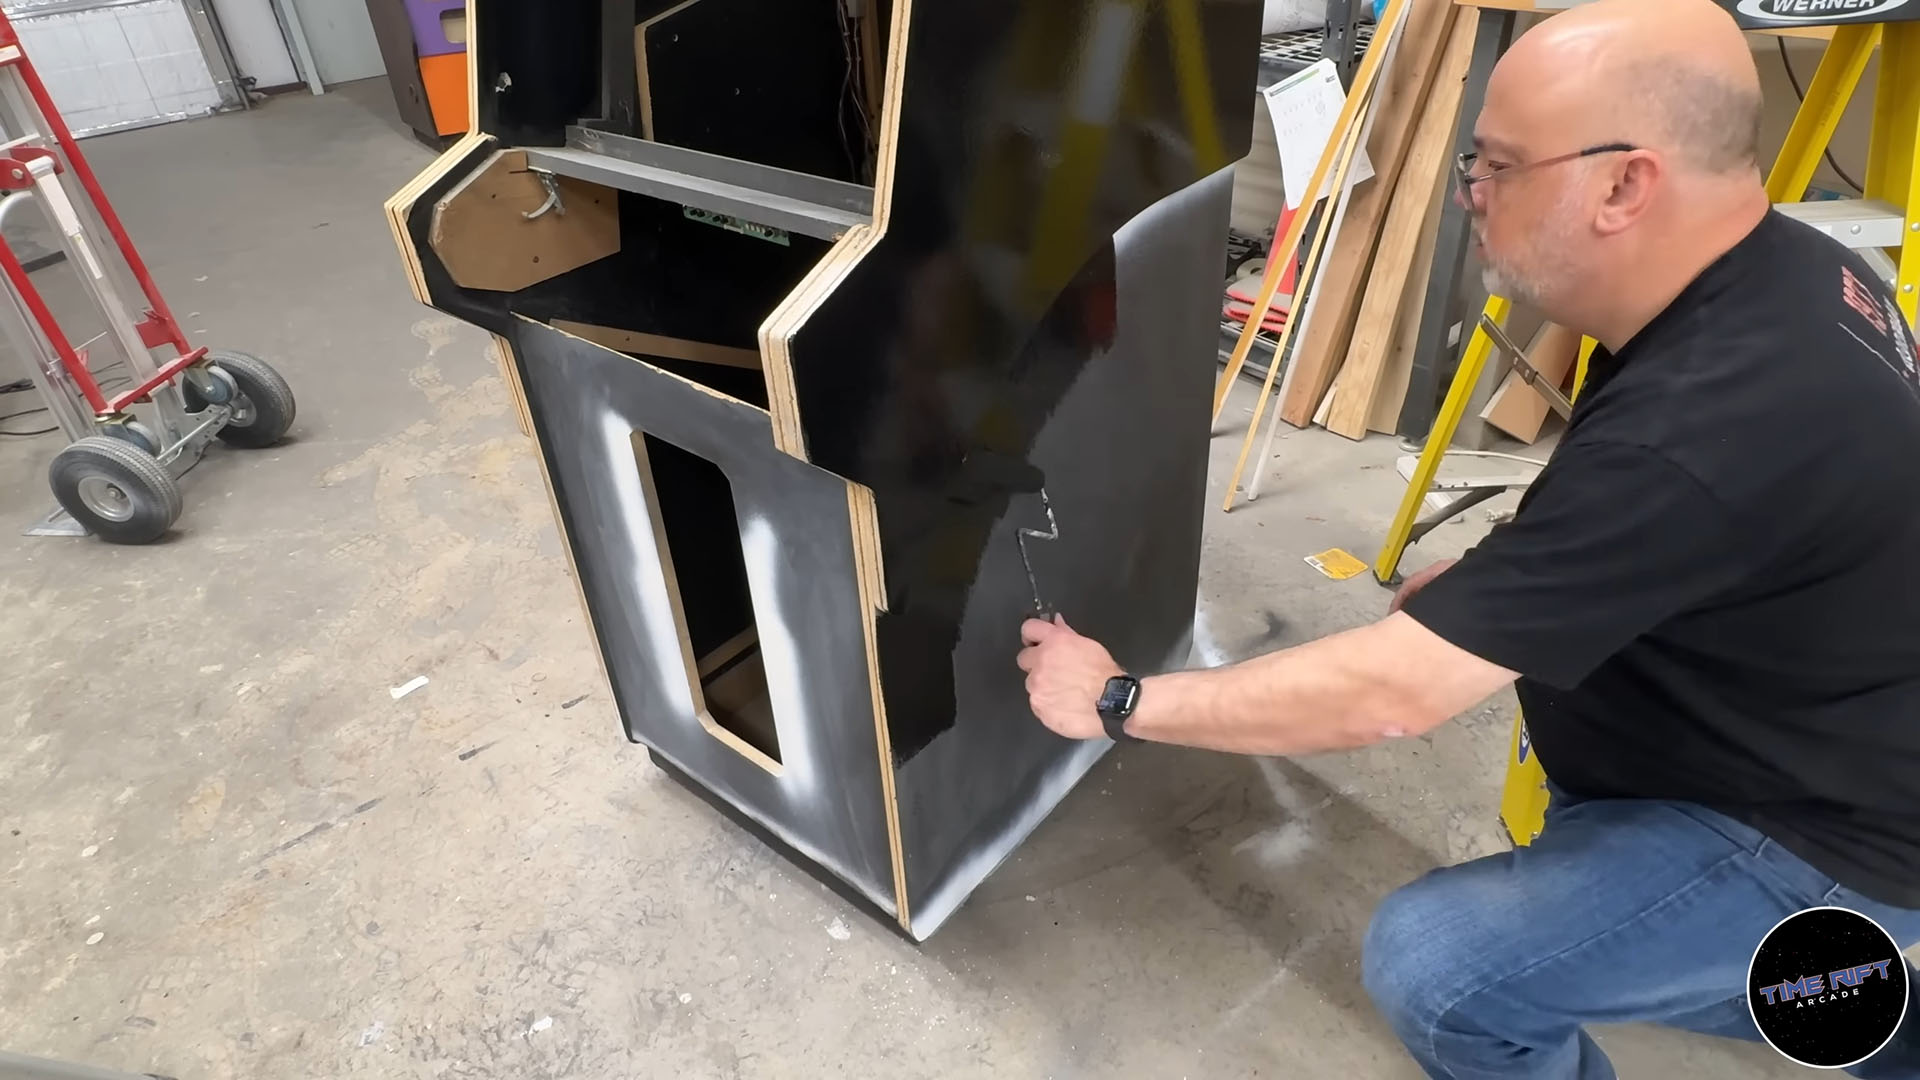
Now its time to get to work sanding down the side panels of the cabinet. I don’t know what kind of paint they coated this with, but it sands like truck bed liner coating. It’s thick and gooey.
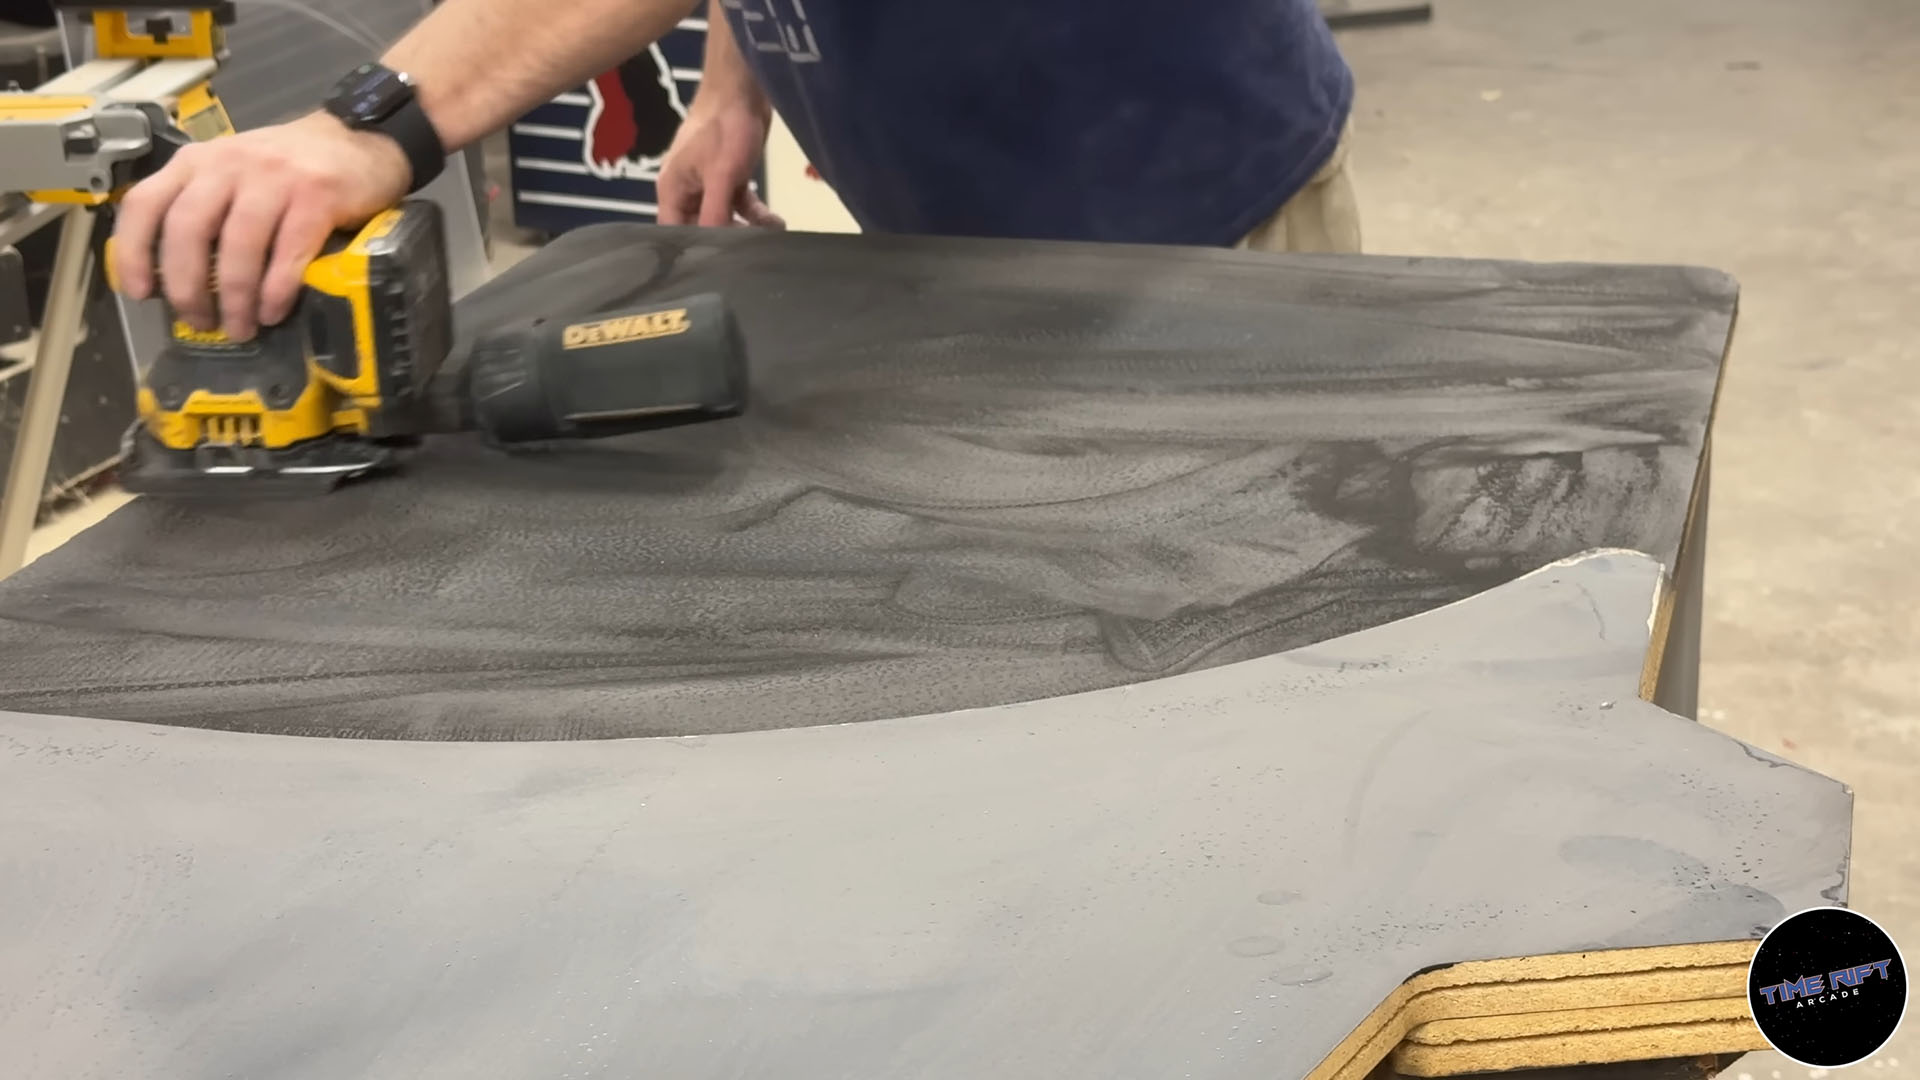
Before painting it, I routed the t-molding slot back into the corner of the cabinet that had to be replaced.
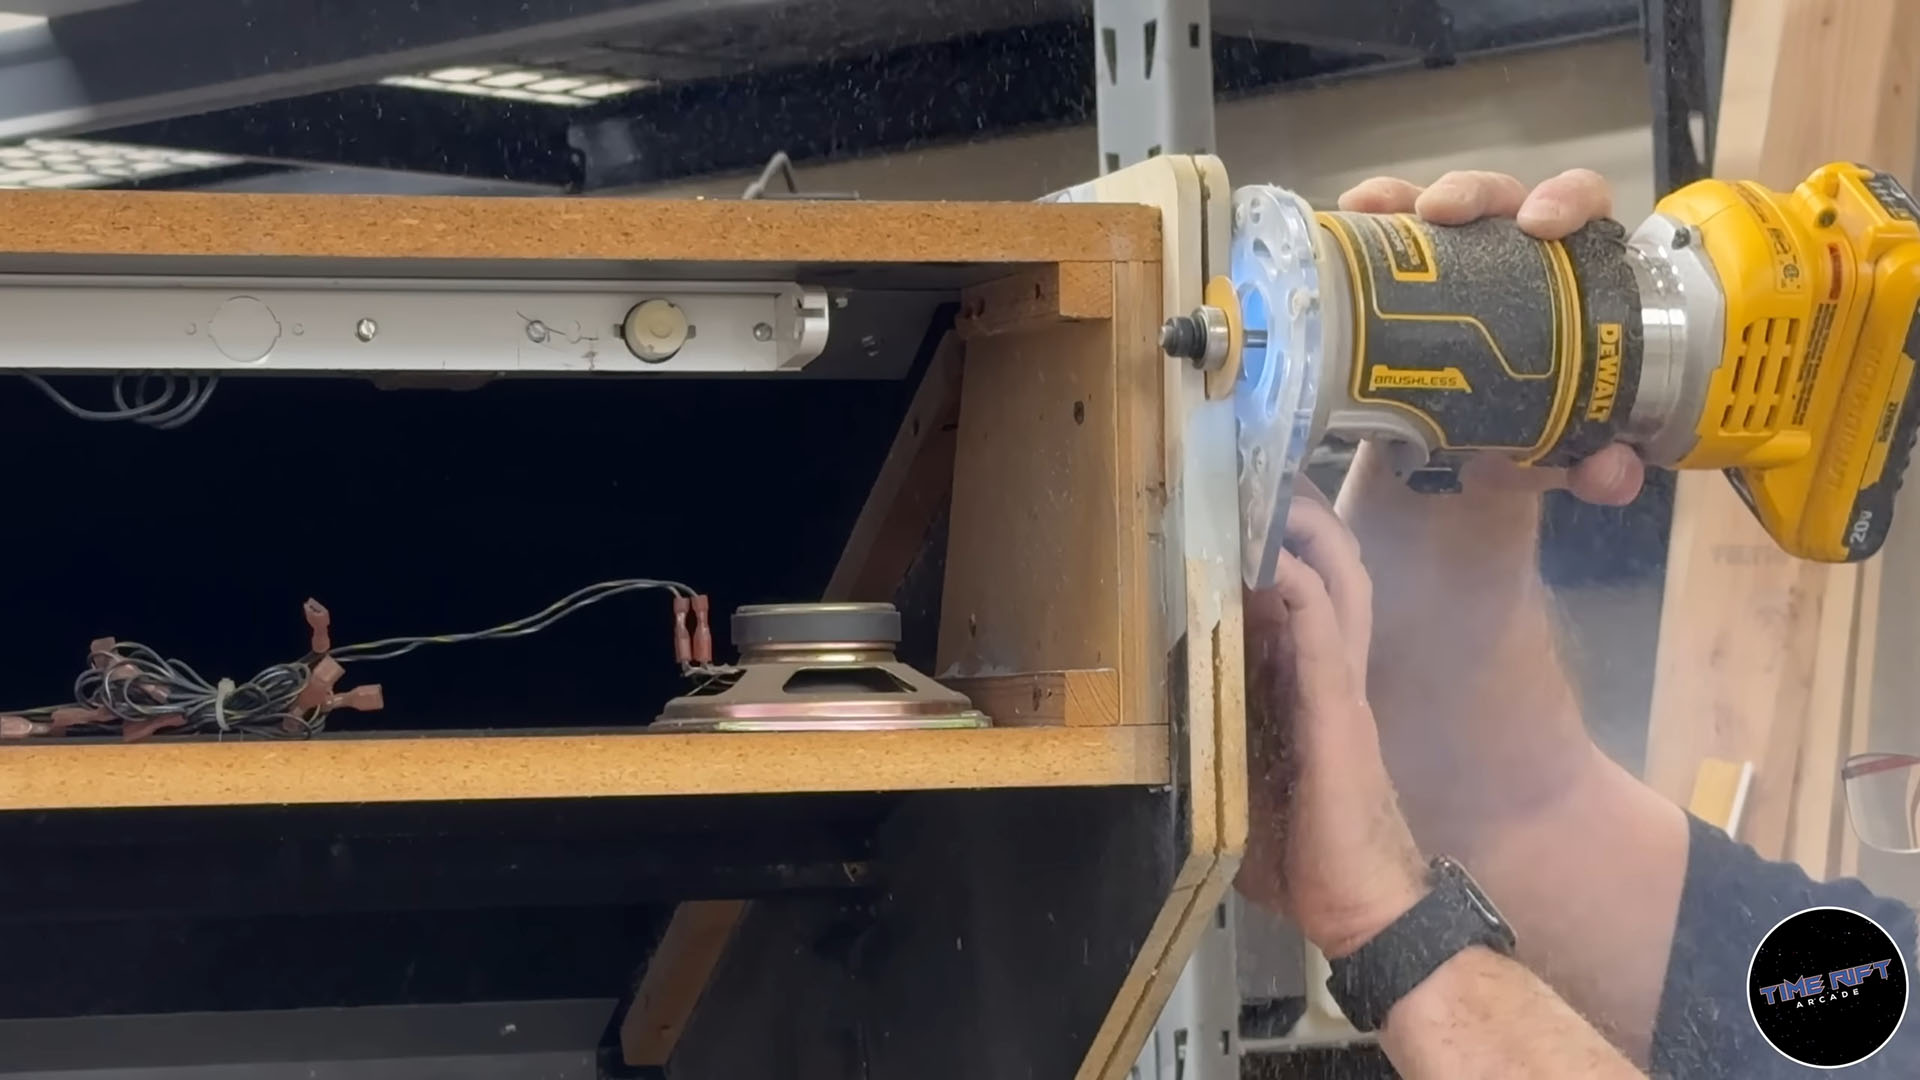
Finally, I painted the cabinet with two coats of satin black using an oil based paint. Oil based paints work way better when applying artwork. In addition to better bonding, oil based paint won’t gas out over time and cause bubbles under the artwork.
Power Supply Repair
Next up I wanted to turn my attention to the power supply. It seemed to work fine, but the fan sounded like a jet engine when the game was turned on. I have a guess that this is cigarette smoke, but I am honestly not 100% sure. So removed the screws from the fan so we could get it out and oh my god is it disgusting. There’s your problem!
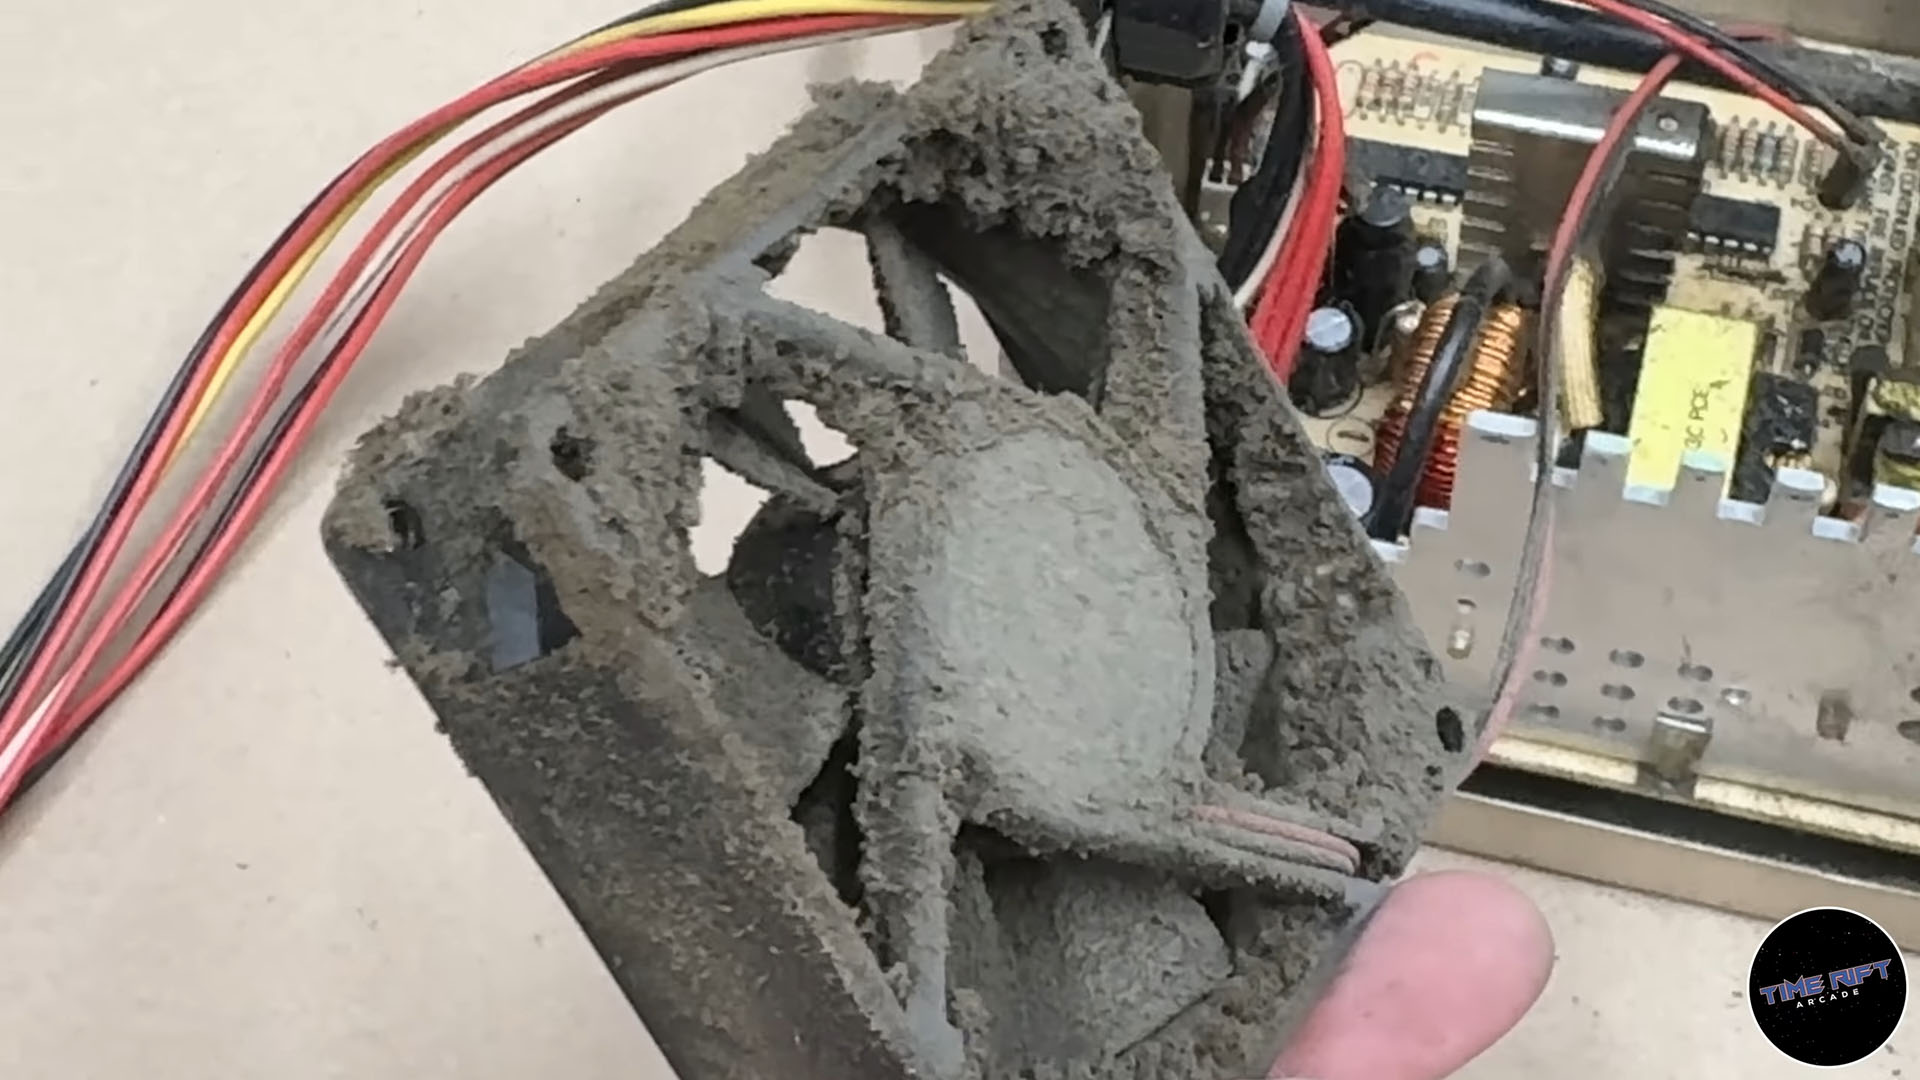
I also found several loose screws inside the power supply, so it’s a good thing we’re servicing it. Using some compressed air, I went to work blowing out all of this, well, whatever it is out of the power supply. I then got a new fan with the correct specs out of the parts room and installed it where the old one was, and put the power supply back together.
A Brand New Marquee
I also installed a new LED light fixture into the marquee slot.
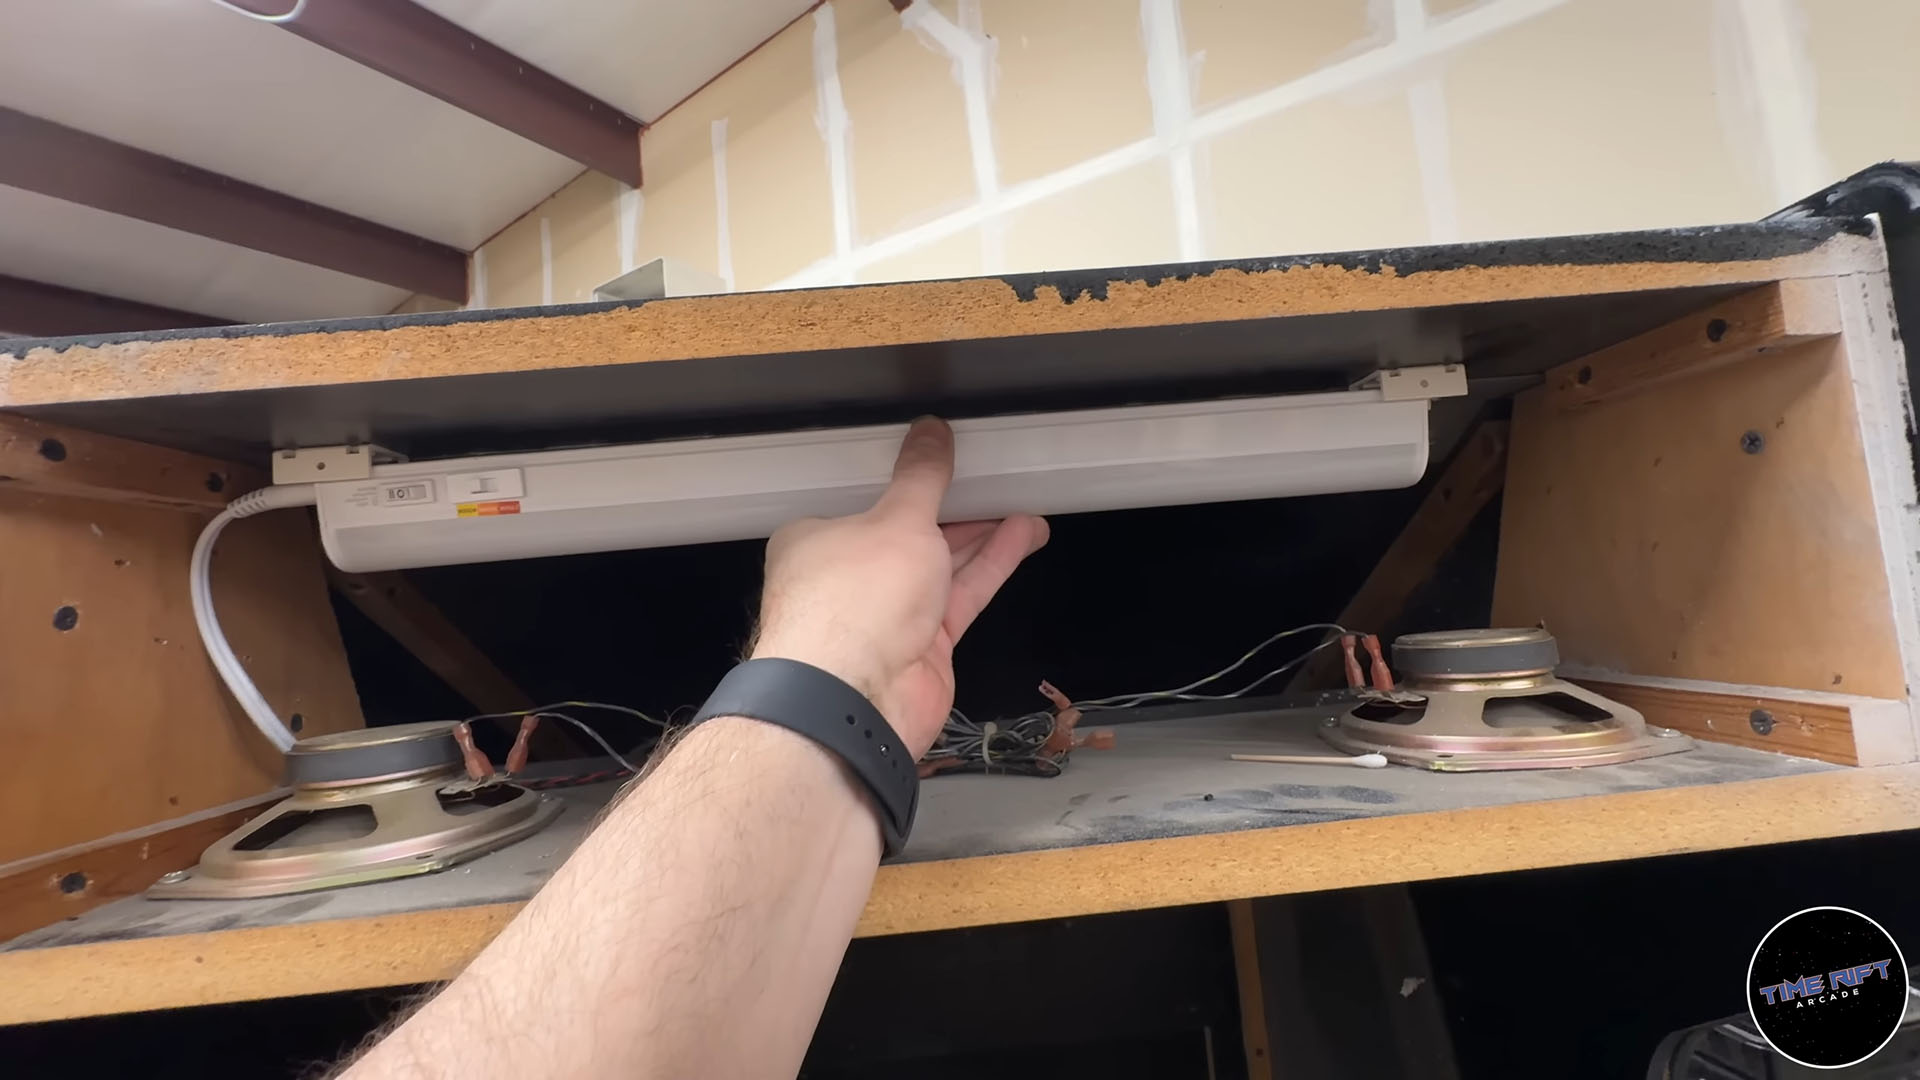
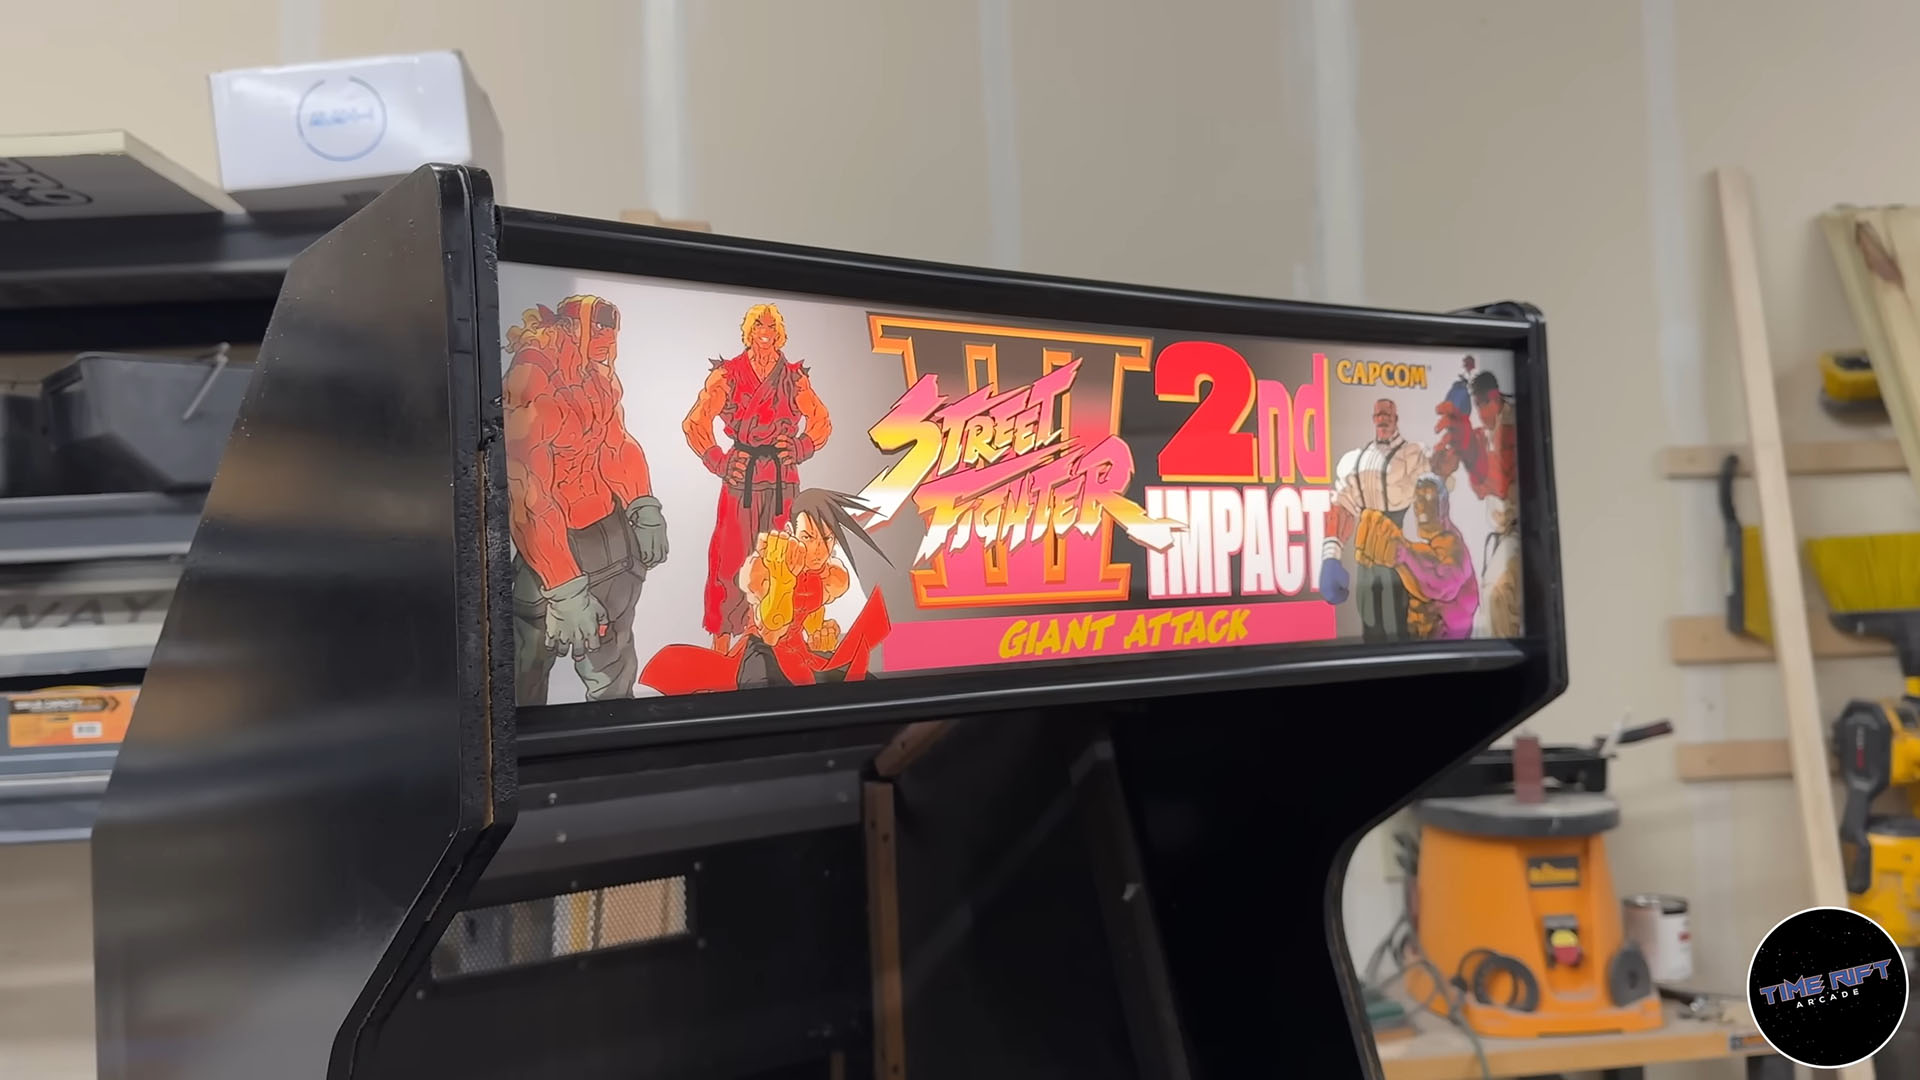
The marquee for this game is impossible to find, so I recreated it the best I could in photoshop. I then printed it on translite using our large format printer. Rather than a single sheet of thick acrylic, I prefer to use two thin pieces of acrylic and sandwich the translite between them. This keeps marquee from sagging over time.
To avoid scratches, I always clean all four sides of the acrylic with a microfiber cloth. Guys, I feel like this turned out fantastic!
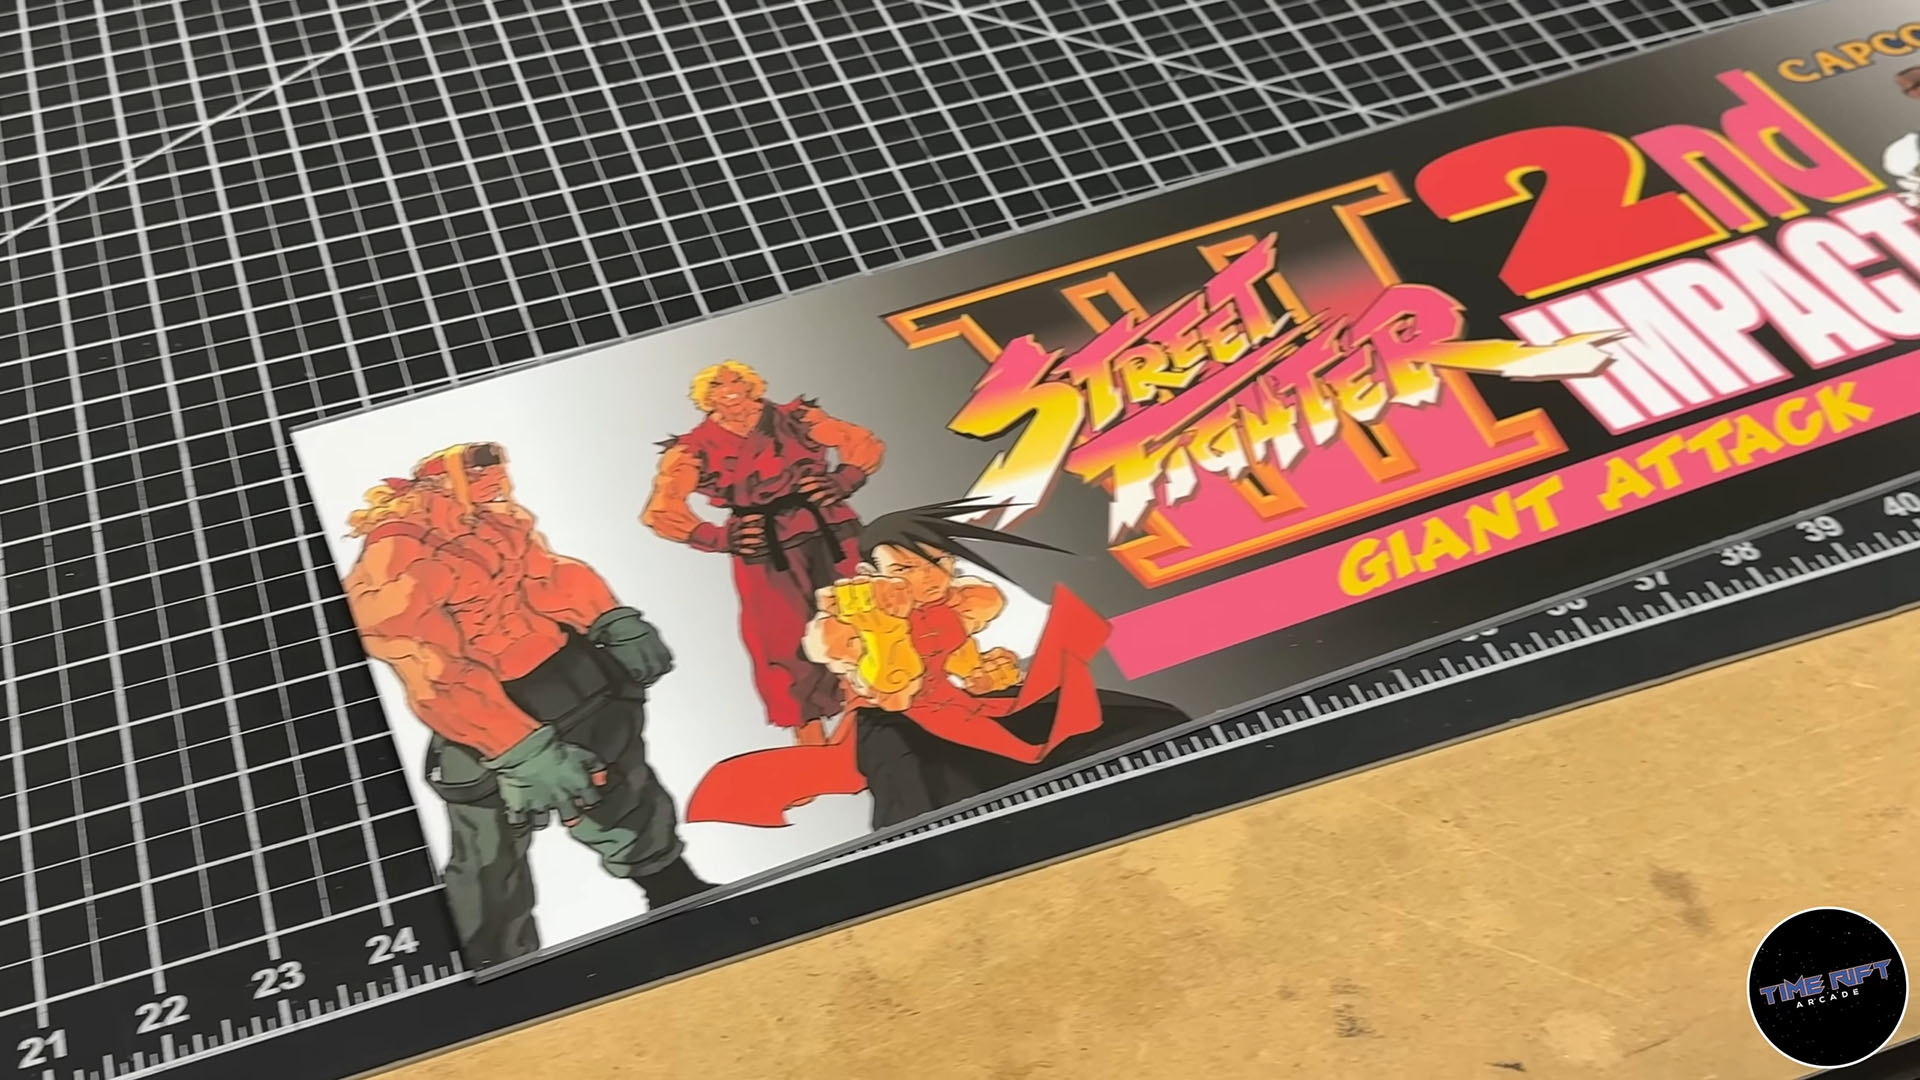
The cabinet was missing the original marquee retainer brackets, so I installed some brand new ones. You can cut these to size, and we sell these in The Geek Pub store. And here it is!
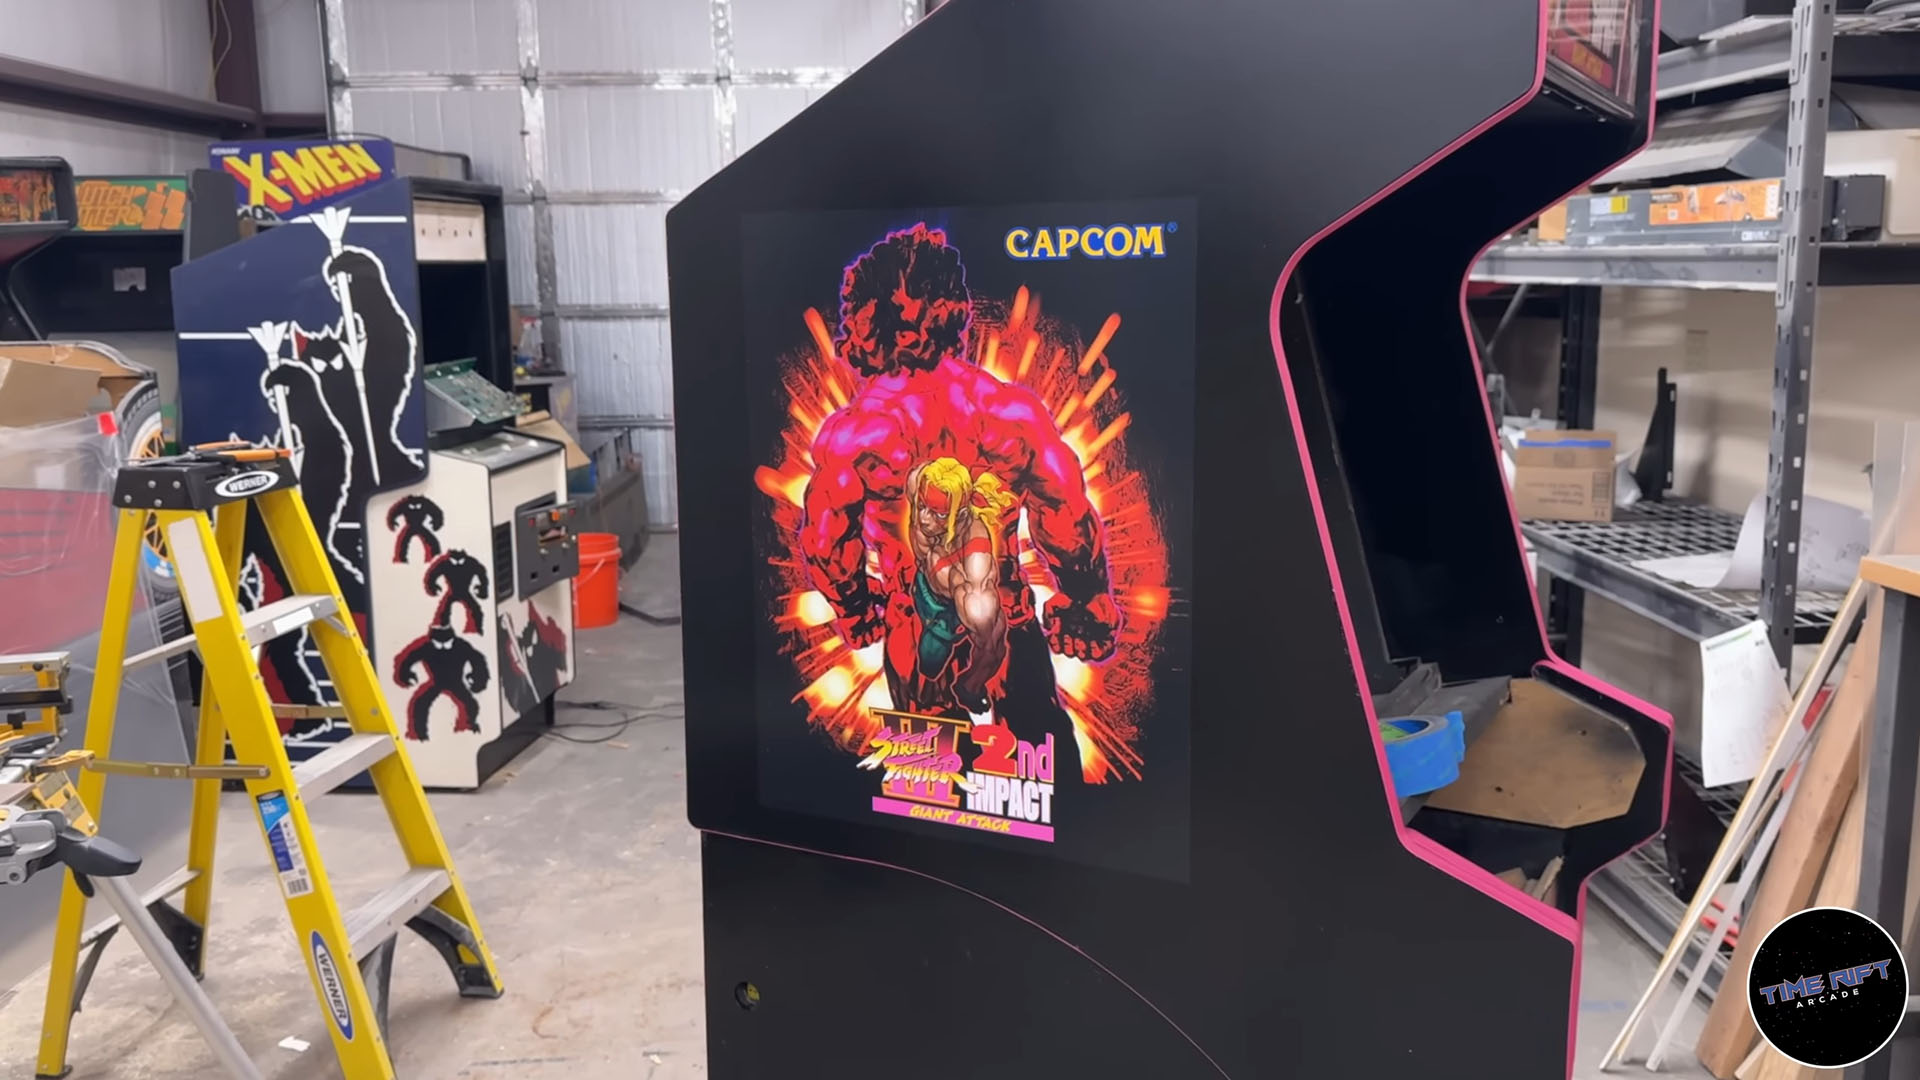
I used a Street Fighter III 2nd Impact promotional poster and added some enhancements in Photoshop to create some custom medallions for the side of the cabinet. And this is the point where I get to reveal the pink t-molding… because silly me didn’t have the camera recording when I installed it.
I use an air release vinyl that makes bubble free installation of artwork a breeze. On larger panels I like to use rapid-tac spray to make installation easier, but on these smaller medallions I just don’t really need it. And I think that looks pretty cool!
A Brand New Control Panel
Now it’s time to turn our attention to the control panel. Nearly half of these microswitches don’t work, or at least don’t work reliably.
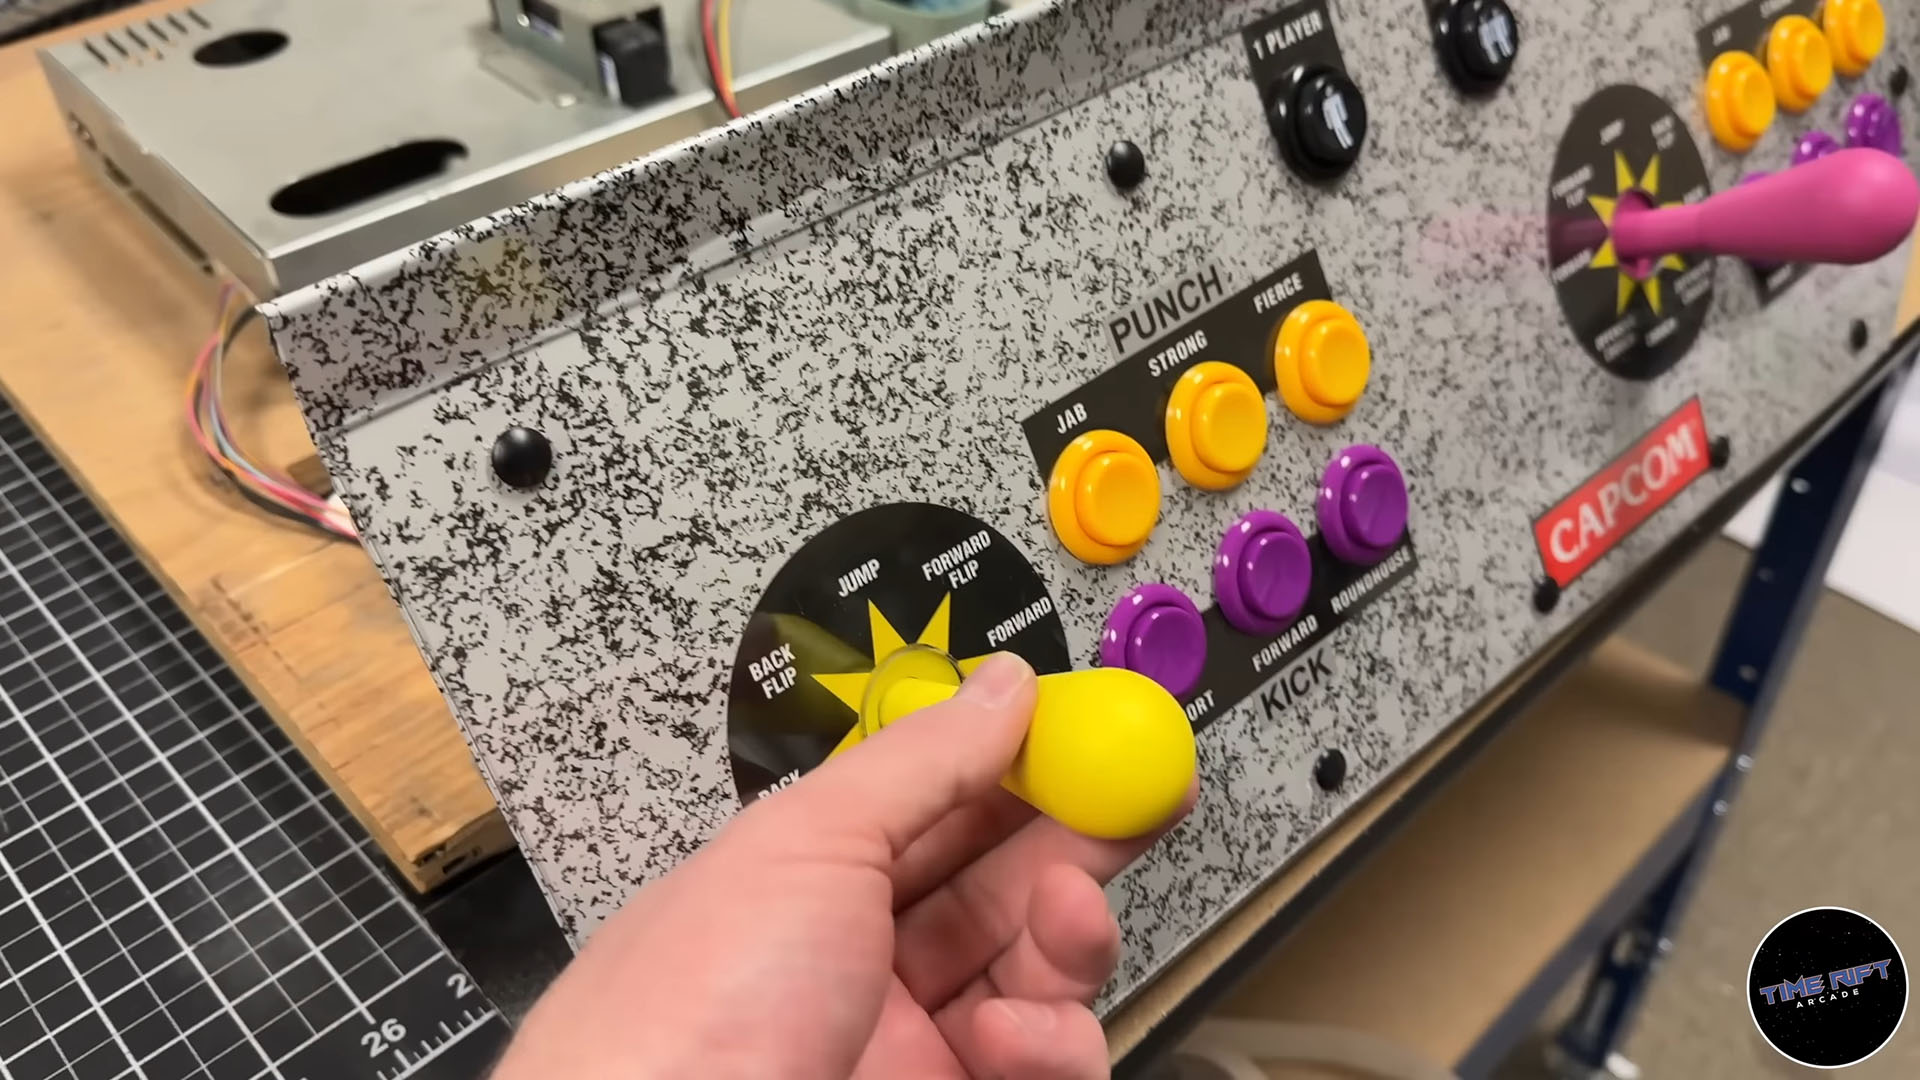
The control panel itself is in really poor shape too. It needs a total restore, and that’s exactly what I was going to do. But Mike Woods found this completely restored and ready to go control panel on facebook marketplace. So we’re just going to swap it out!
And since the color scheme of the game artwork is pink and yellow, we’re going to go with pink and yellow buttons for a matching look! Whoever put this together last time was nice enough to label all of the buttons. So I am going to leave the current microswitches attached and just remove them. This will make figuring out the wiring on the new panel super easy.
For those who might be wondering, I will keep this old control panel in our parts bin. At some point we’ll buy a cabinet with a missing control panel and this one will be around to save the day! Easy enough, just 4 nuts to take it off. I did add lockwashers when putting it back though. You’d be surprised how necessary lockwashers on nuts are in a public arcade.
These are of course brand new buttons, and as mentioned before I am going to install brand new microswitches on all of them. I was super happy that this control panel had welded on studs for the joystick. This means no joystick bolt heads on the visible side of the panel. As mentioned earlier about lock washers, I am going to use lock nuts here for similar reasons.
You have to take the bats off of the joysticks to install them. They just slide through the center, slide on the actuator block, and then install an E clip to secure them. I couldn’t be more pleased with how this color scheme turned out. The pink and yellow are a huge win in my book.
Off camera I cleaned up the monitor and did some minor rework. We’ll save that for a future video. Mike Woods once again dropped by to help me put this beast back into the cabinet.
I don’t know what this thing weighs, but I bet there are some local gyms that could use it to train weight lifters.
Now it’s time to start putting the final touches on the restore.
I’ll eventually make a custom moves bezel for this machine in illustrator, but for now we’re just going to put the black bezel back into the cabinet.
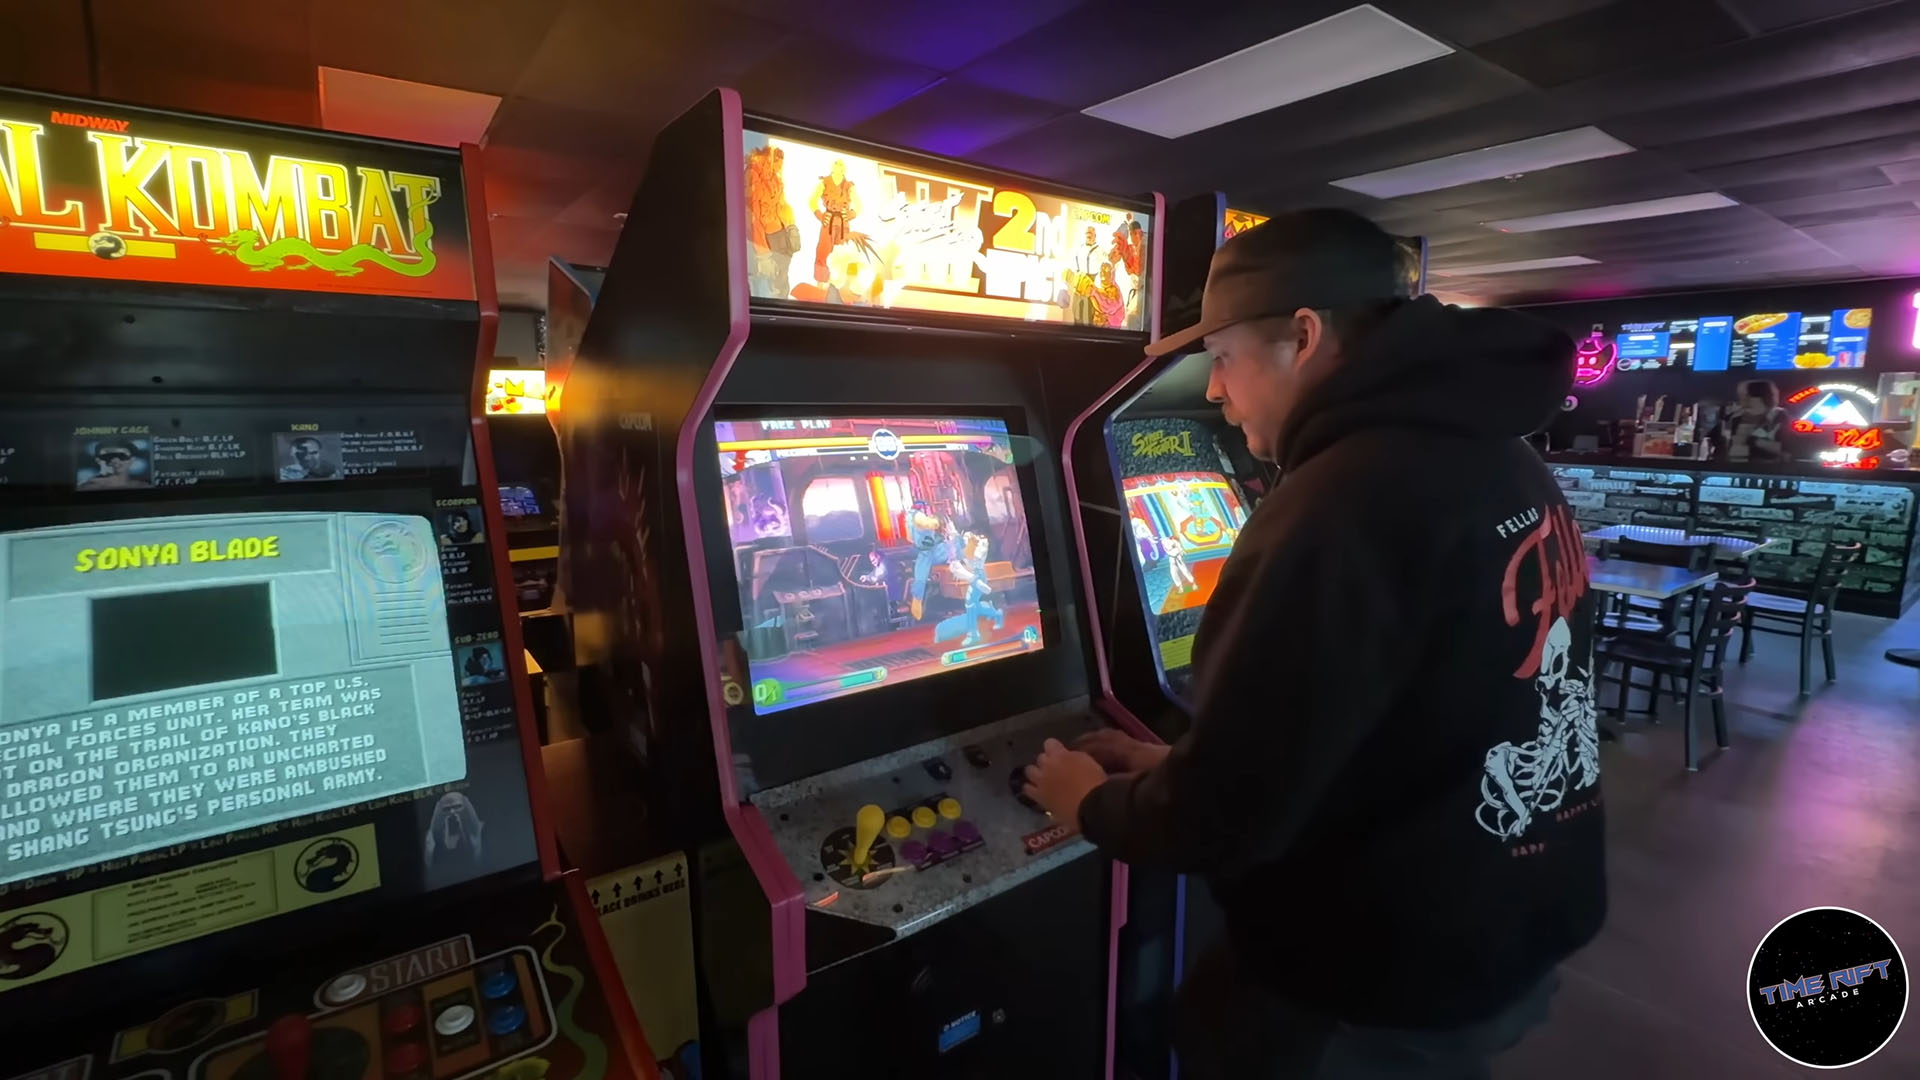
On the floor today at the Time Rift Arcade in Bedford, Texas!

