
David The 8-Bit Guy does a complete Street Fighter II Restoration for our cabinet going in the Time Rift Arcade.
Street Fighter II changed the game. Literally. Released in 1991 by Capcom, it revolutionized the world of arcade fighting games and laid the foundation for the genre’s global popularity. Featuring a diverse roster of characters, each with unique fighting styles and special moves, the game allowed players to engage in intense one-on-one battles. With its innovative mechanics, iconic characters like Ryu and Chun-Li, and competitive multiplayer gameplay, Street Fighter II became a cultural phenomenon and a cornerstone in the history of video games.
Watch the 8-Bit Guy Restore a Street Fighter II Arcade
Street Fighter II Restoration – Before
We bought this cabinet at auction for $600. It was probably about $100 more than it was worth, but we needed one and all of the electronics were working. The CRT was freshly serviced and looked perfect. The Street Fighter II CPS1 boardset worked and played properly.
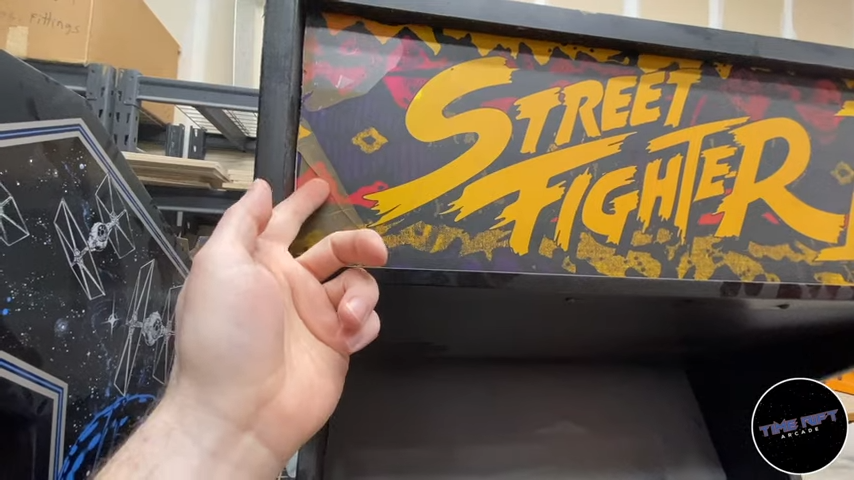
The cabinet itself was in quite poor shape. The marquee was peeling and flaking and very faded.
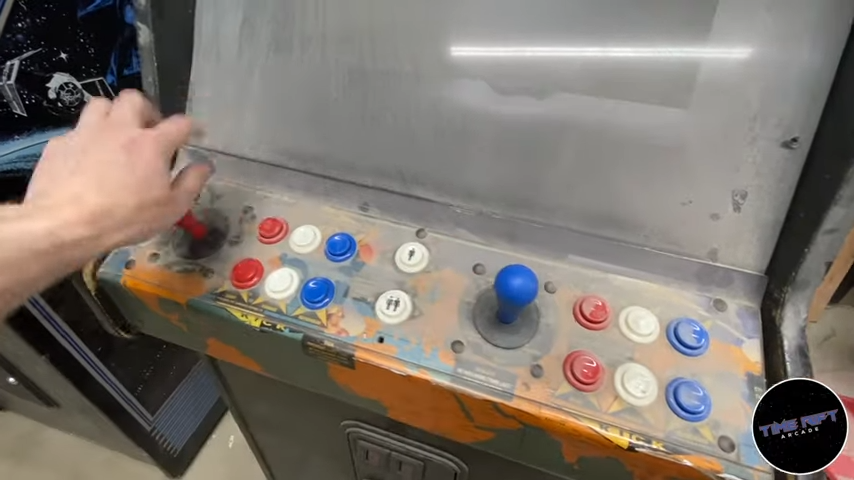
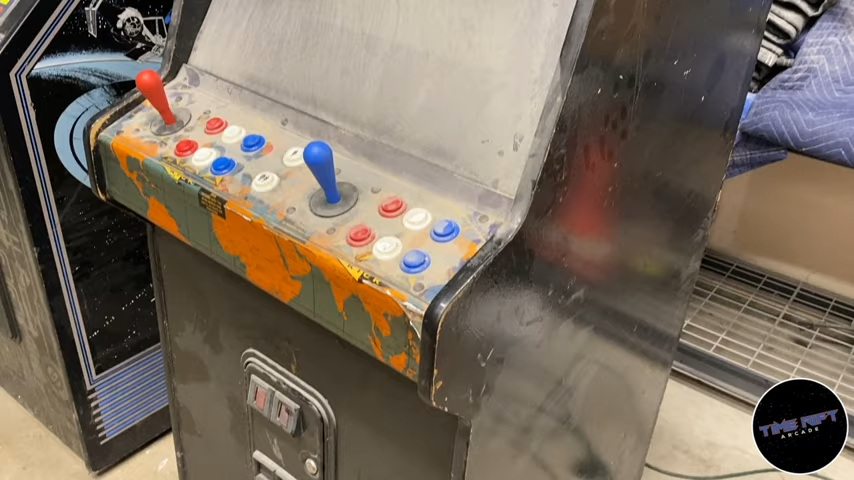
The control panel overlay was faded and peeling. And there was dried up coke spill between the plexiglass and control panel.
The side of the cabinet was missing the artwork, though someone printed out and glued a laser printed paper copy of it onto one side.
Refinishing the Arcade Cabinet
The first step to this Street Fighter II restoration is to refinish the exterior of the cabinet. It’s it really rough shape. Lots of pits, lots of scratches, and the paint is faded and blotchy.
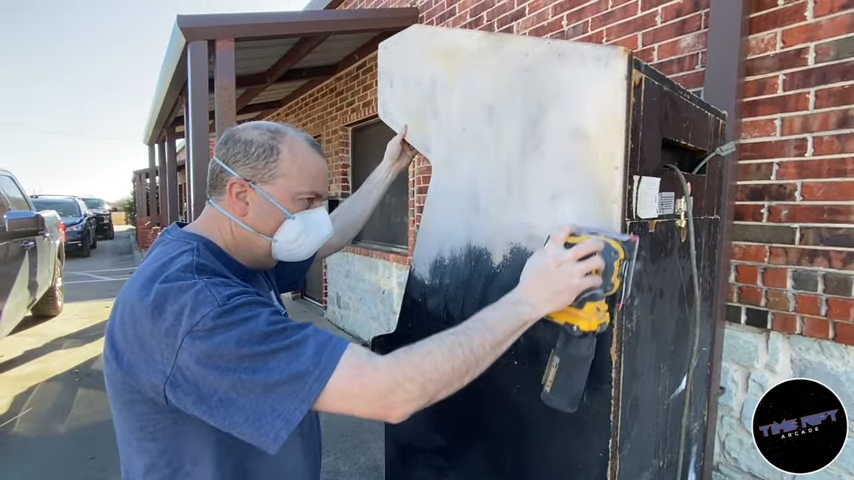
David started by sanding the sides and other exterior surfaces of the arcade. We don’t always take them back to bare wood, but in this case we thought it would be the best course of action.
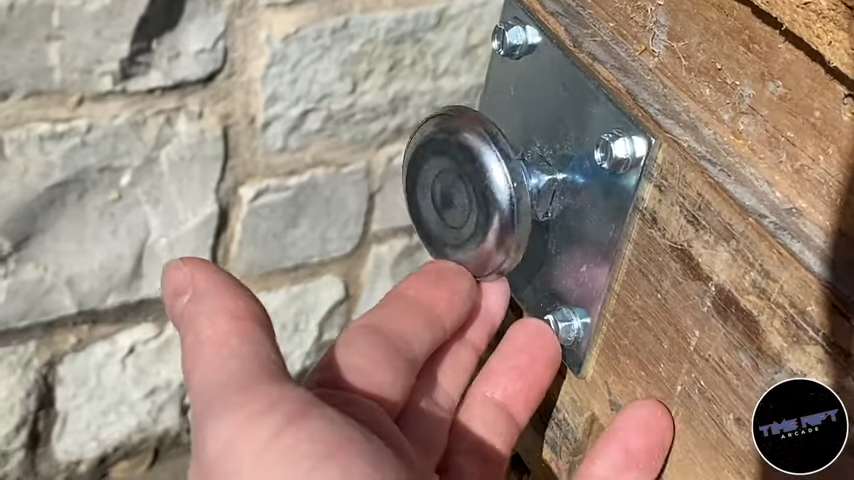
It was at this point that David realized the feet of the cabinet were completely missing. So he added four brand new ones.
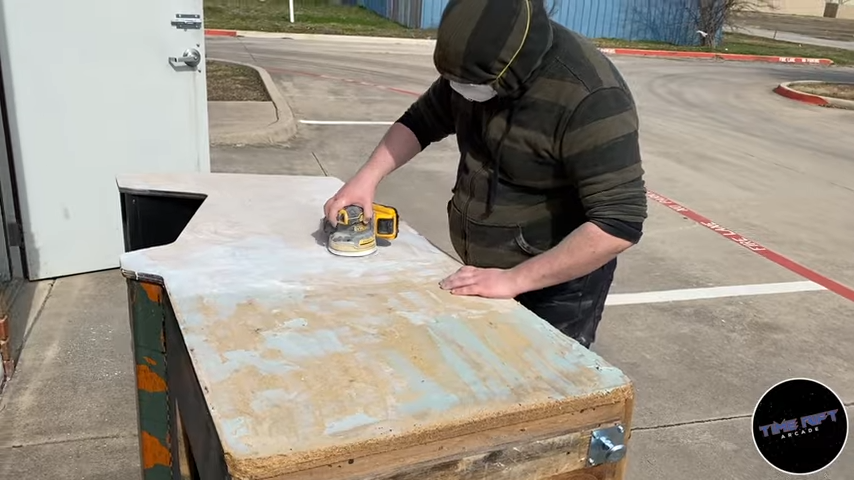
To get rid of all the pits, dents, and scratches Ashton (Agent Cole) filled them all in with Bondo and then sanded it all back smooth with an orbital sander.
After he finished sanding Agent Cole went to work putting on a coat of Kilz primer. We find that Kilz works great sealing the particle board or MDF used on these old arcade machines.
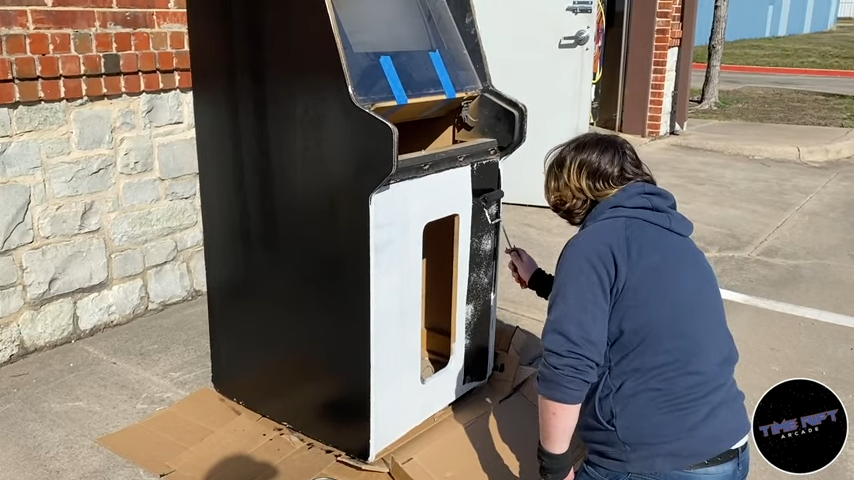
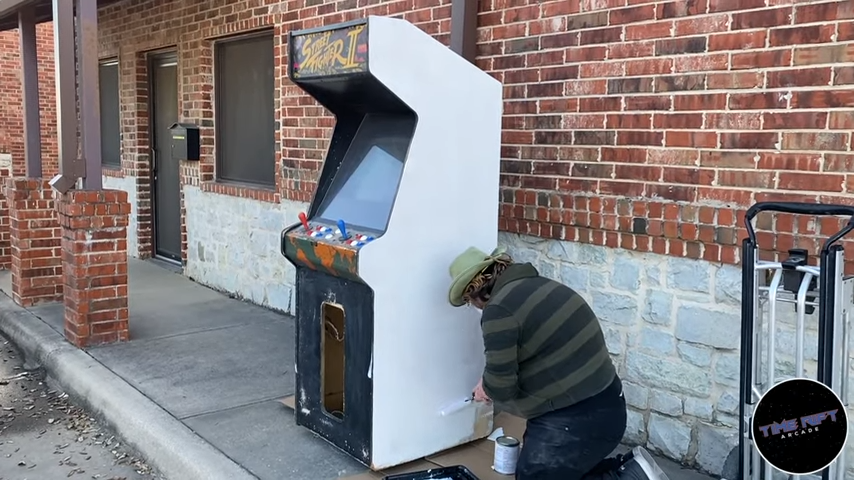
Ashton followed up the primer with a quick and light sanding and then put on a complete two coats of a semi-gloss oil based paint. We never use latex paint when painting arcade cabinets. Latex will “gas out” for months after its applied. This means if we apply artwork, it will have trouble sticking permanently.
Restoring the Street Fighter II Control Panel
With the exterior of the cabinet finished and the paint drying, David turned his attention to the control panel.
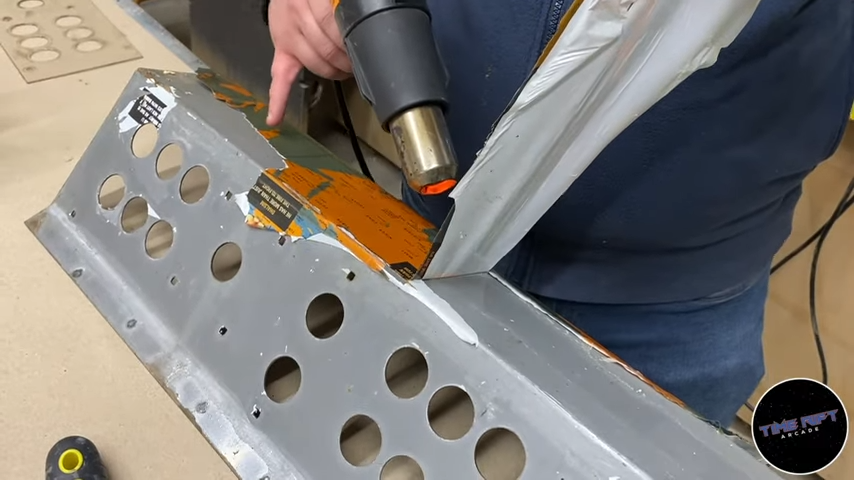
First thing was to remove the old artwork. David used a heat gun to release the adhesive and peel off the old control panel overlay artwork.
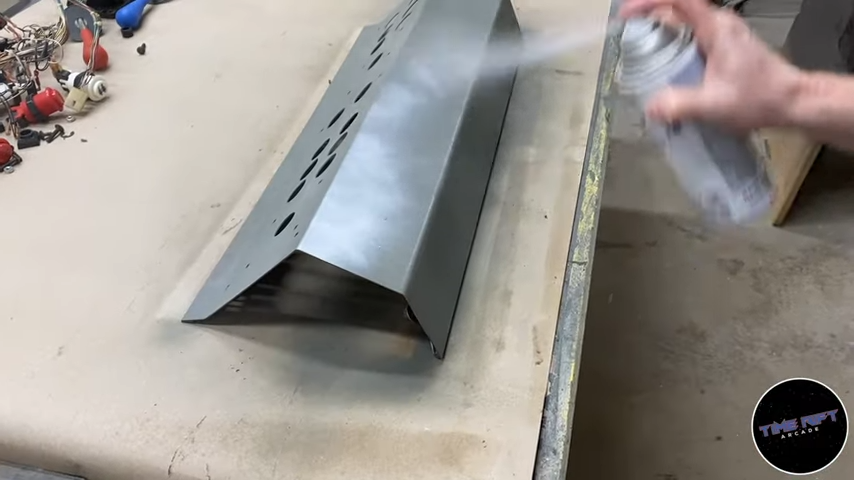
After a quick sanding, primer, and more sanding, David put a quick two coats of gloss white paint on the control panel. This paint and primer coat will prevent the control panel from rusting in the future, and will provide a substrate for the control panel adhesive to bond to.
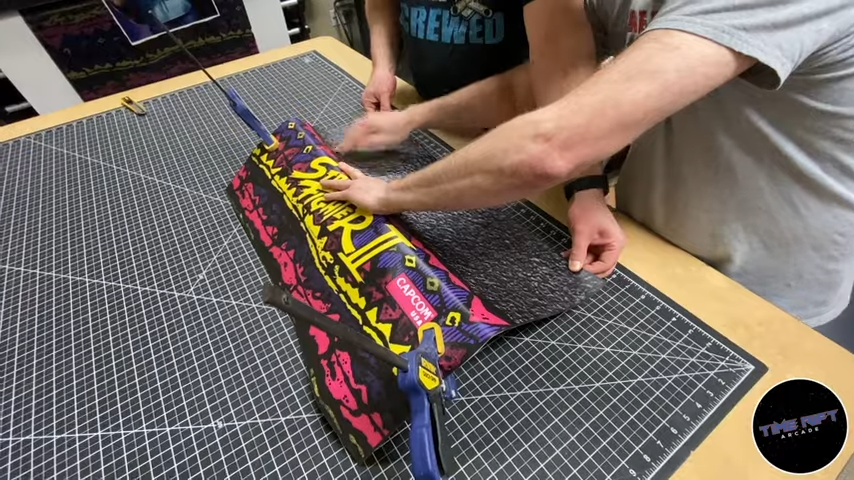
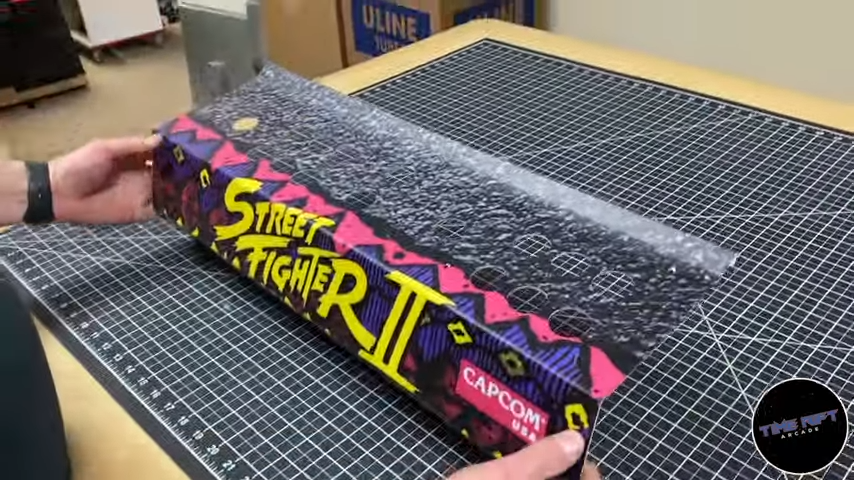
David and Mike then went to work applying the new control panel overlay. We chose the rainbow artwork for this CPO, and man is it gorgeous!
Applying the Street Fighter II Custom Artwork
The original artwork was only a small medallion and we wanted to do something amazing for this cabinet to celebrate the legend of Street Fighter II.

Mike went to work in Illustrator and Photoshop. Using the original artwork as a template he created some custom artwork that would cover the entire side of the cabinet.
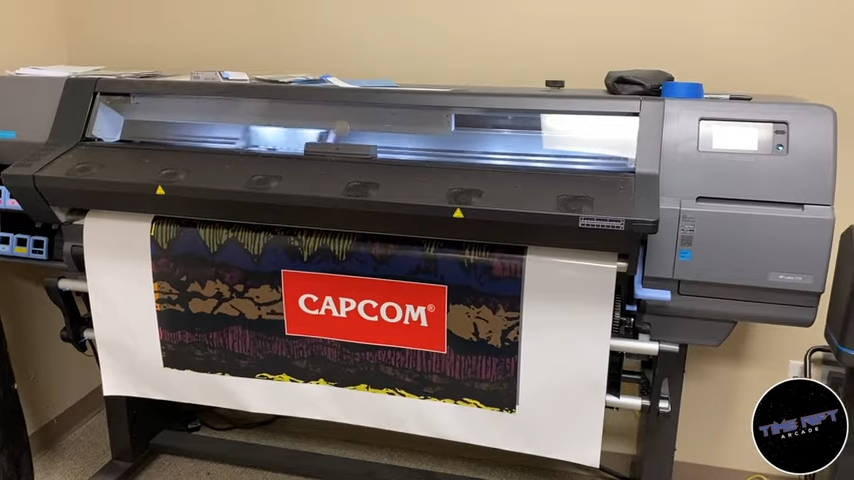
We have a large format printer on location at The Geek Pub and Mike printed the new artwork on a gloss vinyl.
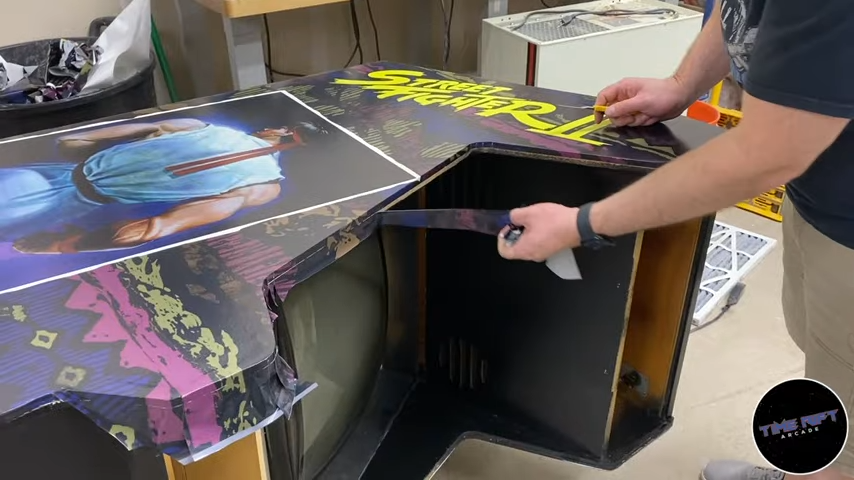
We then went to work applying the artwork to the cabinet. When applying artwork we like to tuck the artwork around the sides and tuck it under the t-molding. This makes for a super clean look.
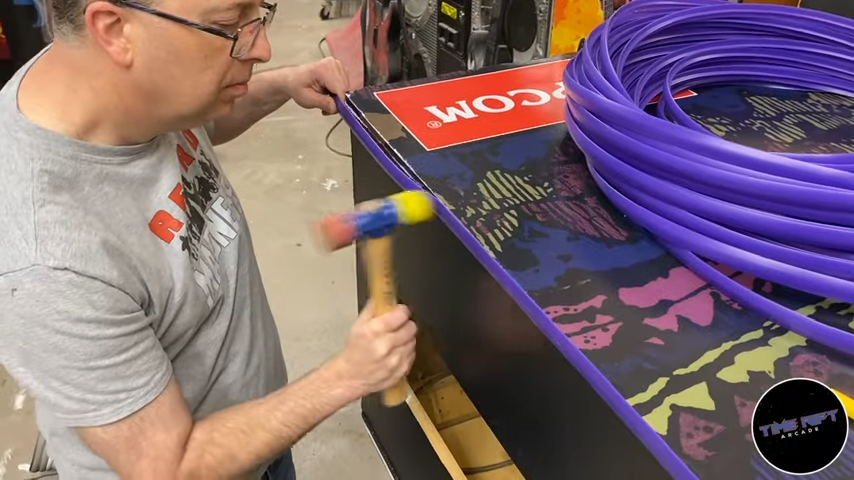
David thought that purple T-Molding would fit nice with street fighters rainbow color scheme, and he was not wrong. It looks amazing!
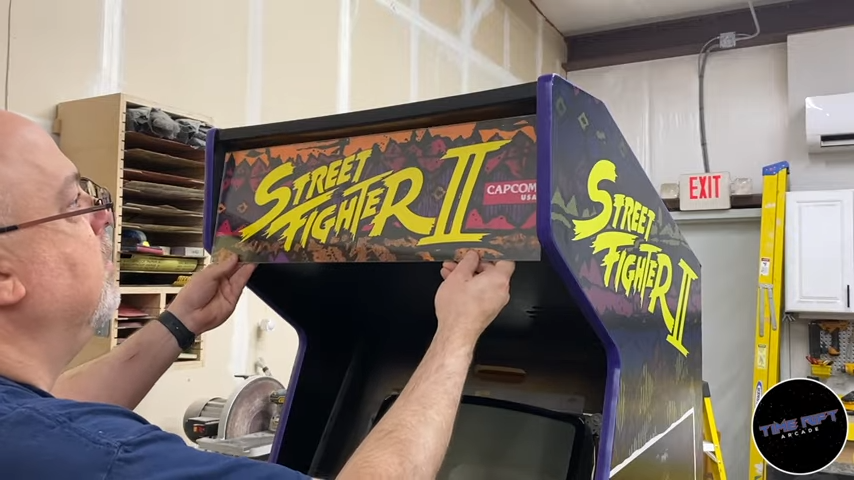
Mike then installed the new Street Fighter II marquee (also printed at The Geek Pub) made on translite, a transparent plastic film. The marquee is protected by a new sheet of acrylic.
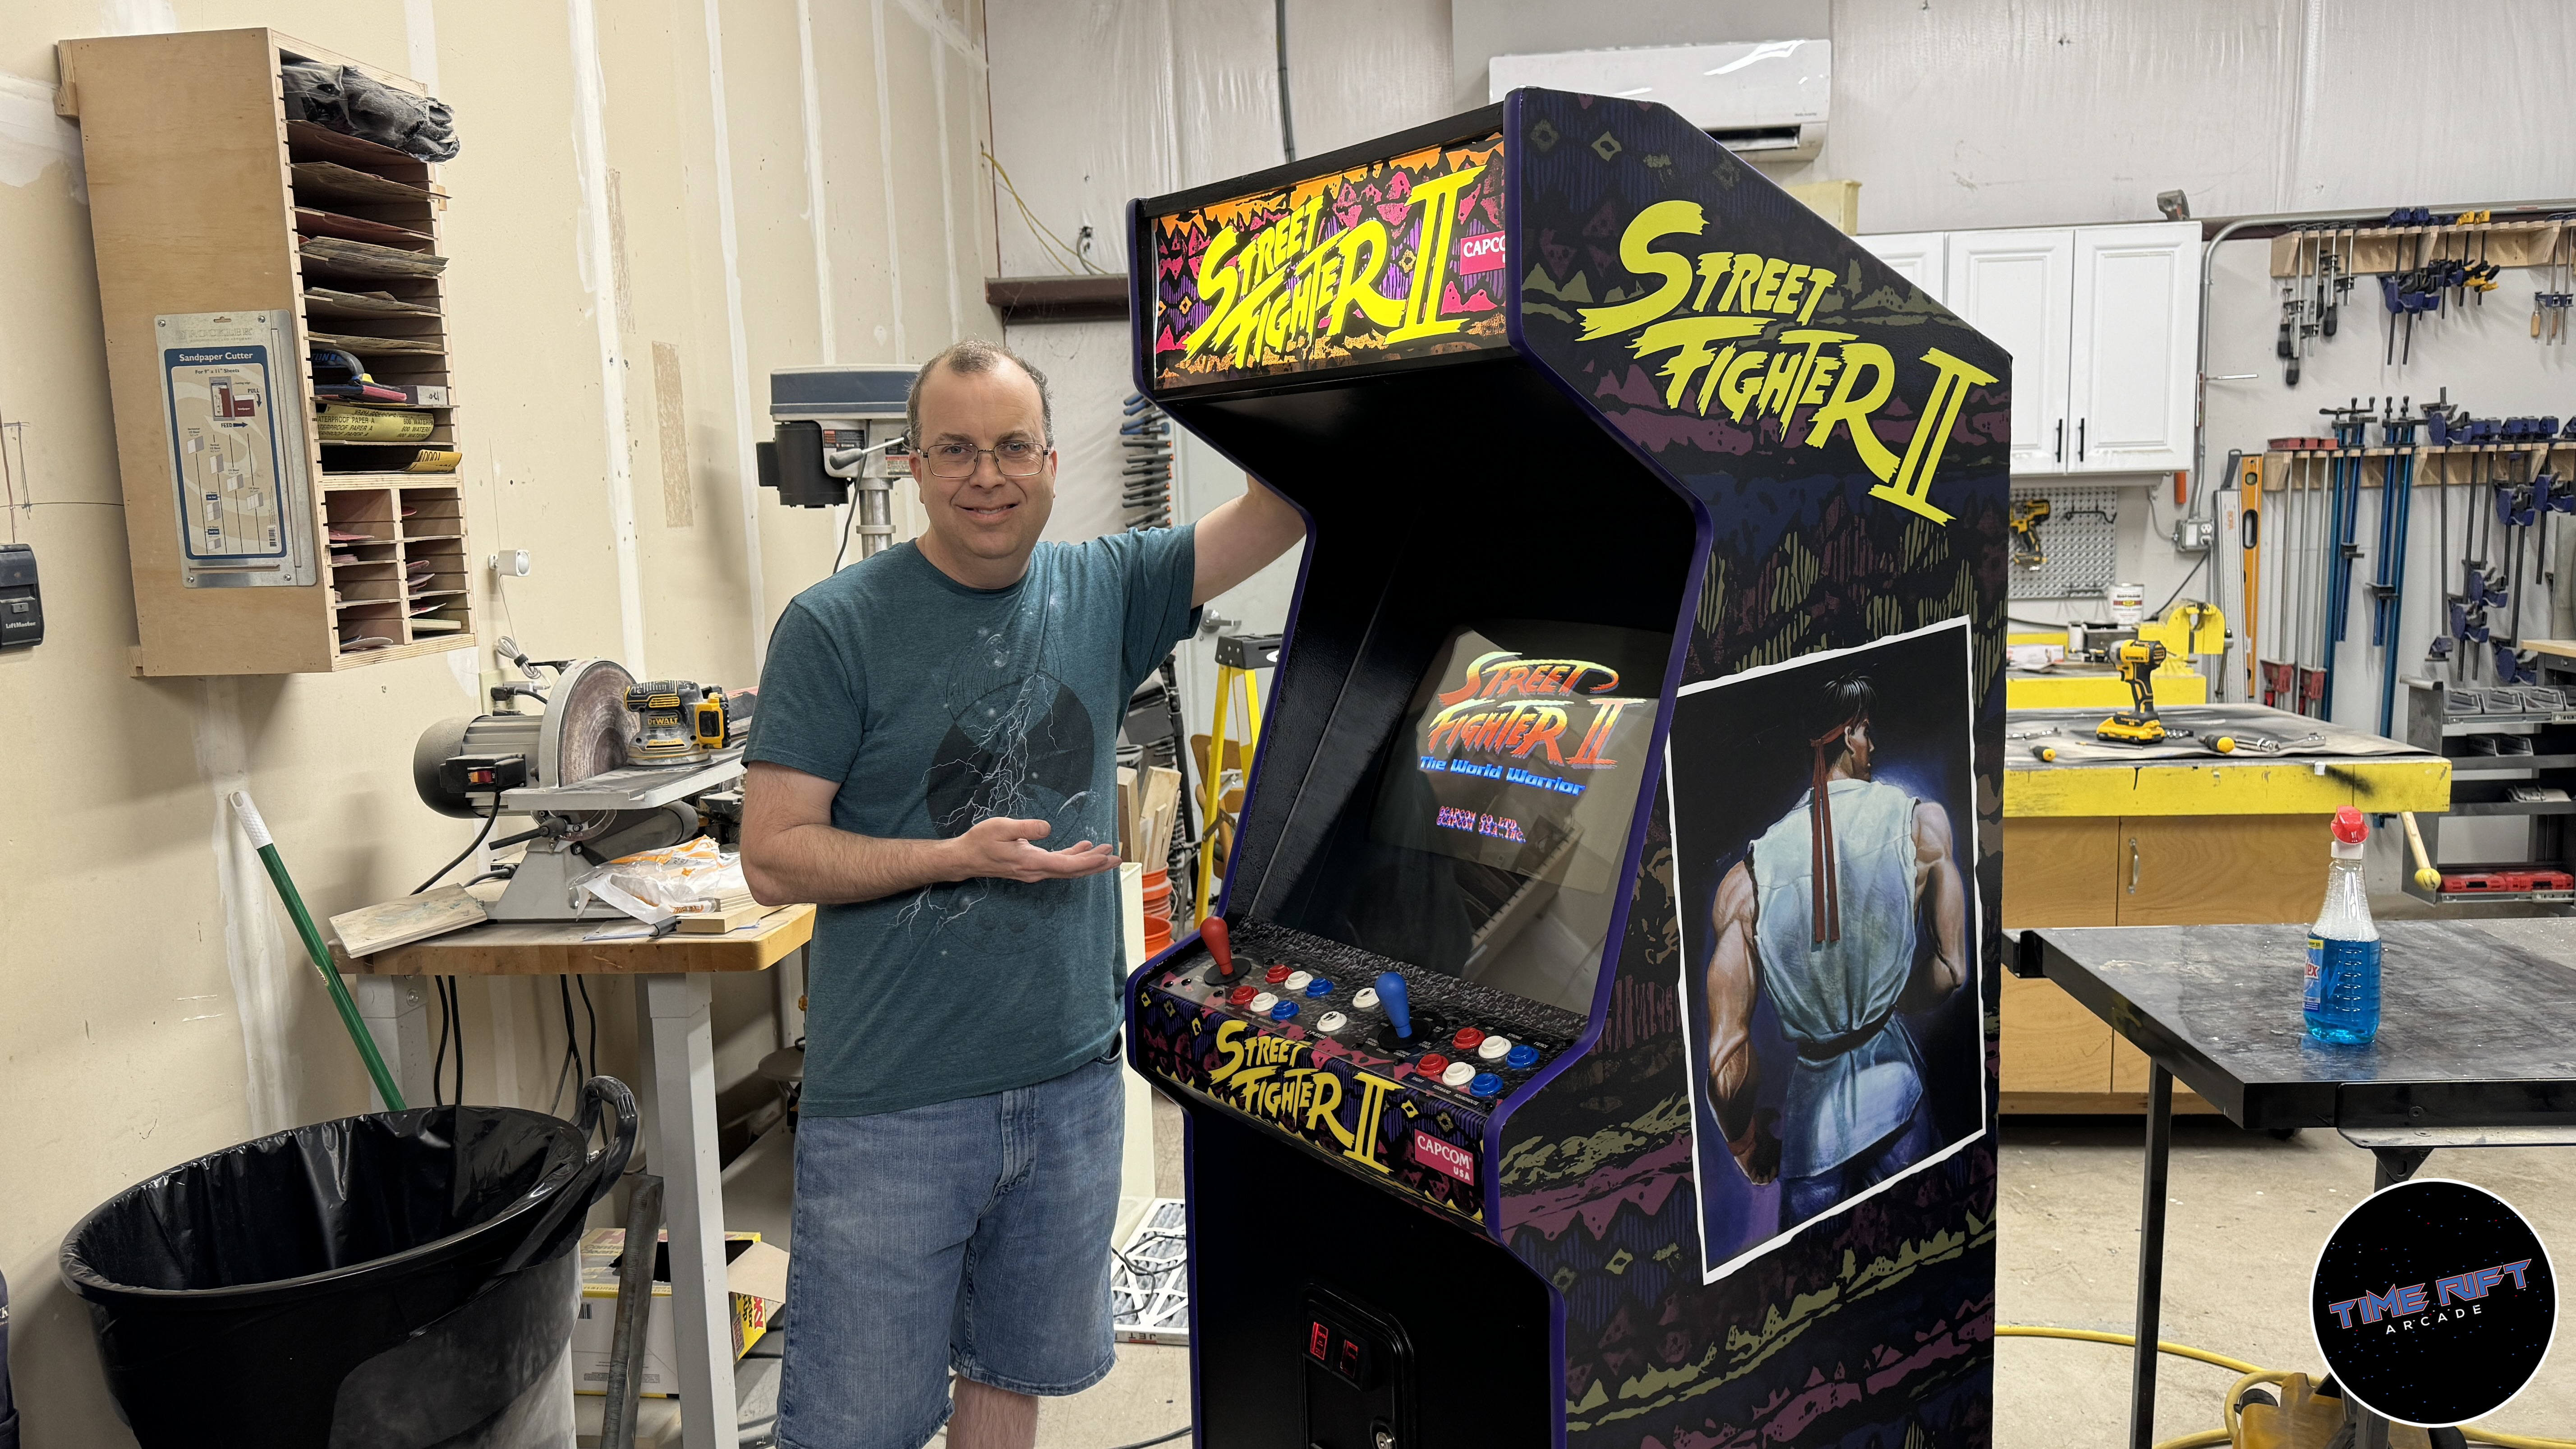
The Finished Street Fighter II Restoration
Allow me to present to you the finished Street Fighter II arcade. We think it is simple gorgeous, and we hope you love it us much as we do! Come play it at the Time Rift Arcade!