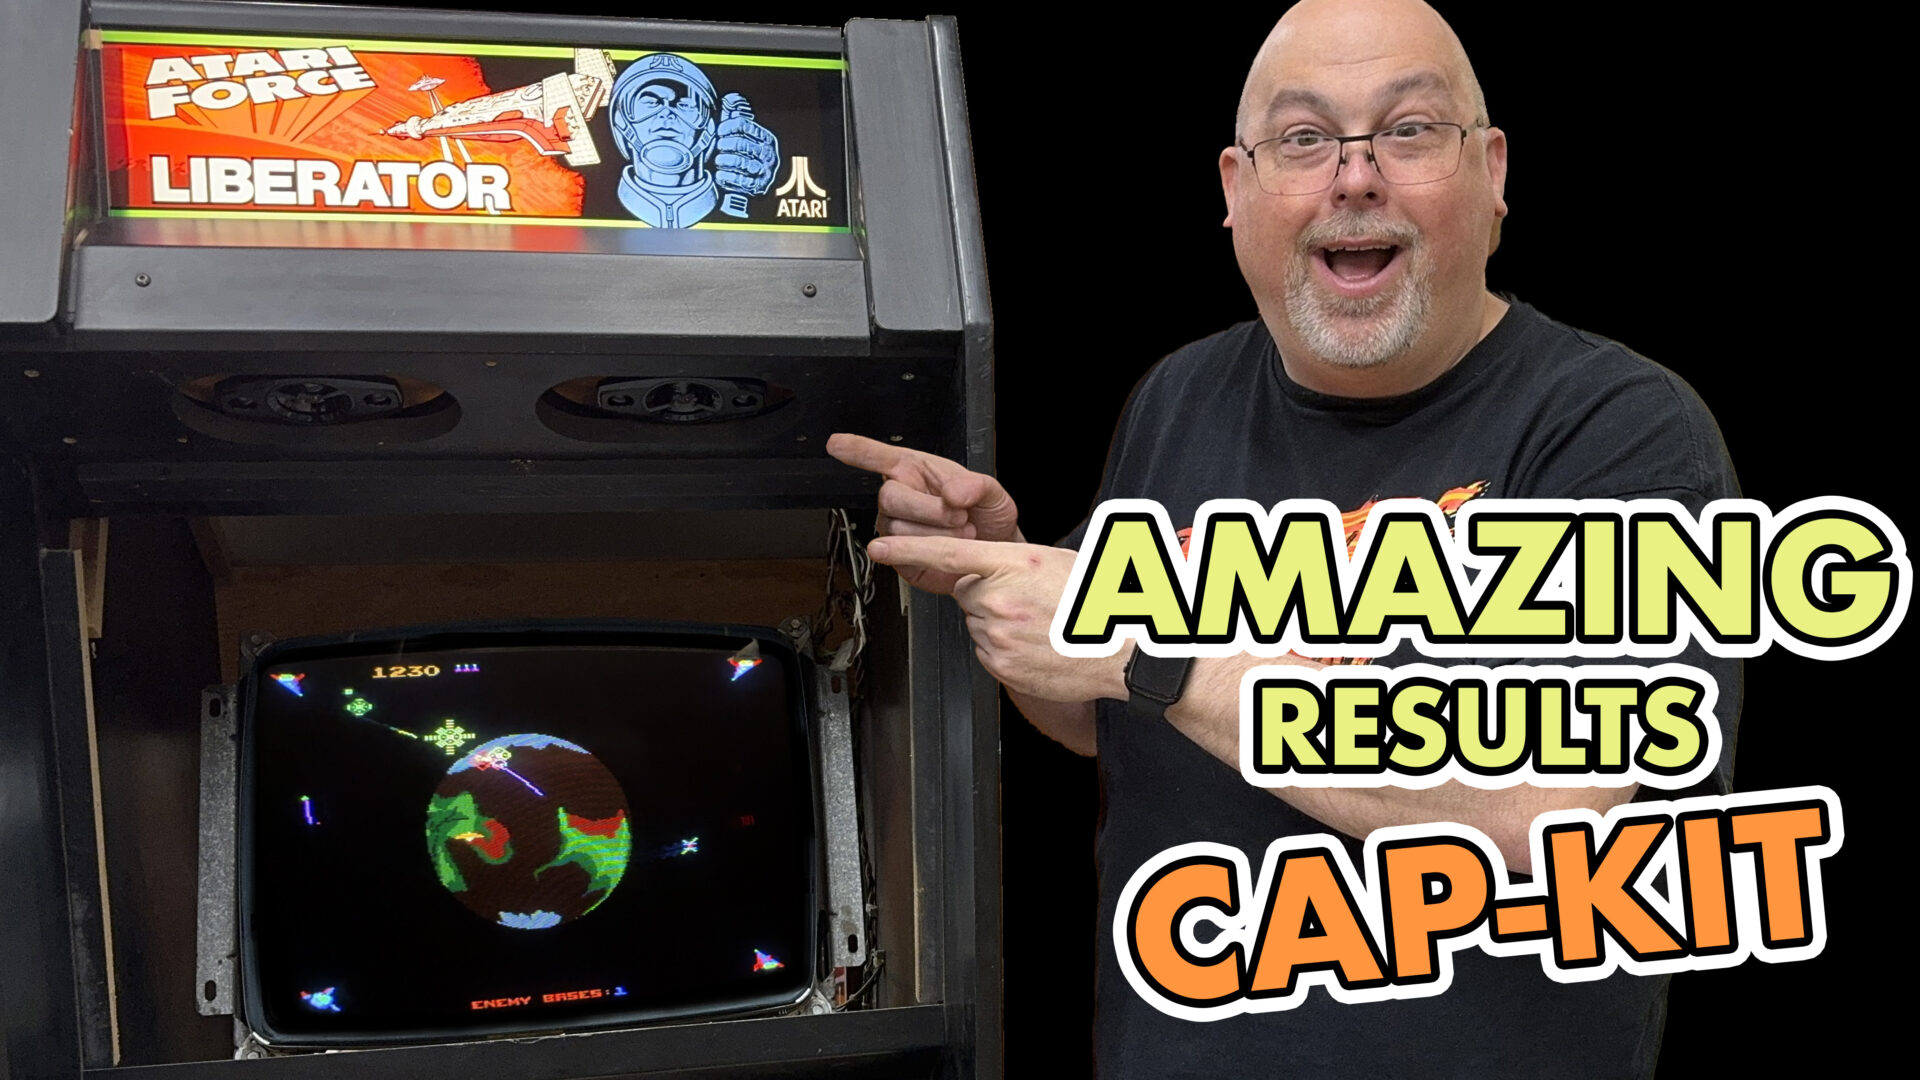
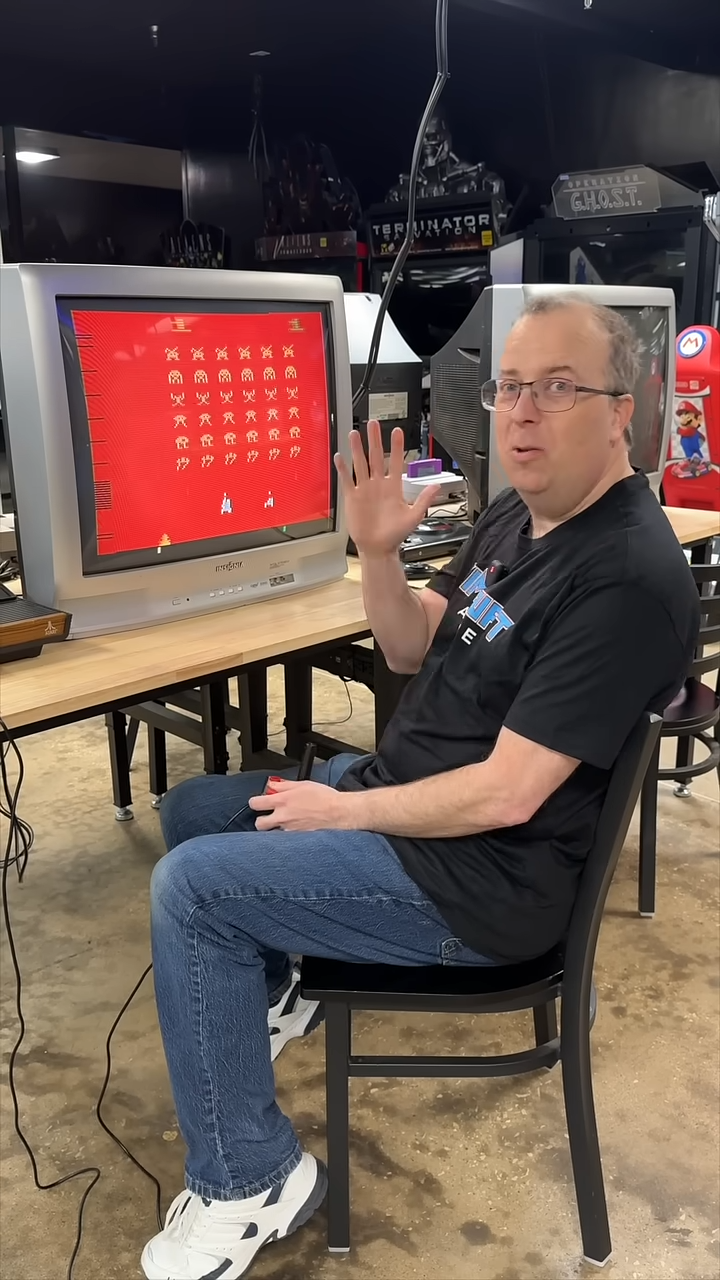
We recently acquired an Atari Liberator arcade cabinet. The cabinet itself was in pretty amazing shape. However, the monitor needed to be serviced. Installed in the cabinet is an Electrohome G07-CBO. Mike performed a cap-kit (electrolytic capacitor replacement), reflowed all of the headers & color transistors, and used Deoxit on all of the color potentiometers.
Watch the Electrohome G07-CBO Cap Kit Video
Atari Liberator Quick History
Atari Liberator (sometimes called Atari Force Liberator) is a spiritual follow up to Atari’s smash hit Missile Command. Missile Command sold over 14,000 cabinets. The idea of Liberator was rumored to be based on the idea of then President Ronal Reagan’s Star Wars Defense System. This turned Missile Command upside down. The game was now played from space!
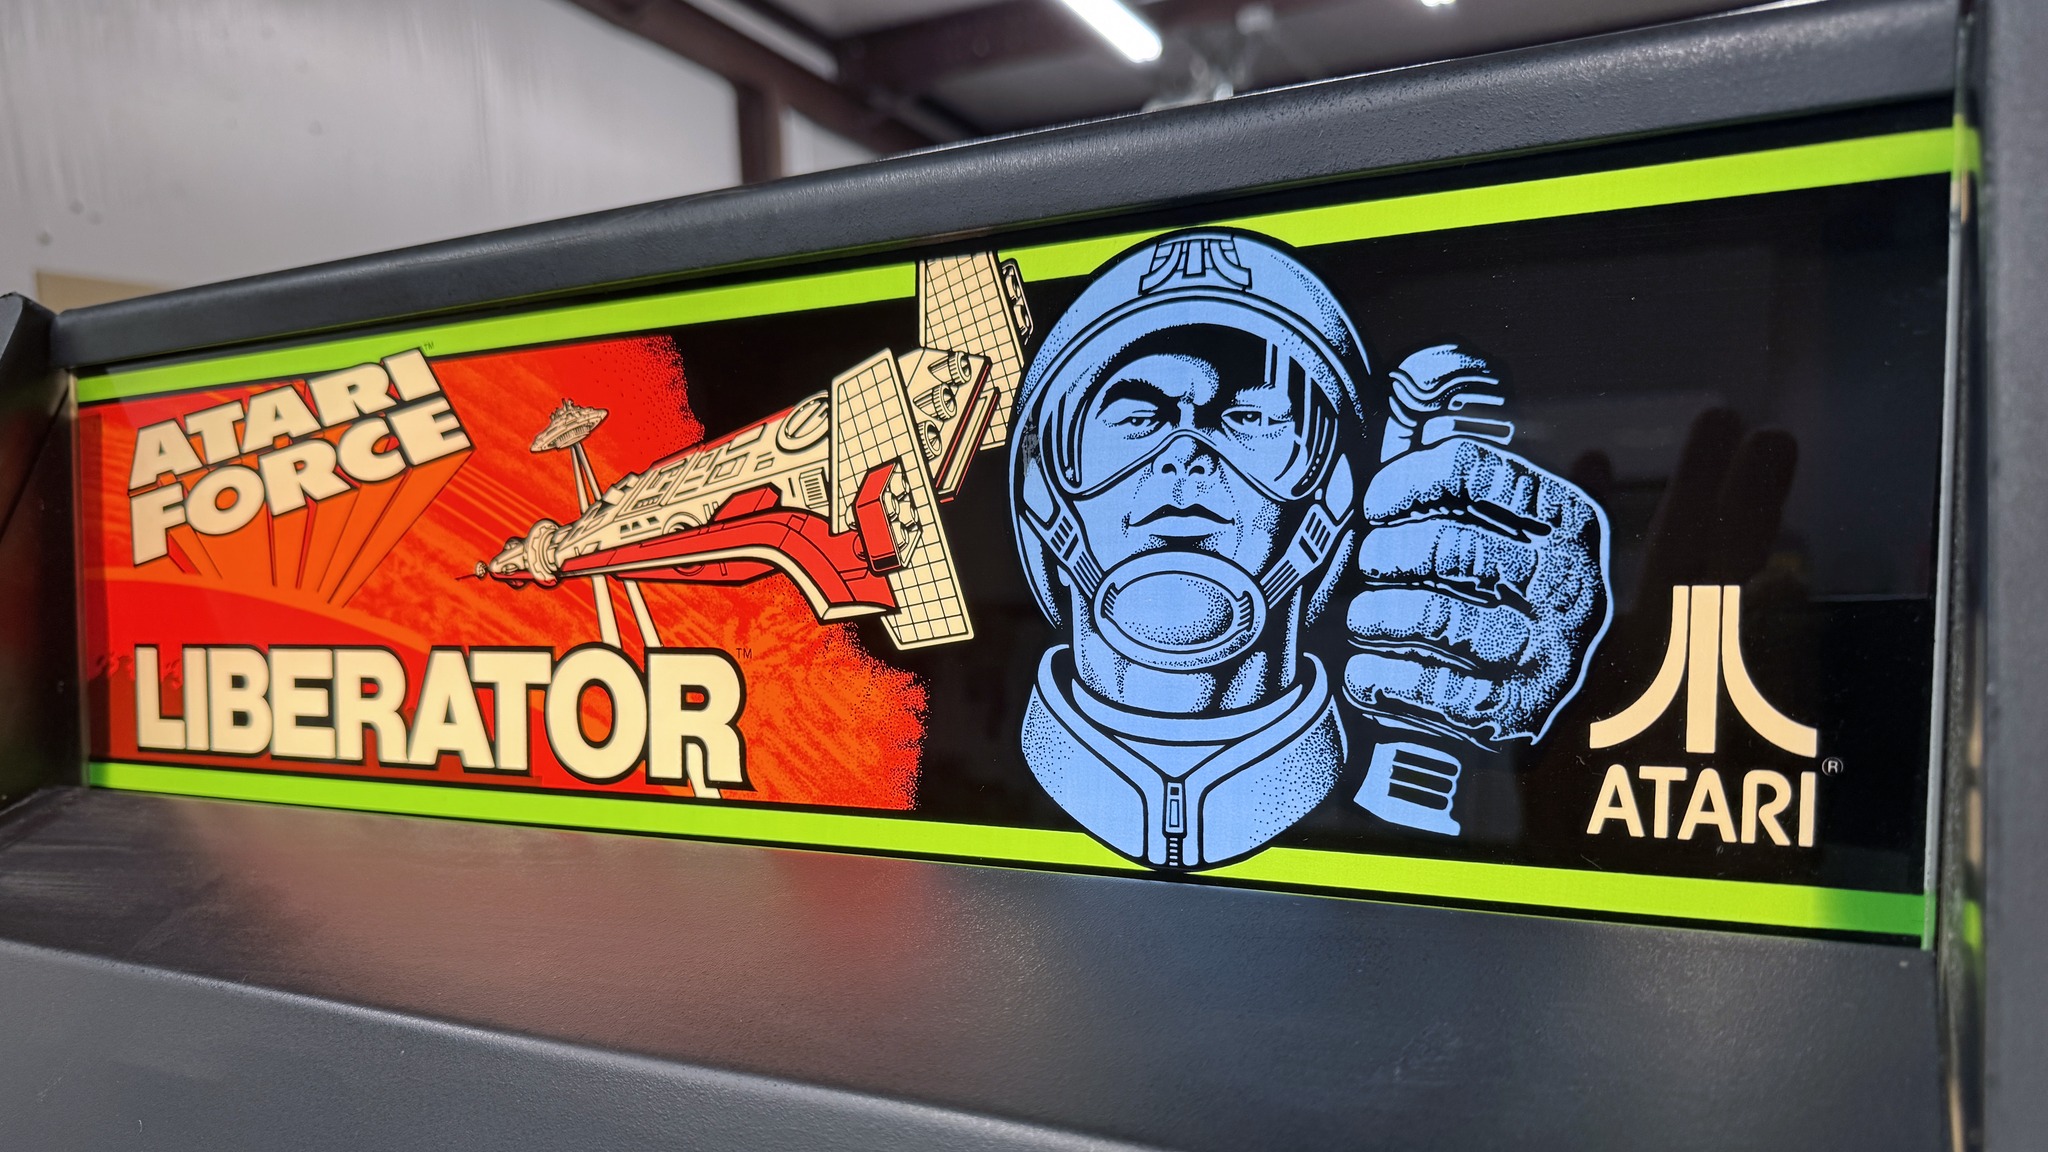
Unfortunately, due to Atari internal politics resulting is slow sales, only 762 liberator cabinets were ever shipped before Atari cancelled the entire project and canned the game.
State of the Liberator Cabinet
The Atari Liberator cabinet was acquired from the garage of a father’s estate in non-working condition. Once we received the cabinet at our warehouse we were very pleased with its physical condition. The cabinet only had minor damage. Some scratches and chips in the side panels. Amazing shape when you consider the game is over 40 years old.
From a technical perspective the cabinet did require some work. The speakers were shot. The power supply fuse block was butchered, the marquee light was out, and the monitor’s (Electrohome G07-CBO) color was muted & blue was flickering in and out.
In this article, we’re going to cover the servicing and repair of the monitor. Now to some, you may be asking why we don’t just fix the cold solder joint, pot, or bad color transistor and call it a day. Why are we doing a full cap kit when the monitor is otherwise working?
The date code on the chassis of this monitor is 1982. And some of the caps have 1981 date codes. That means the capacitors on this monitor are over 40 years old. Electrolytic capacitors are basically a roll of foil sandwiched between a layer of electrolyte. That electrolyte dries out over time. When it does the capacitors start to short internally. This causes them to begin bulging. Soon enough they will pop, and cease to function.
As an arcade operator, we don’t want a game to go down. We want to do preventative maintenance now, so that we can expect the game to stay up and running reliably on the floor for the foreseeable future!
Performing the Electrohome G07-CBO Cap Kit
Before servicing the Electrohome G07-CBO, I sit down and make a list of every capacitor, its location, value in volts and its capacitance value. As I replace each capacitor, I check it off on this list.
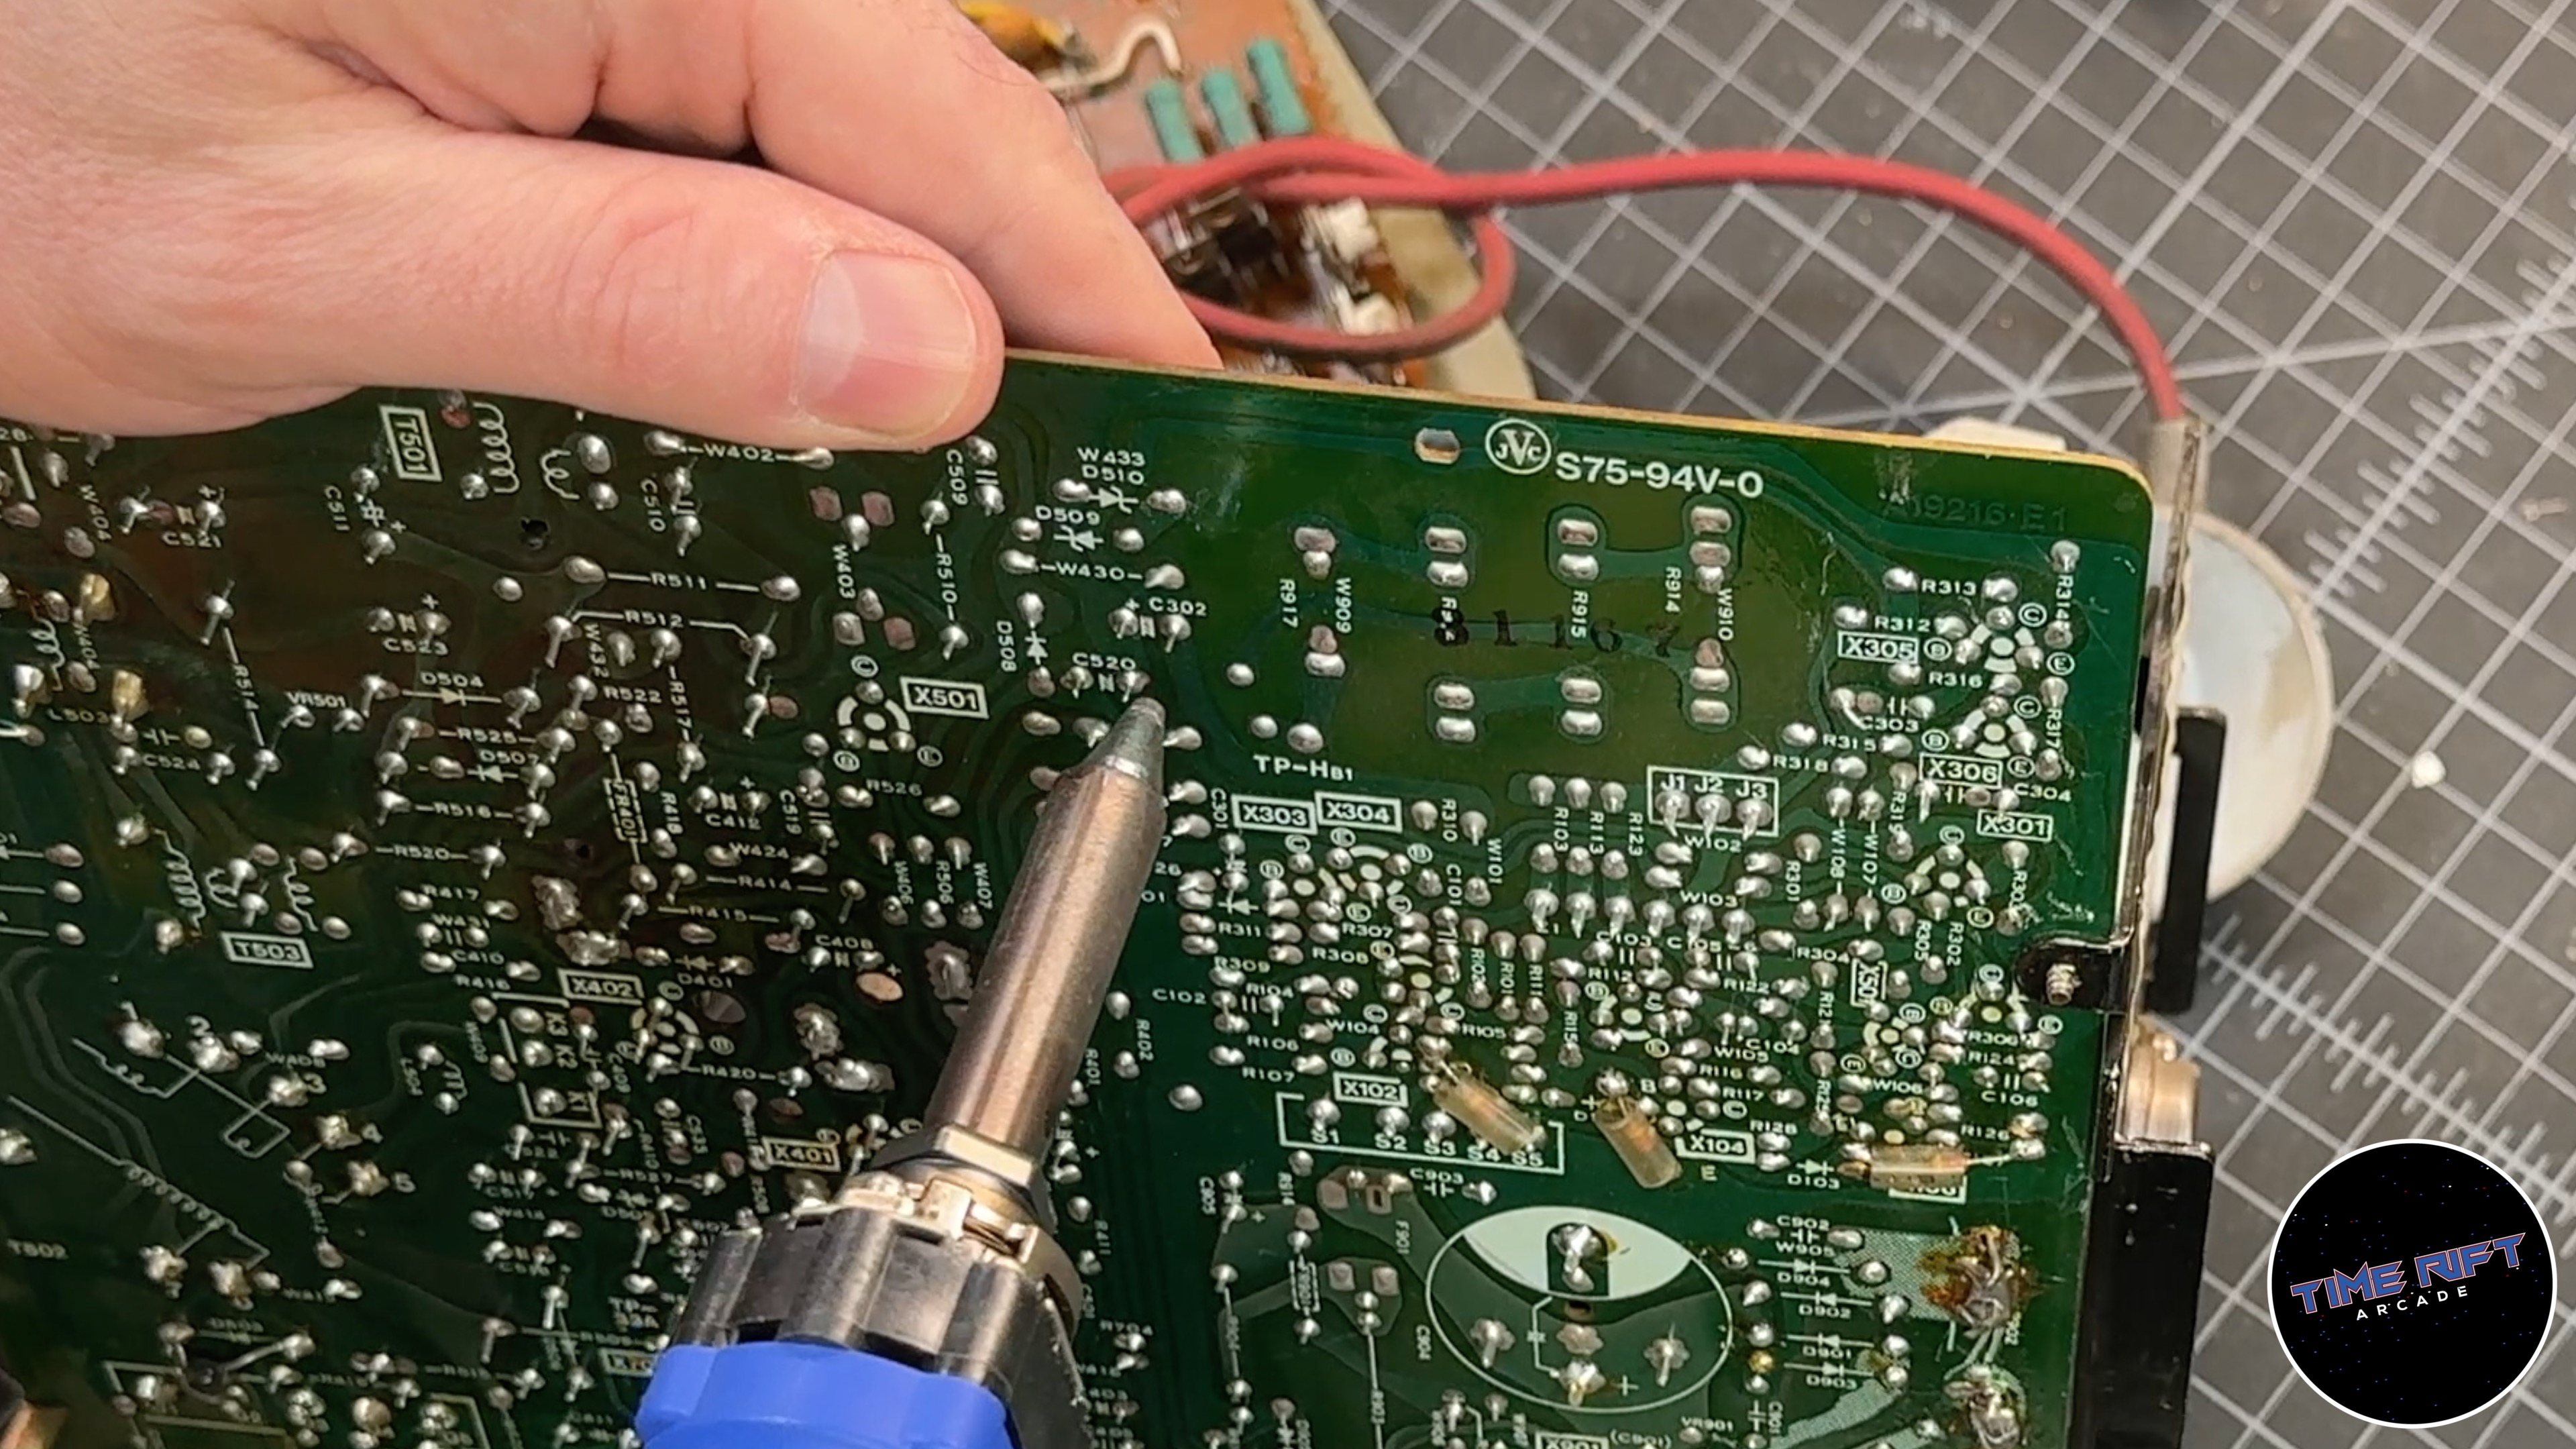
I use a Hakko deslodering gun to remove capacitors. I find it much faster and more reliable to desoldering braid. But either way works. Think of the Hakko as a vacuum for solder. It melts the solder and then sucks in up into a holding chamber.
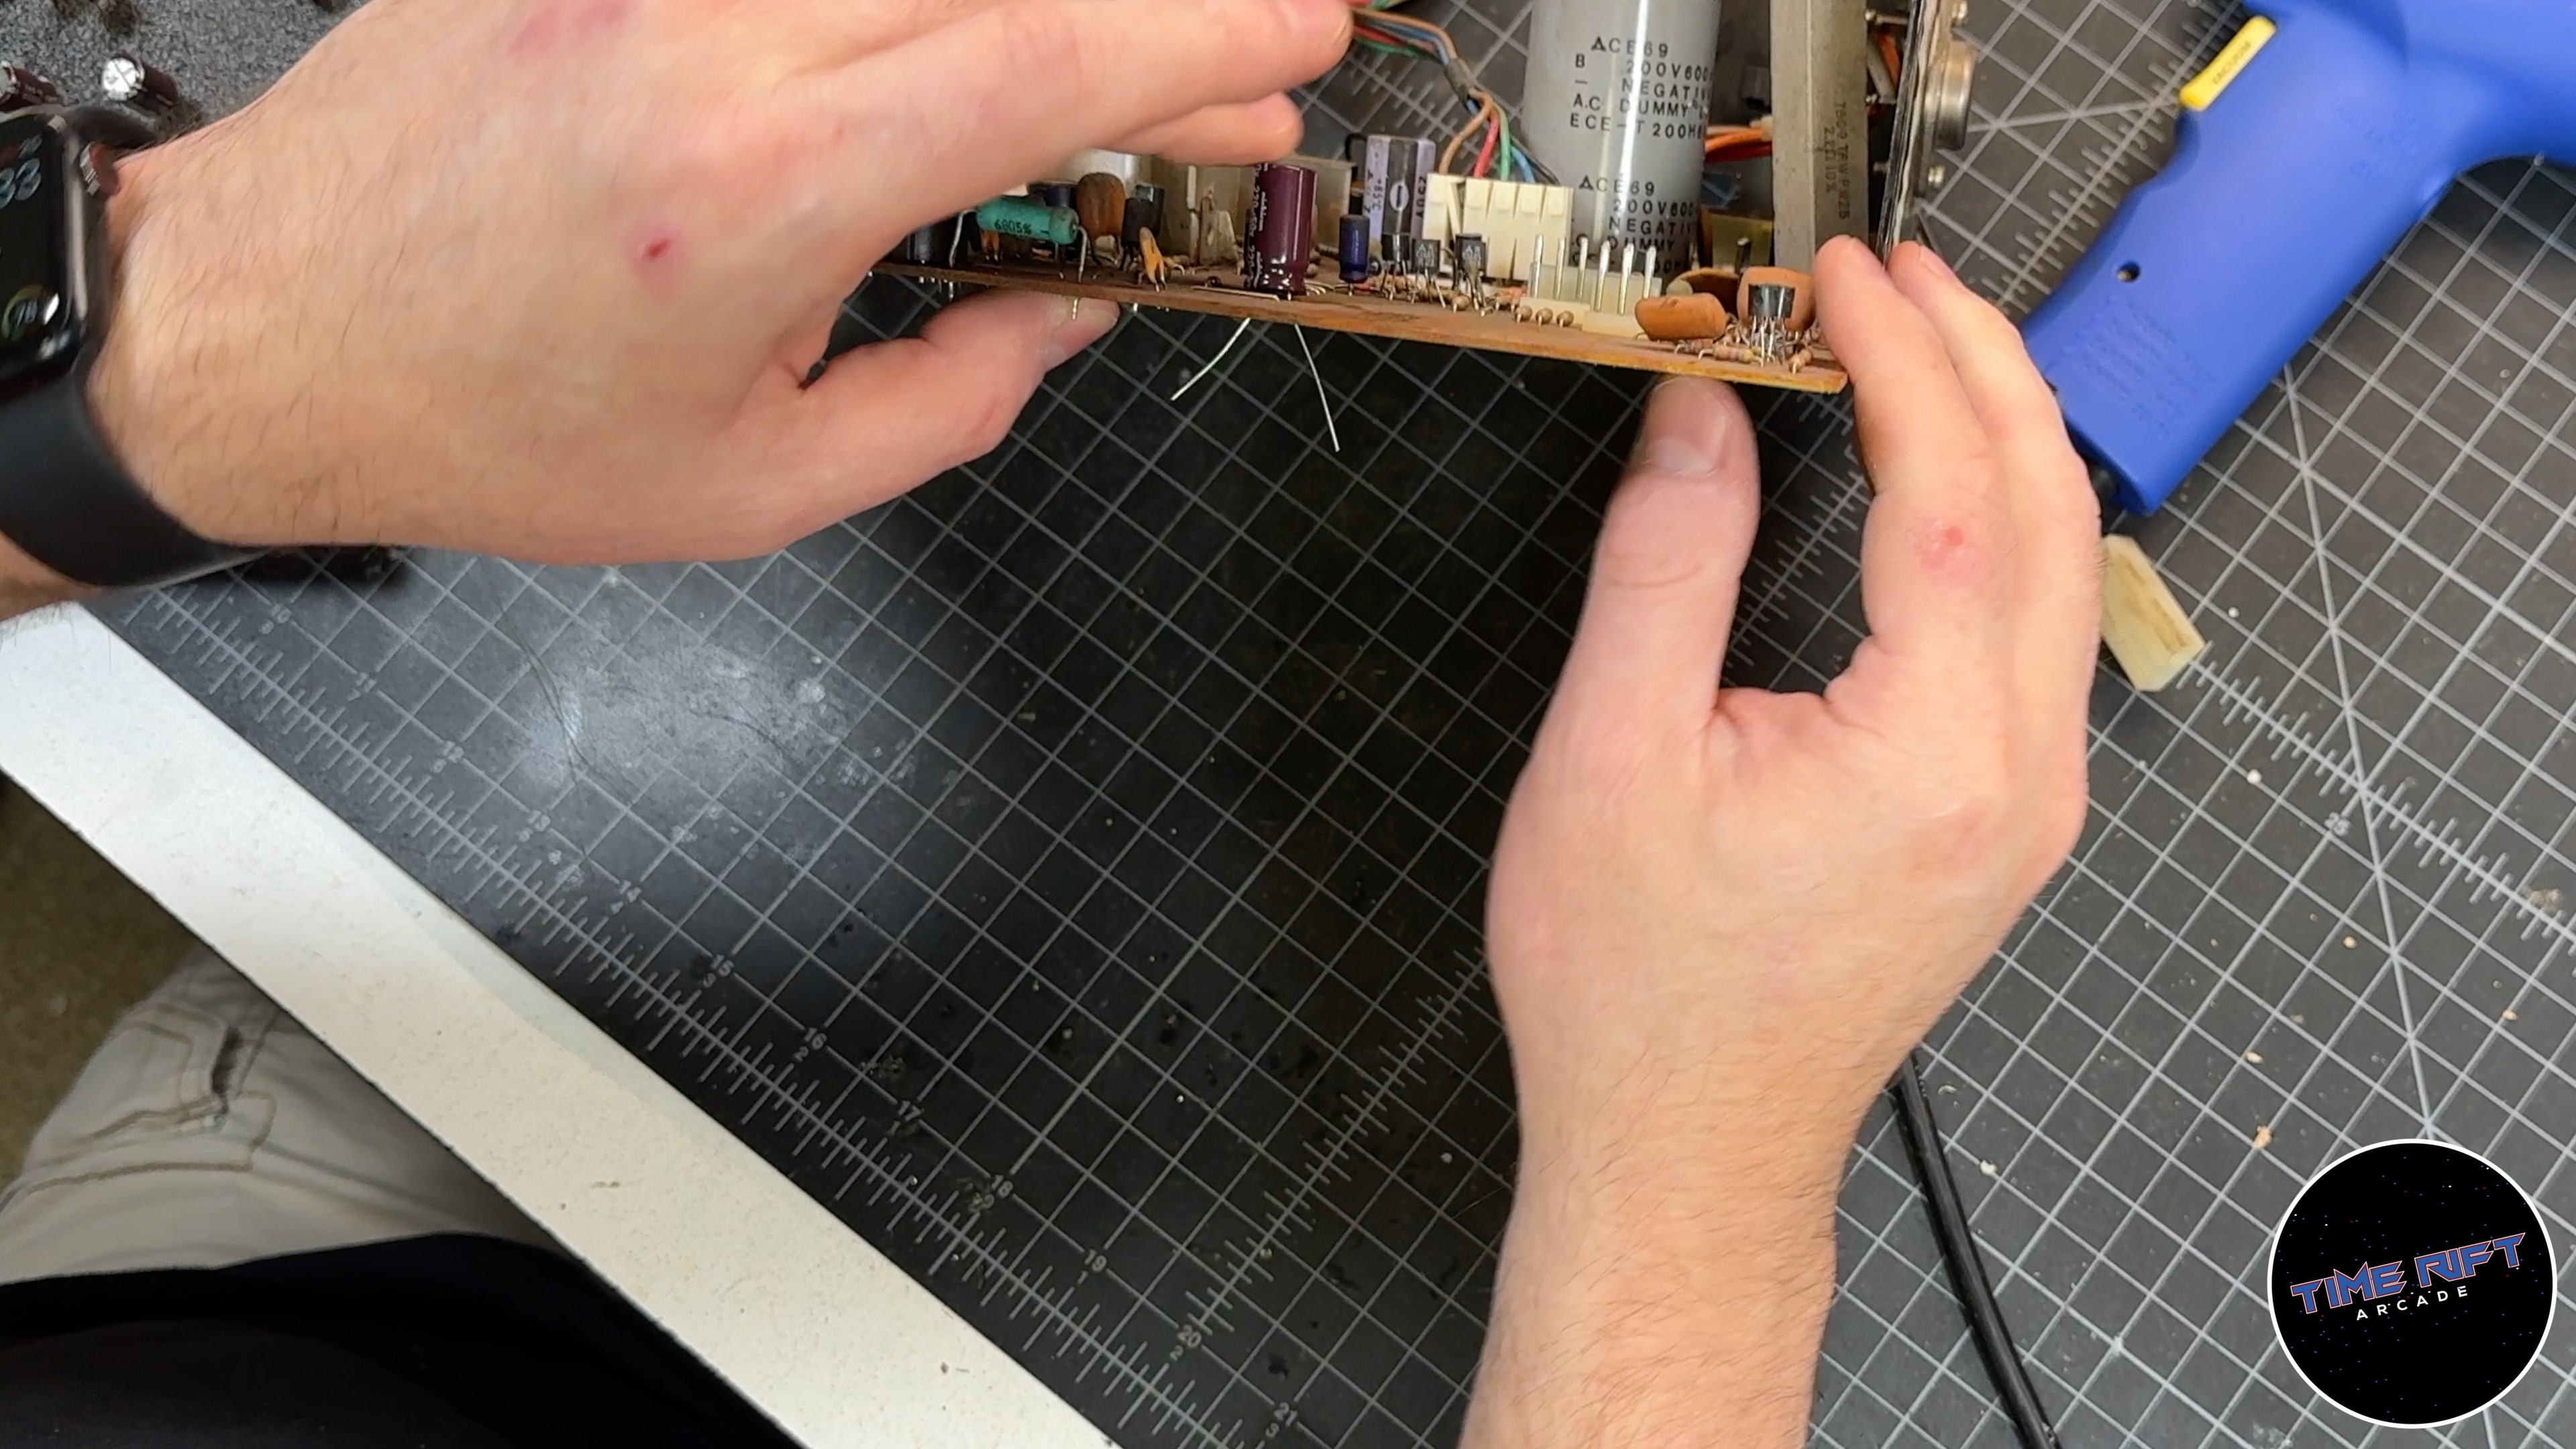
After I remove each capacitor I check it for the correct voltage and capacitance. I do this for several reasons.
- To make sure I removed the right capacitor
- If its been serviced before and has the wrong value, that may explain what’s wrong with the monitor or why it isn’t working correctly (geometry or color issues)
- It’s possible my own list is wrong.
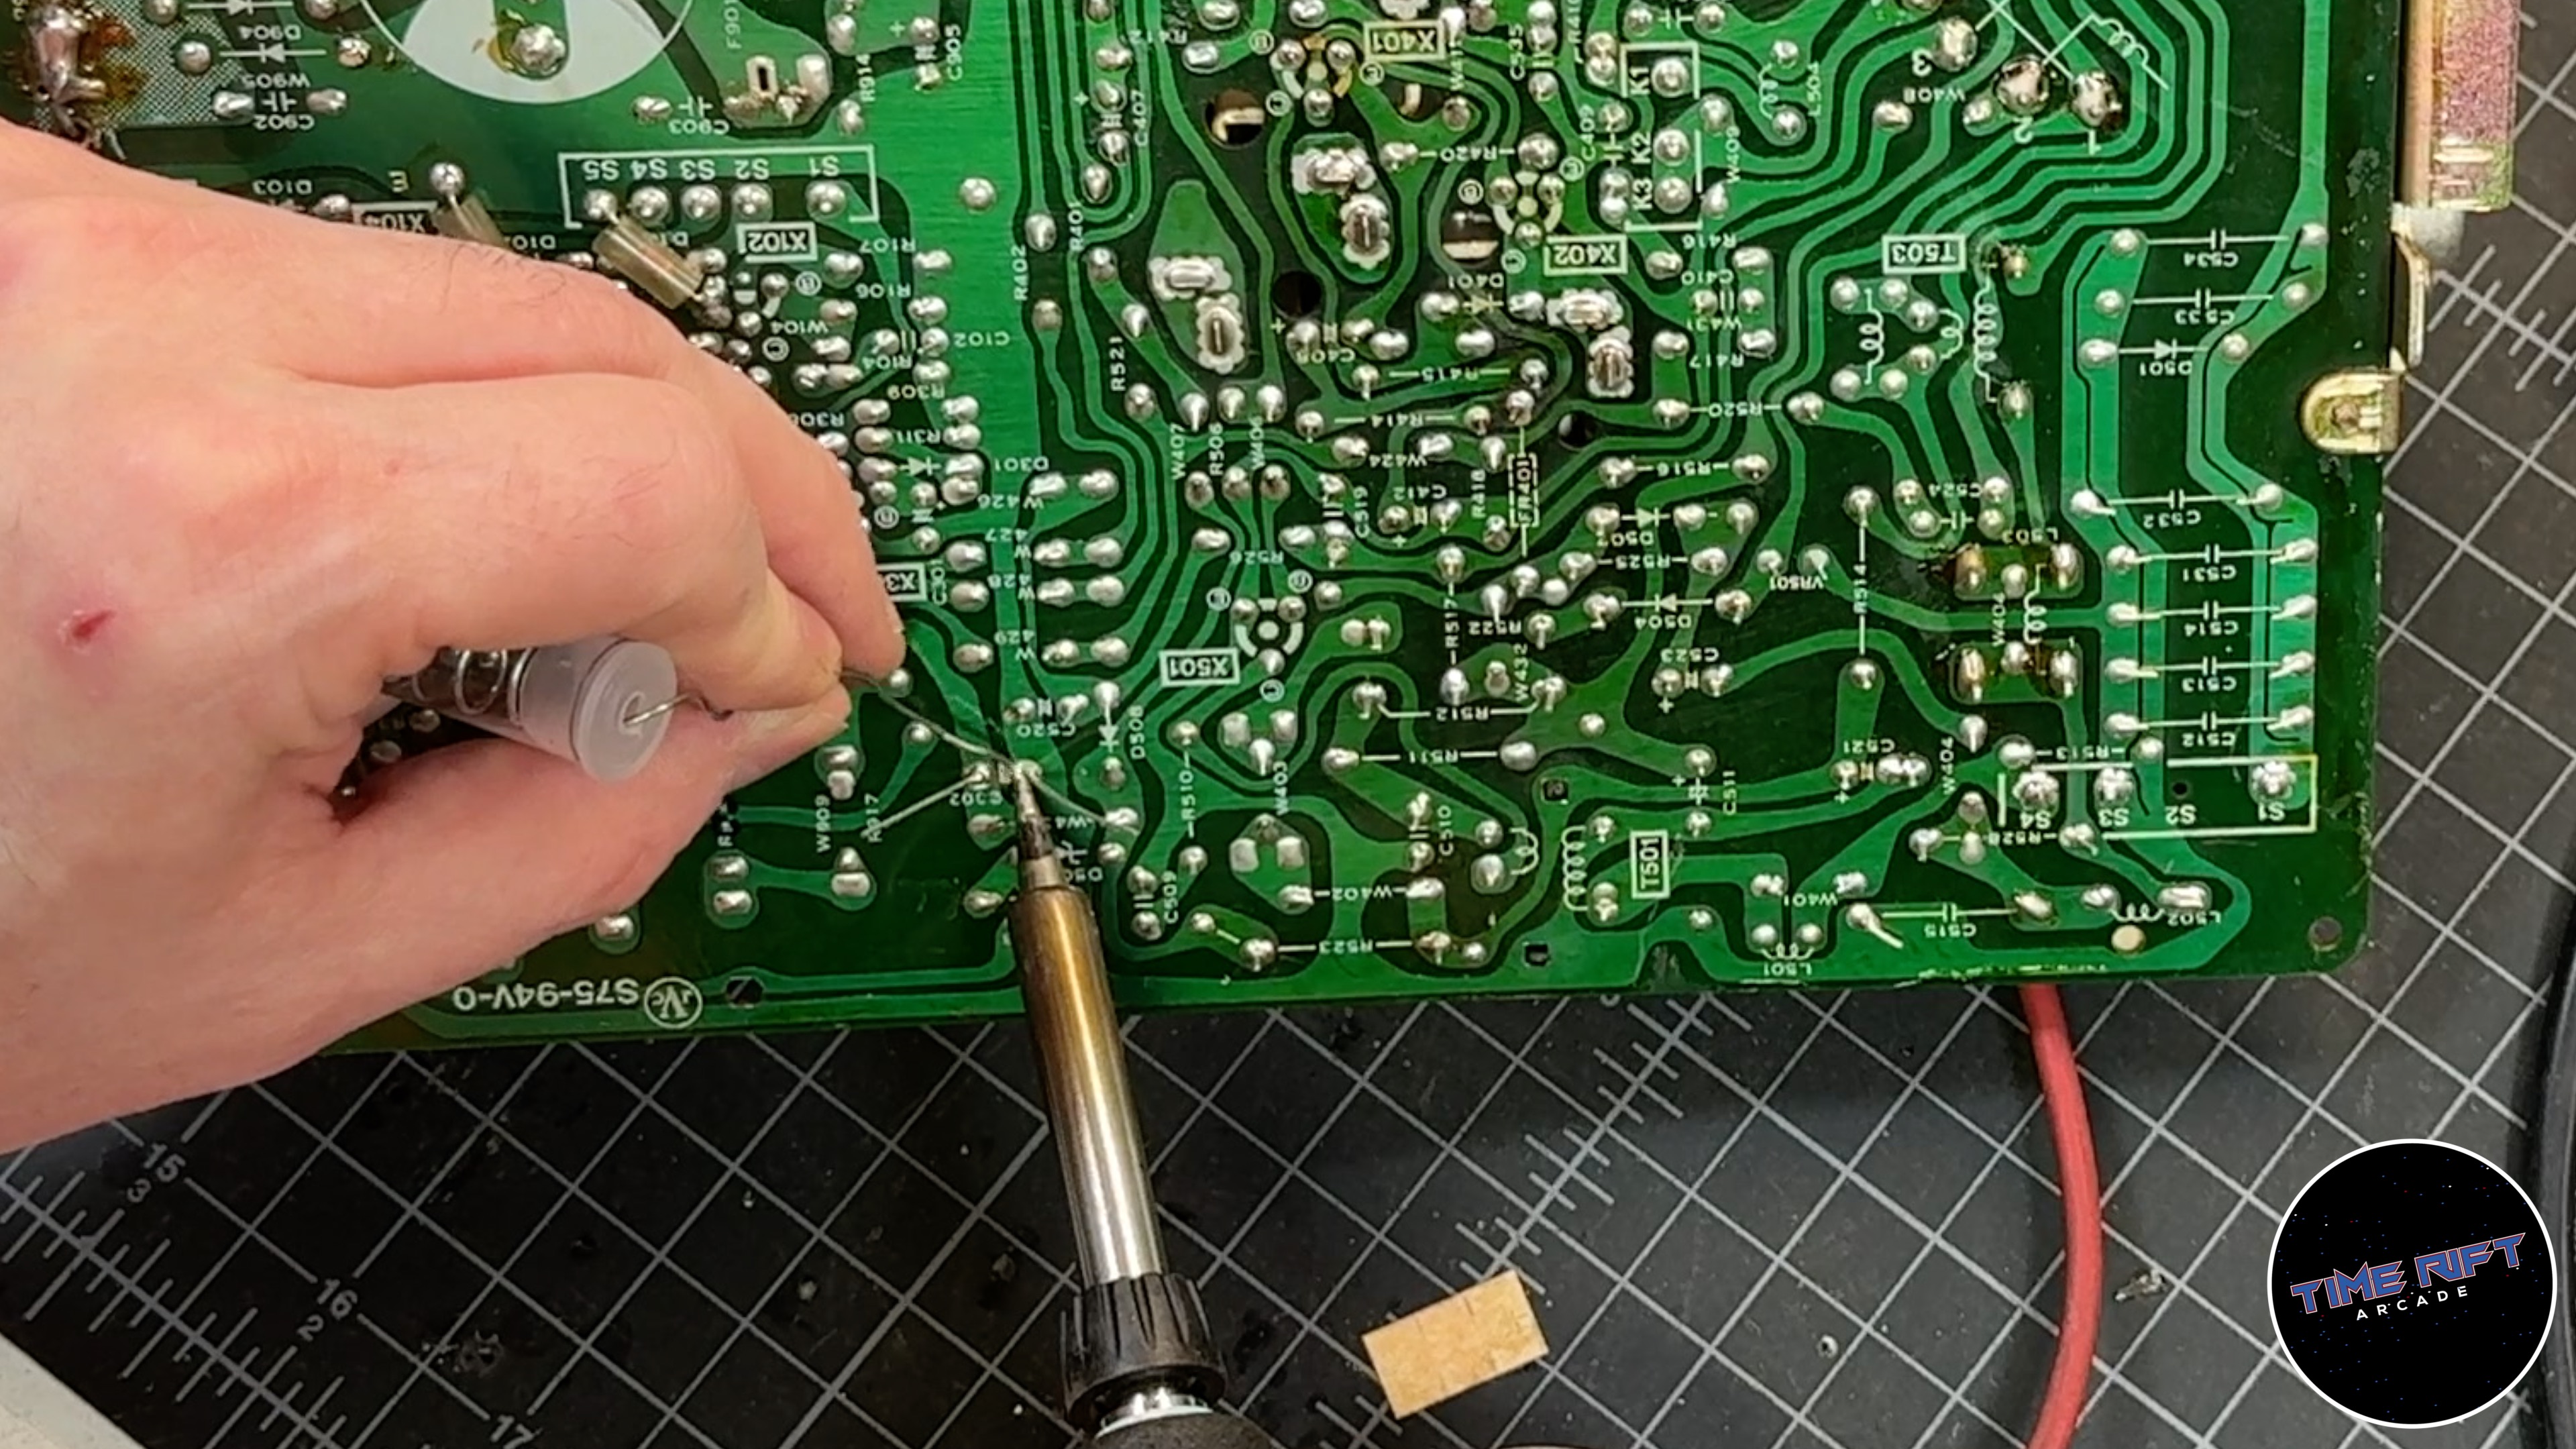
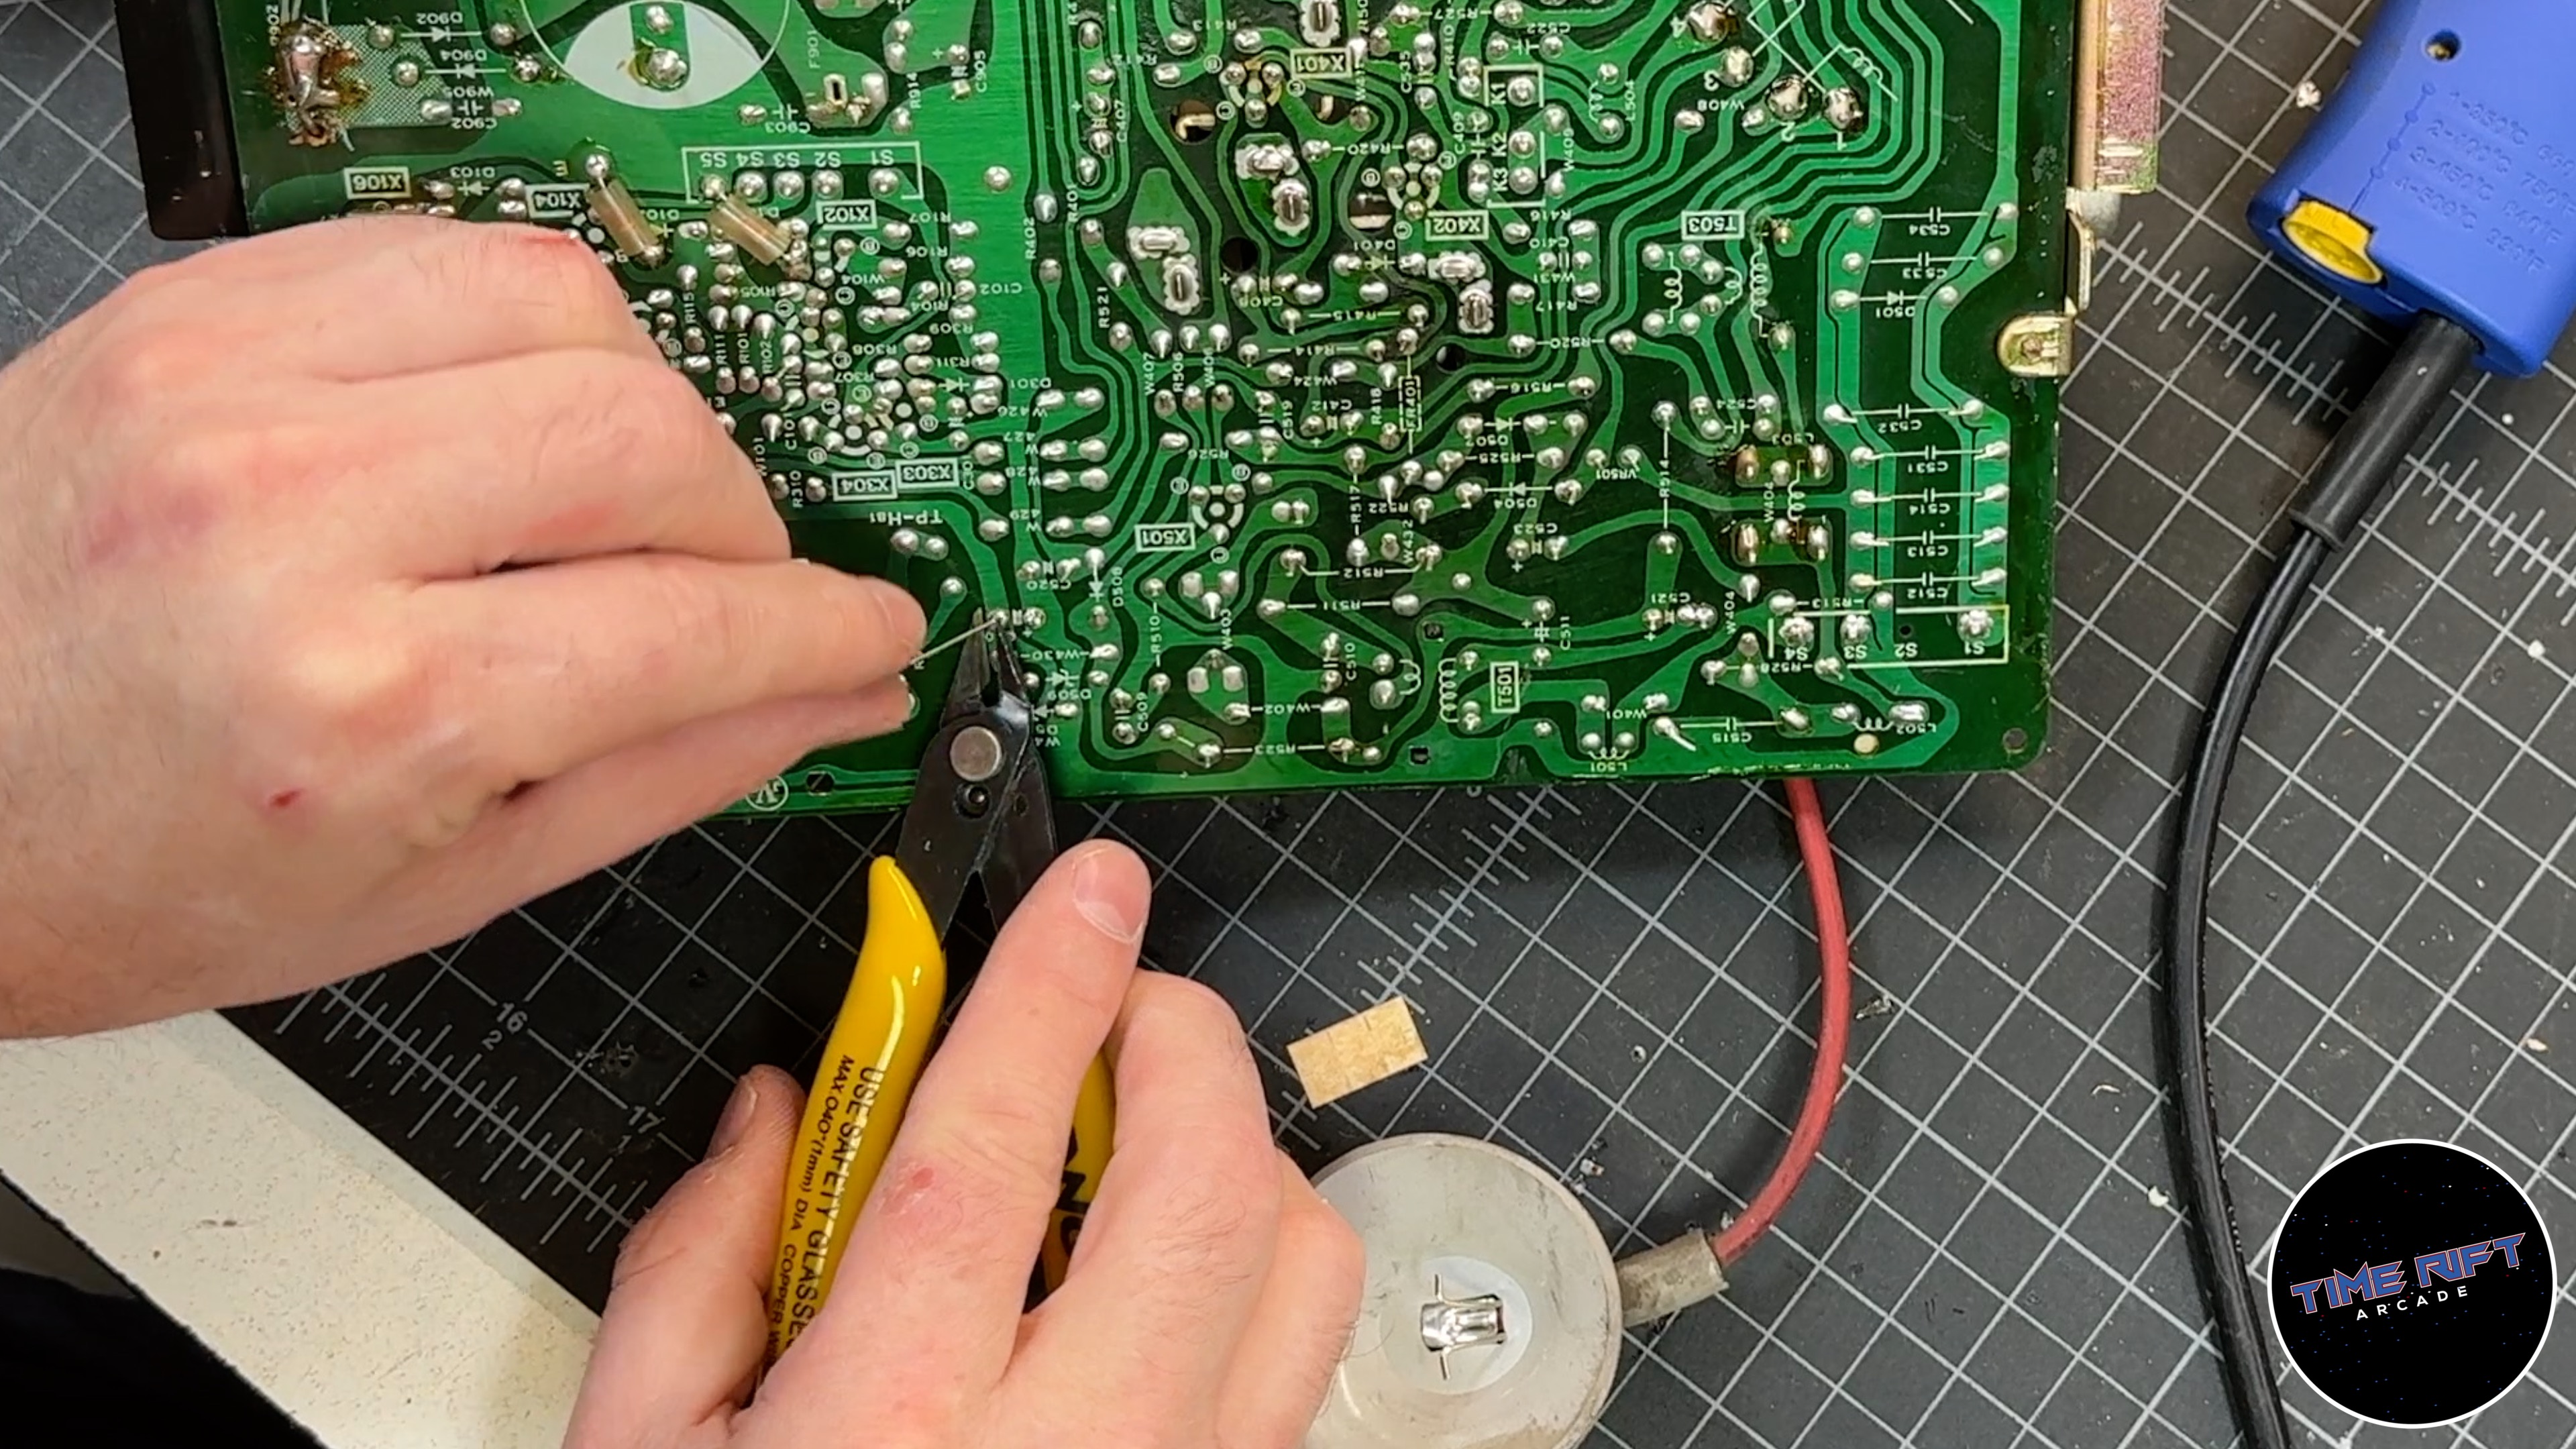
After soldering the new capacitor into place, you’ll want to trim the leads.
When performing a cap kit on the Electrohome G07-CBO or just about any CRT monitor, you may find that you don’t have the correct capacitor.
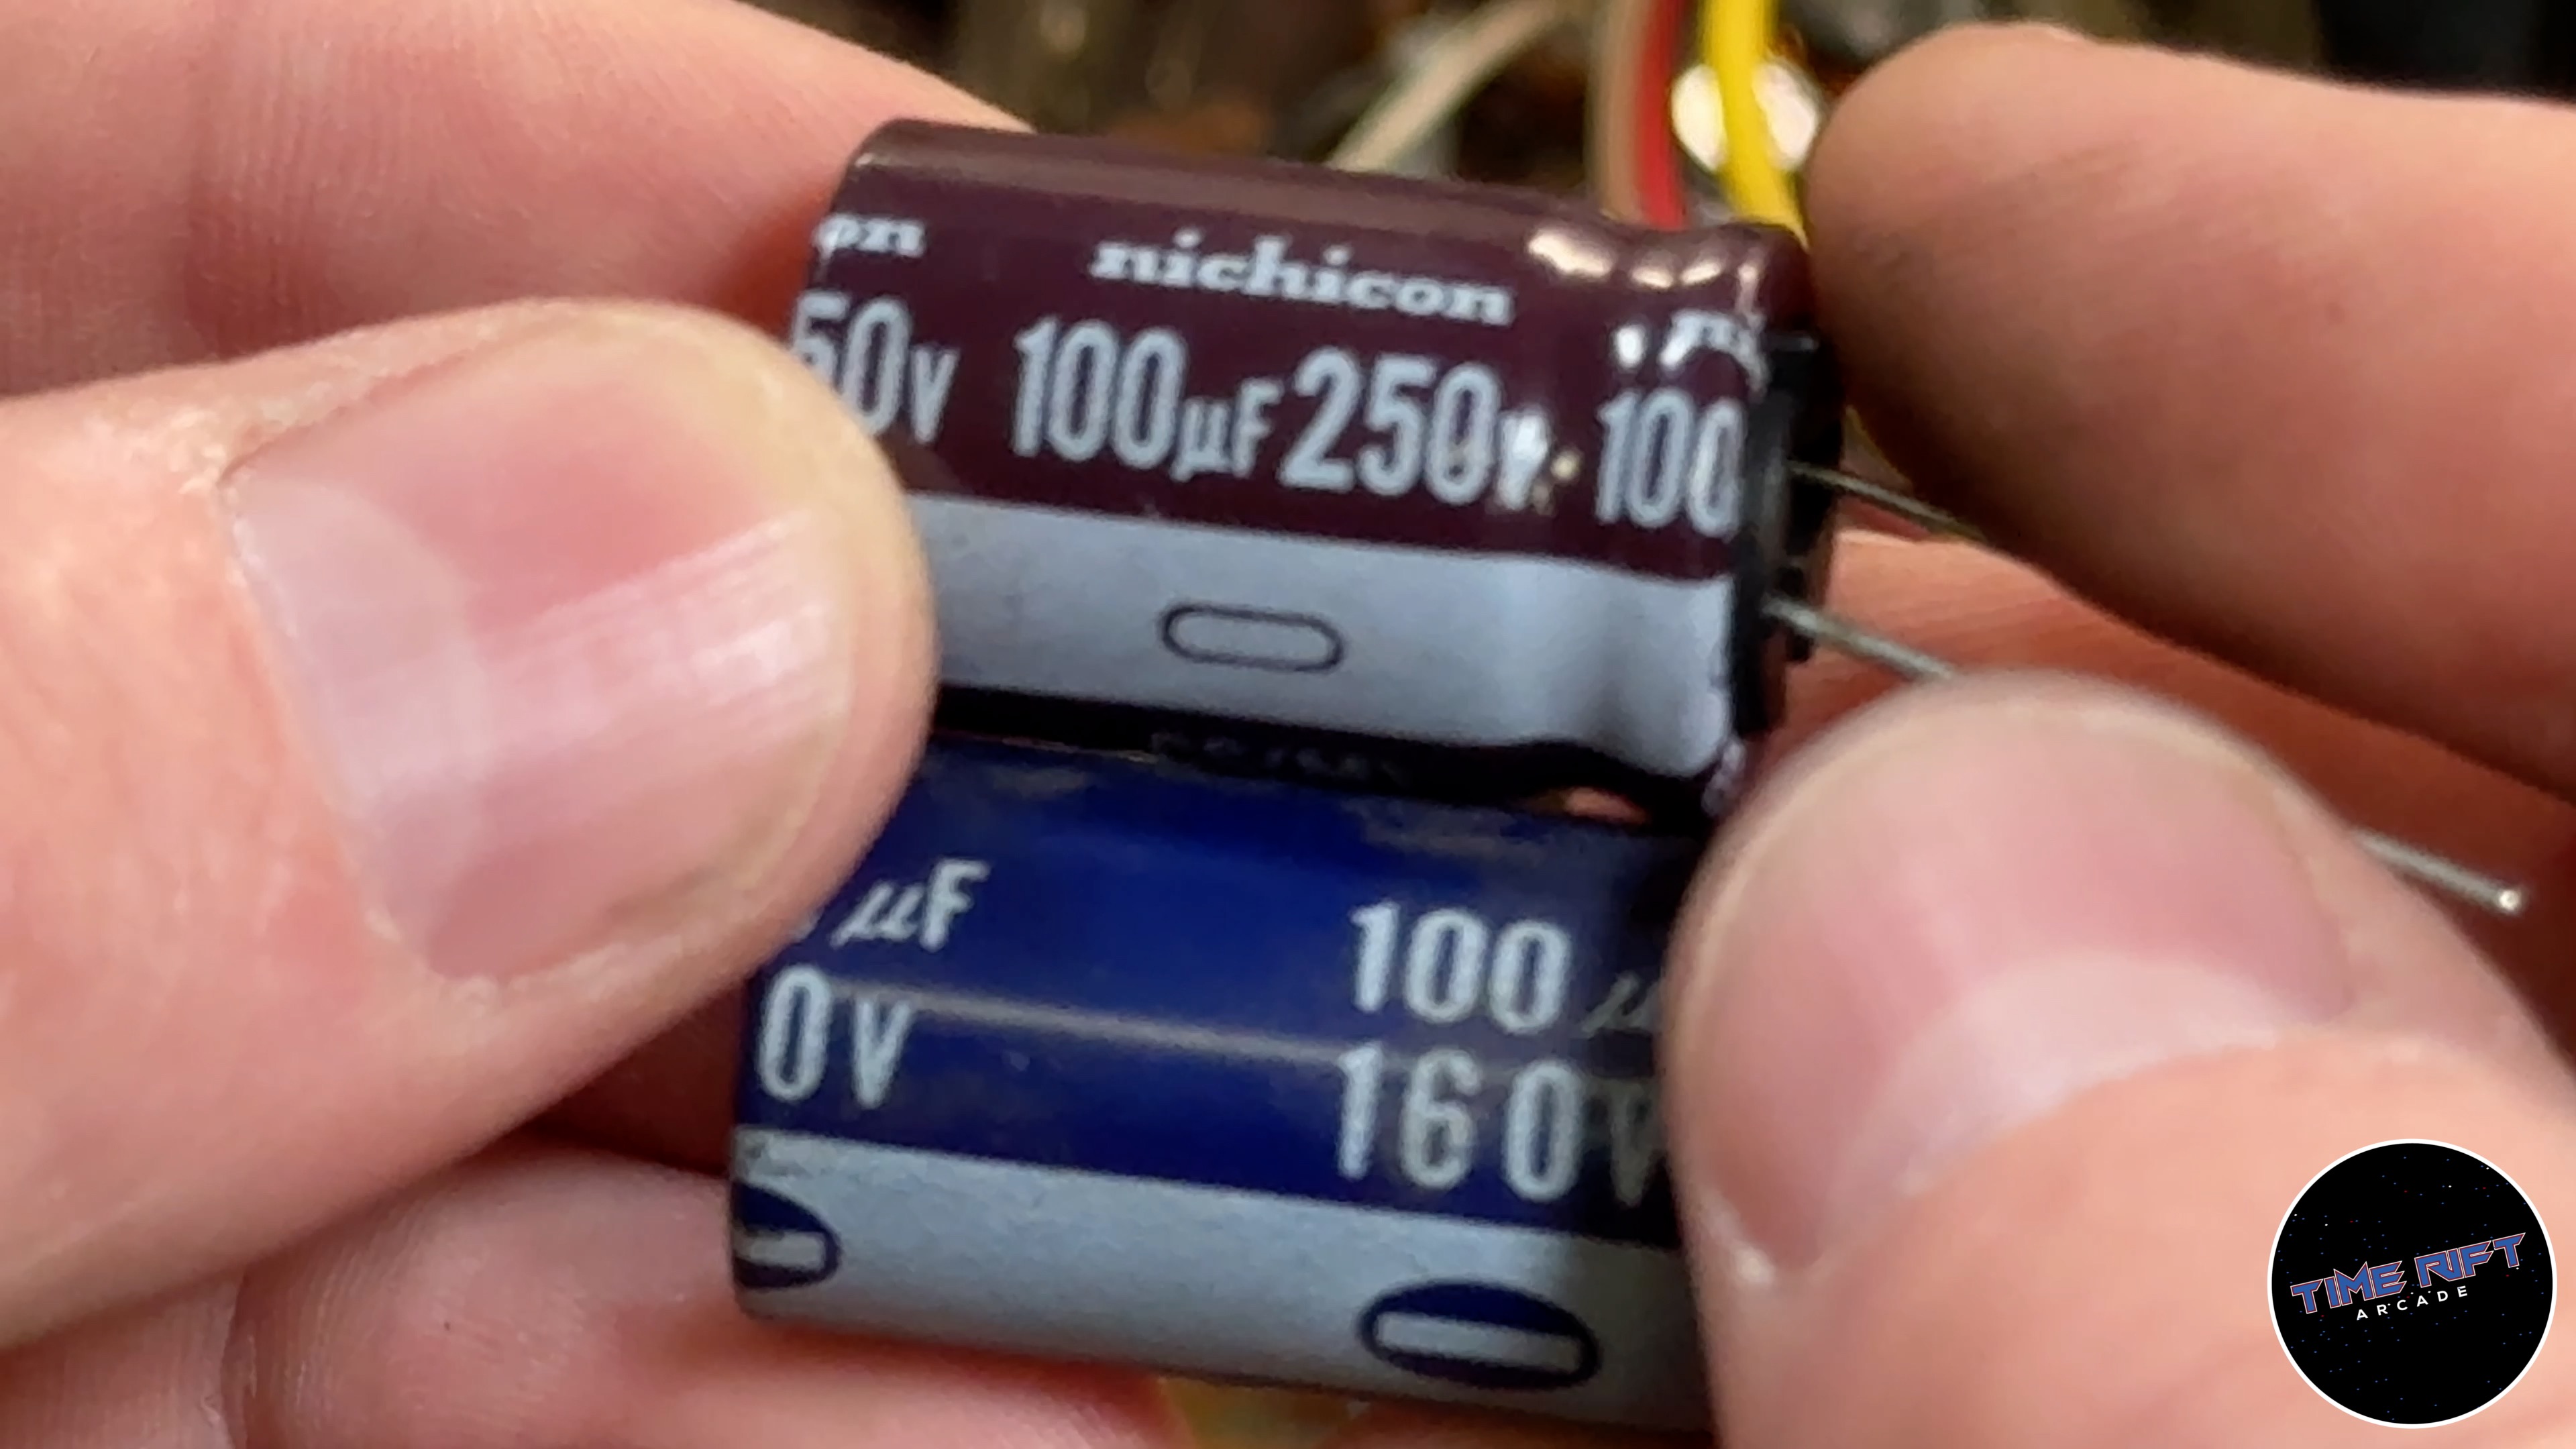
Fear not, as there is a trick. As long as you keep the capacitance the same, in this case 100µF, you can put a capacitor in of a larger voltage. In this case, I subbed a 250 volt capacitor when the original was only rated for 160 volt. This is perfectly fine!
Reflowing the Headers and Transistors
When working on the Electrohome G07-CBO its always a good idea to reflow the solder on all of the headers and the color transistors on the neck board.
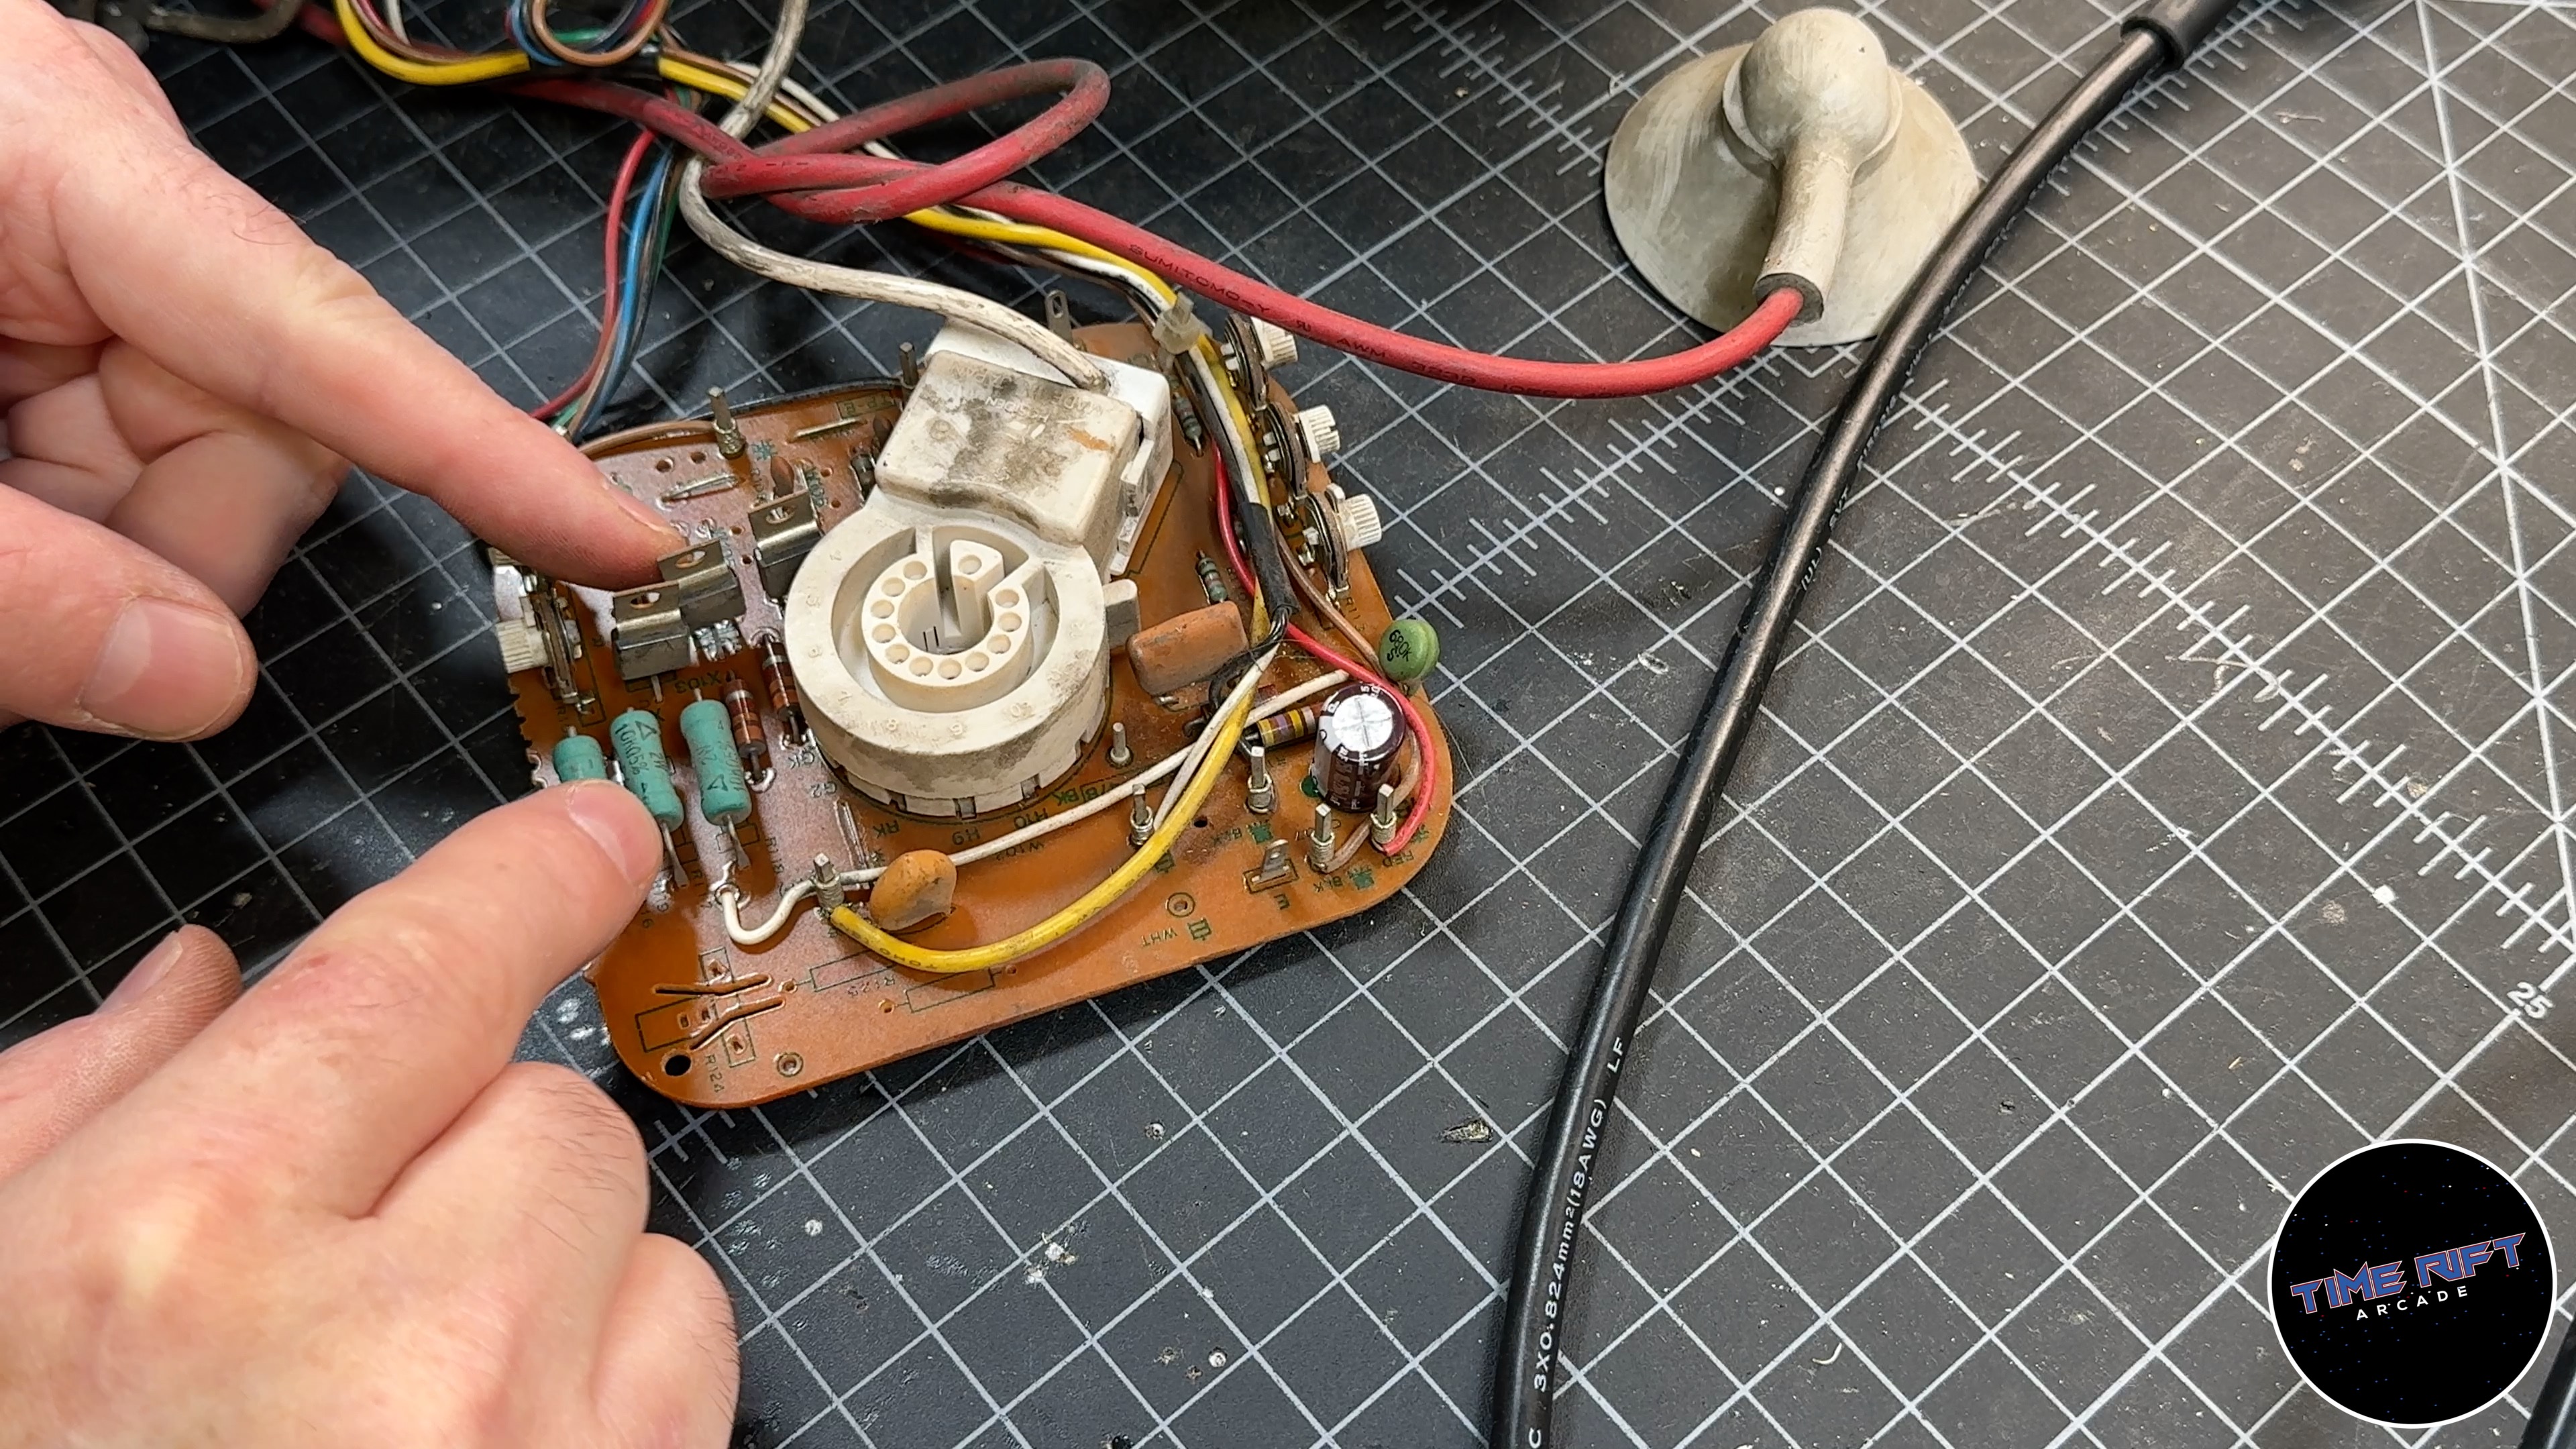
The headers are plugged and unplugged hundreds of times over the life of the CRT. This makes the solder joints on these pins highly susceptible to cracking. In fact, I’ve seen entire traces broken.
In addition, the color transistors on the neck board are notorious for cold solder joints. Reflowing them is a good idea any time you service one of these monitors.
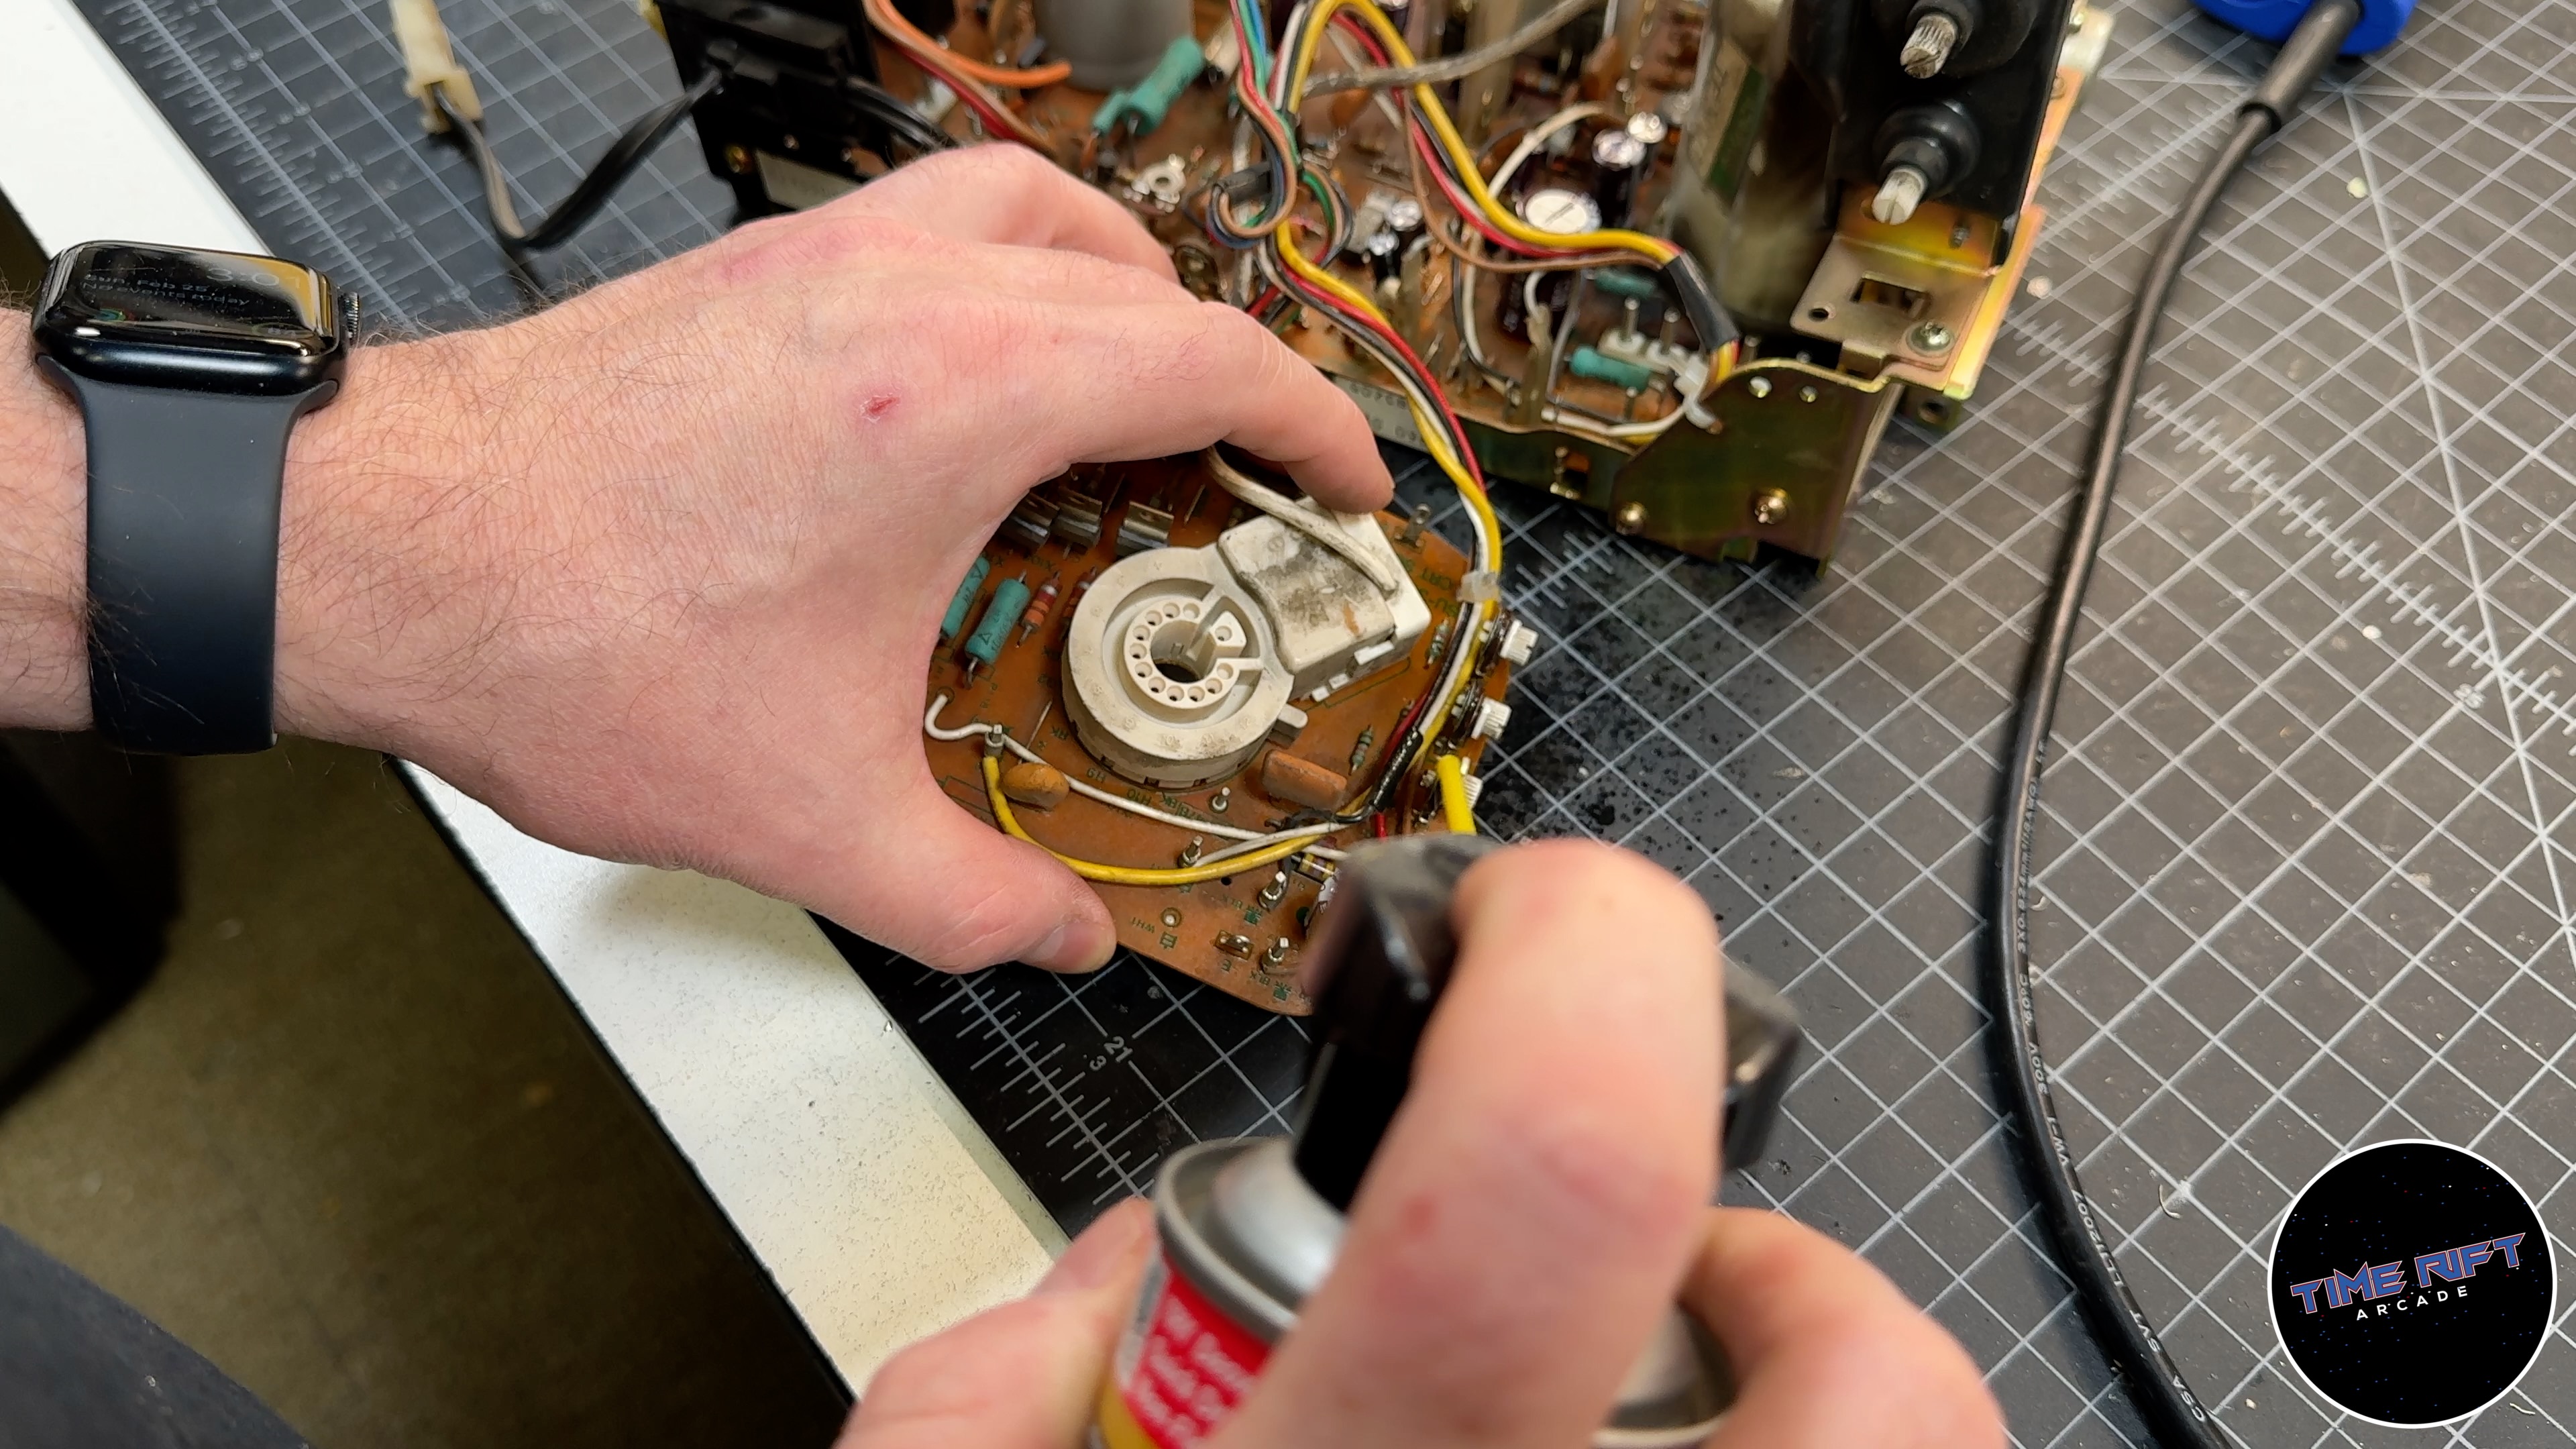
The last thing I did to service this monitor was to Deoxit the pots. This is just a preventative maintenance issue, but a crusty pot could be the reason our blue keeps popping in and out.
Completed Cap Kit
I’ve probably done close to 50 cap kits in the last two years. Most of the time you can’t see much difference.
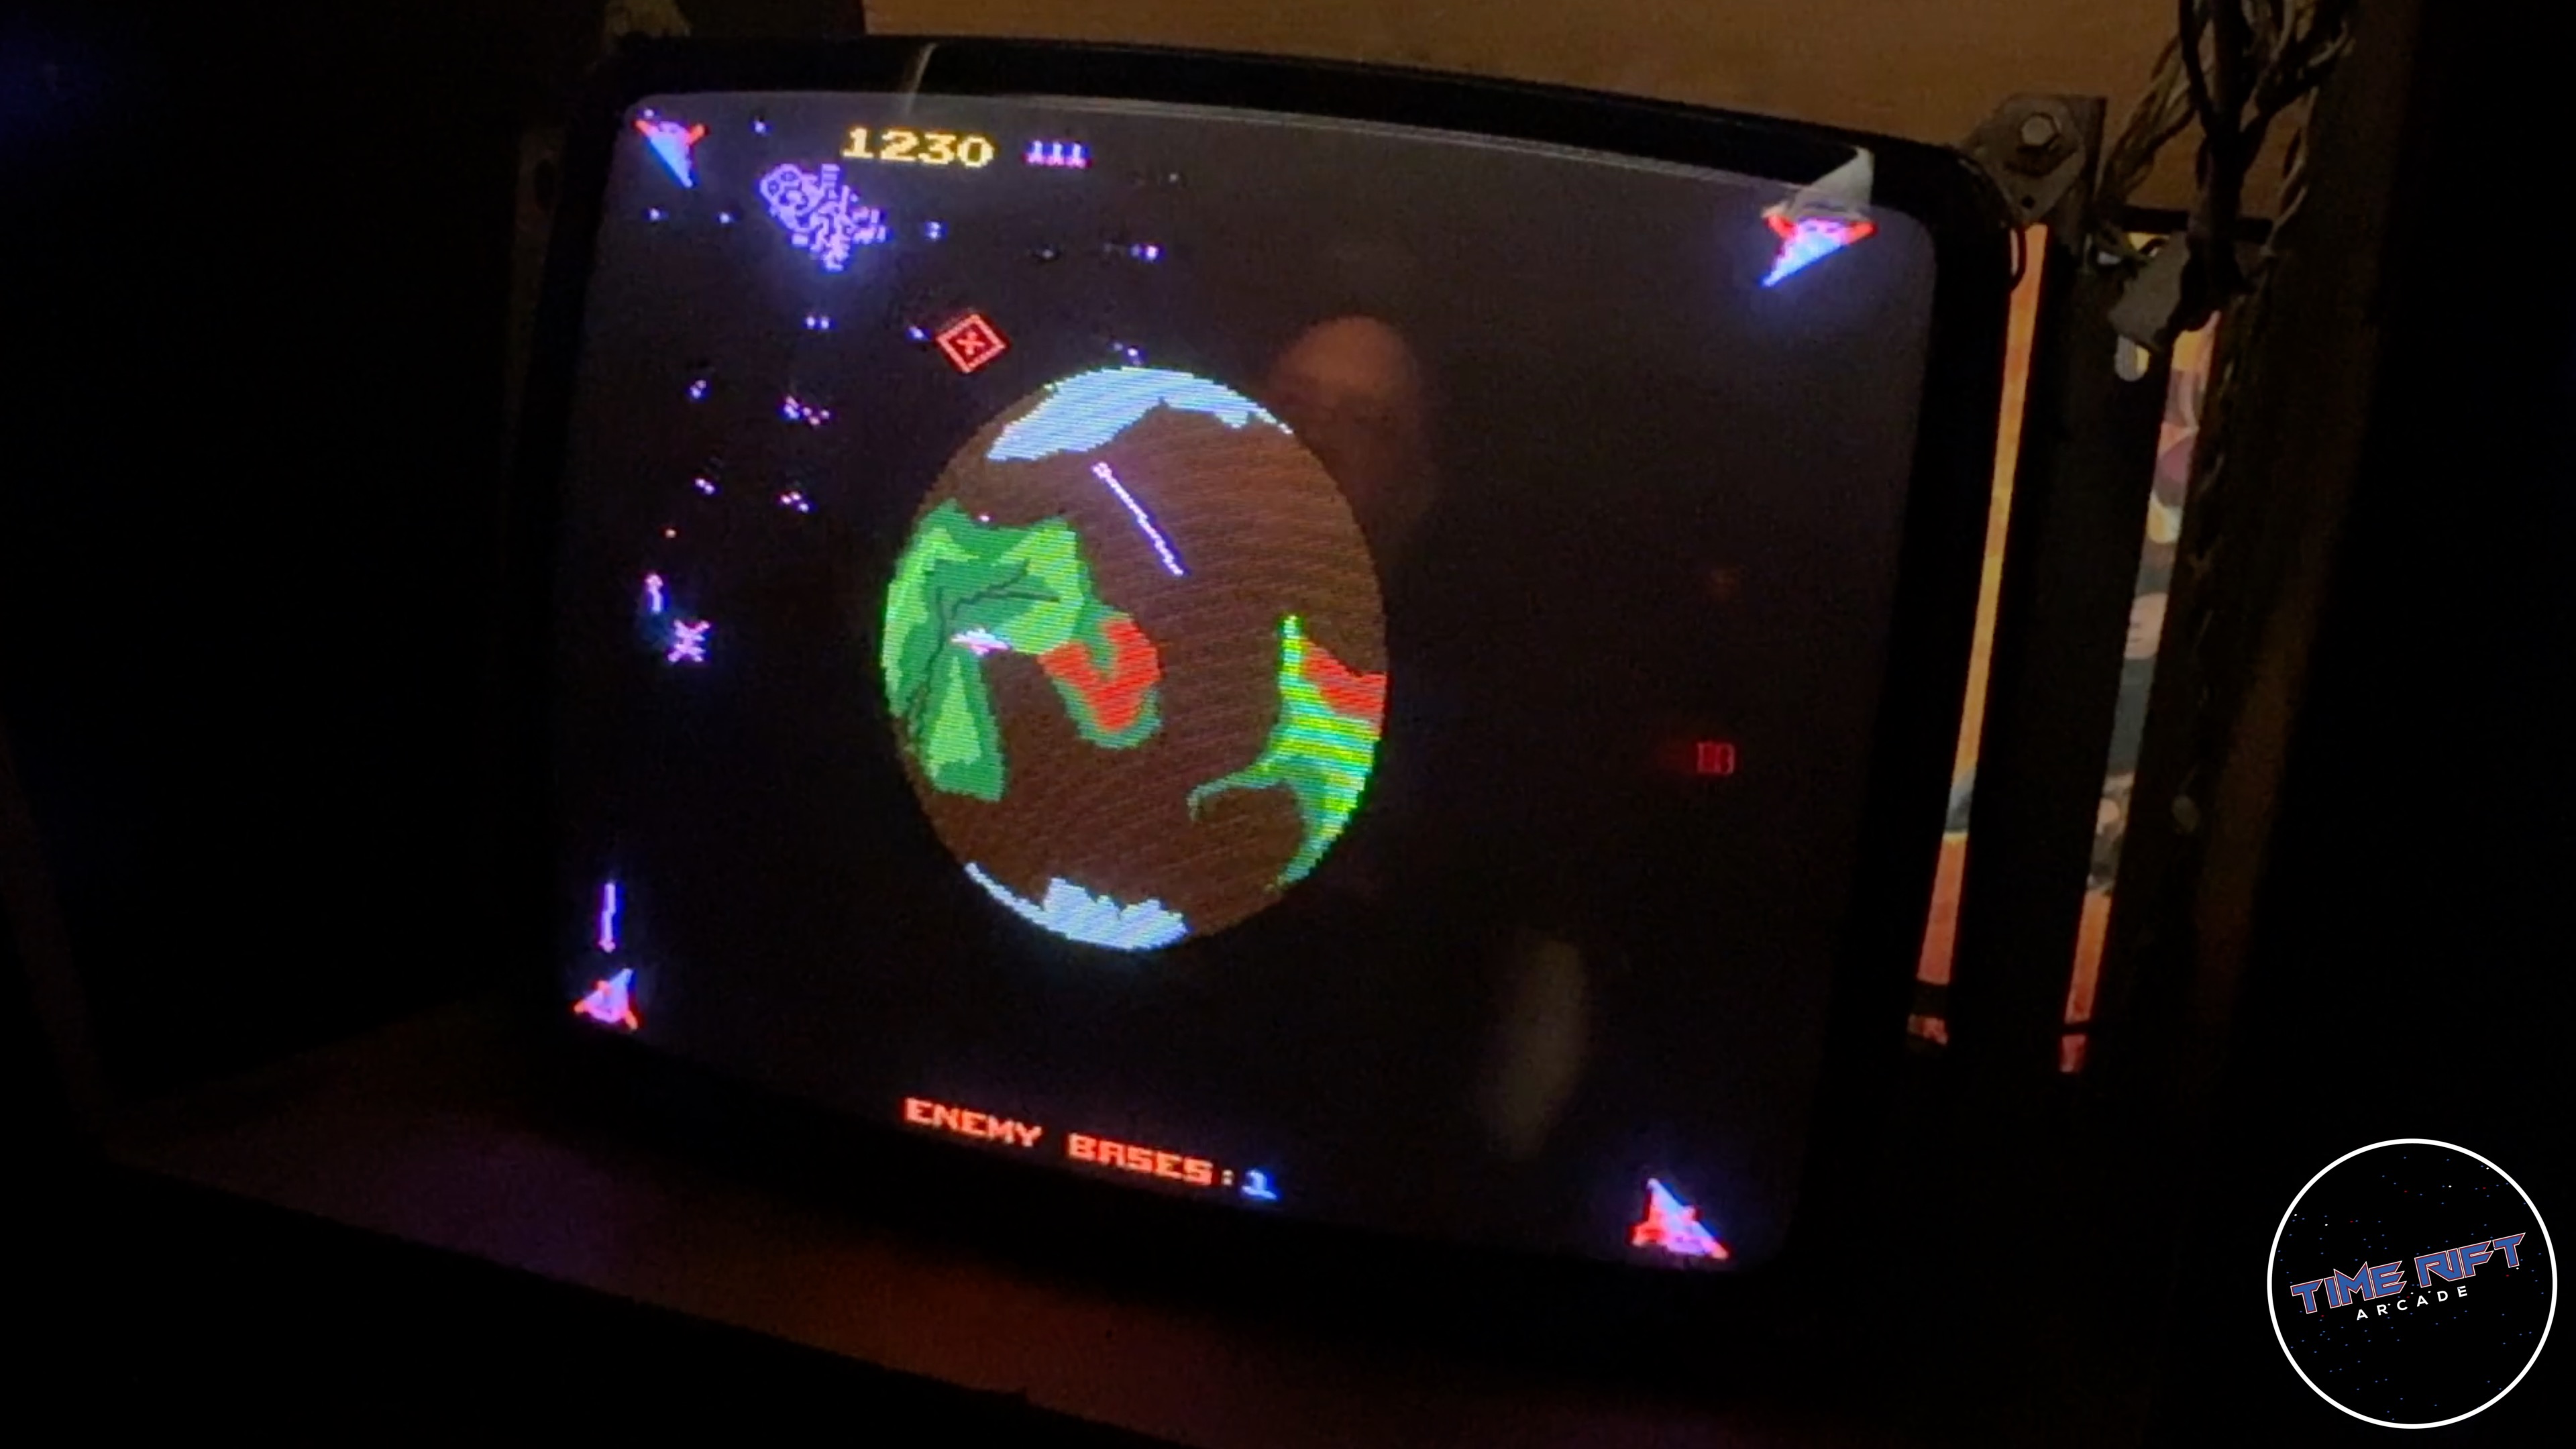
This is one of those cases where I was completely surprised. The colors are super crisp and vivid again! The monitor looks brand new! It’s absolutely gorgeous. Sometimes a cap kit can take an average monitor and make it into a super star, and in this case, that’s exactly what we got!

